Job Accounting
4-9
Changing Limit of Use
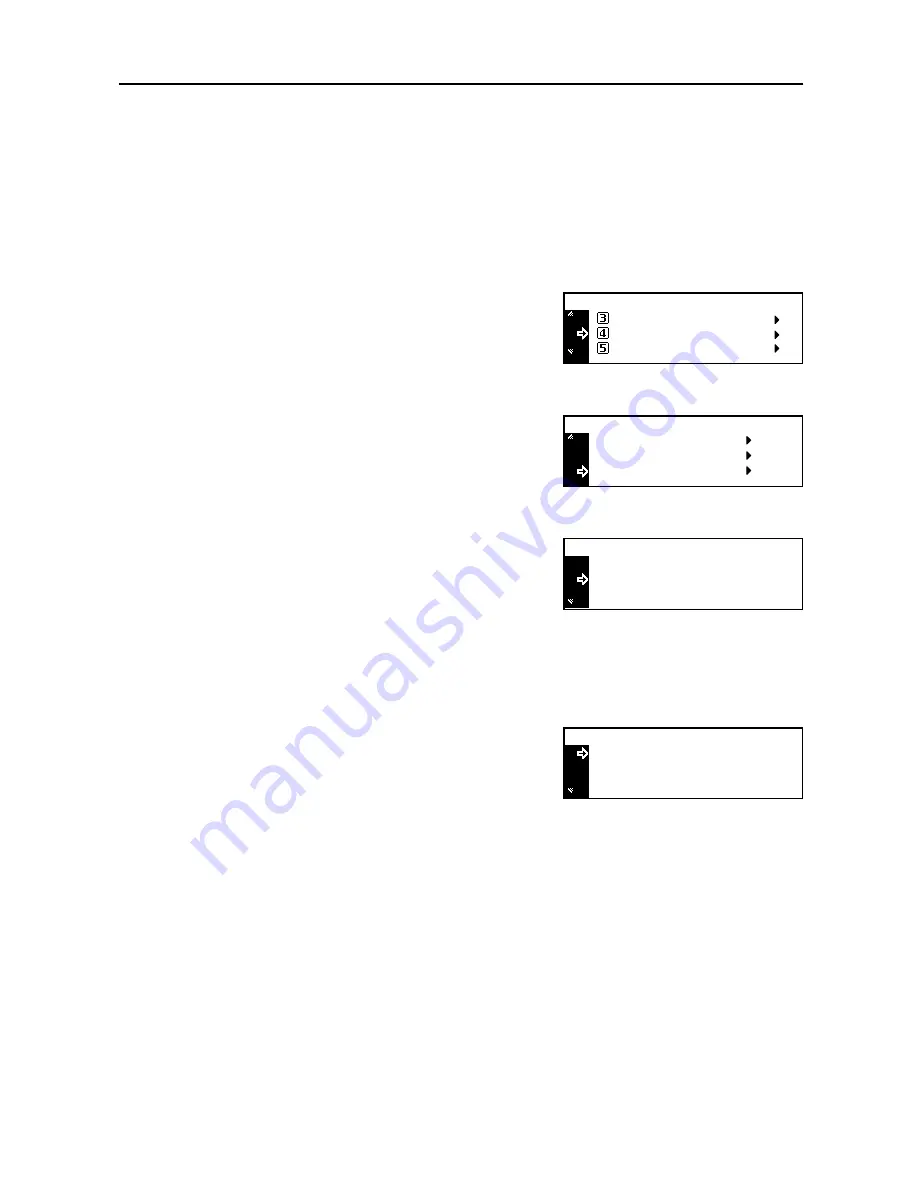
Change the limit of use that has been set for each account.
Important!
To set the limit of use in managing accounts, you must set
Copier Job Accounting
and
Printer
Job Accounting
in the default settings from
Off
to
On
. If the optional network scanner kit or fax kit
is installed, set
Scanner Job Accounting
or
Fax Job Accounting
in the default settings to
On
.
(See
Default Settings
on page
4-13
.)
1
Display the
Job Accounting
screen. (See
How to Display the Job Accounting Screen
on
page
4-3
.)
2
Press the
S
key or the
T
key to select
Edit Job
Accounting
.
3
Press the
Enter
key.
4
Press the
S
key or the
T
key to select
Change
limit in use
.
5
Press the
Enter
key.
6
Press the
S
key or the
T
key to select the ID-code to
change.
7
Press the
Enter
key.
8
Change the limit of use.
Note
For the method of setting the limit of use, see
Setting Limit of Use
on page
4-5
.
9
After all operation of change is complete, press the
S
key or the
T
to select
End
.
10
Press the
Enter
key
Job Accountg Def . Set.
Job Accounting :
Each Job Accounting TL
Edit Job Accounting
[
]
On
Delete
Edit Job Accounting :
New registration
Change limit in use
22222222
Change limit in use :
End
11111111
: 000.234
: 123.456
22222222
Change limit in use :
End
11111111
: 000.234
: 123.456
Summary of Contents for DC 2218
Page 1: ...Instruction Handbook Advanced DC 2218 2222 Digital Multifunctional System...
Page 4: ...ii...
Page 8: ...vi...
Page 66: ...Printer Settings 2 40 5 Press the Enter key The partition list is printed PARTITION LIST...
Page 112: ...System Menu 3 32...
Page 130: ...Job Accounting 4 18...
Page 131: ...Appendix 1 Appendix This appendix explains the following topics Paper Glossary...
Page 145: ...Index Index 5 Using job accounting 4 17 V Virtual mailbox 2 10 2 11 W Wide A4 2 31...
Page 146: ...Index Index 6...
Page 148: ...UTAX GmbH Ohechaussee 235 22848 Norderstedt Germany...


