


6
To add more measurement points, for a multi-
point calibration, click on the
Add
button and
repeat steps 5 and 6:
Use the value to the right of the
“Calibrated” field to set the importance
factor. A value of 0 means ignores the
point. (Default value is 1)
Check the
Ref
field to set the reference.
(The default reference measurement point
is the #1)
Click on
Delete
to delete a measurement
point.
ATTENTION!
Switch off the 3D-Microphone after every calibration attempt!
7
Once all measurement points have been
successfully calibrated, click on
Compute
. The
Optimizer now calculates the correction
filtering required.
Various icons appear in the top info bar to
show the progress:
= calculating filters.
= calculating graphs.
= calculations complete.
Note that it may take some time for the
processor to reach the final step.
––––––––––
Optimization is now complete and you are ready to enjoy your new listening conditions!
Calibration level may be loud. Do not forget to reduce the volume before using the unit. The processor is always muted after a
calibration, so remember to unmute first!
We strongly recommend using the
Bypass
button (top right) to listen with and without the Optimizer. When making an A/B
comparison, we recommend using professional sound checking material, if possible, rather than a normal mix.
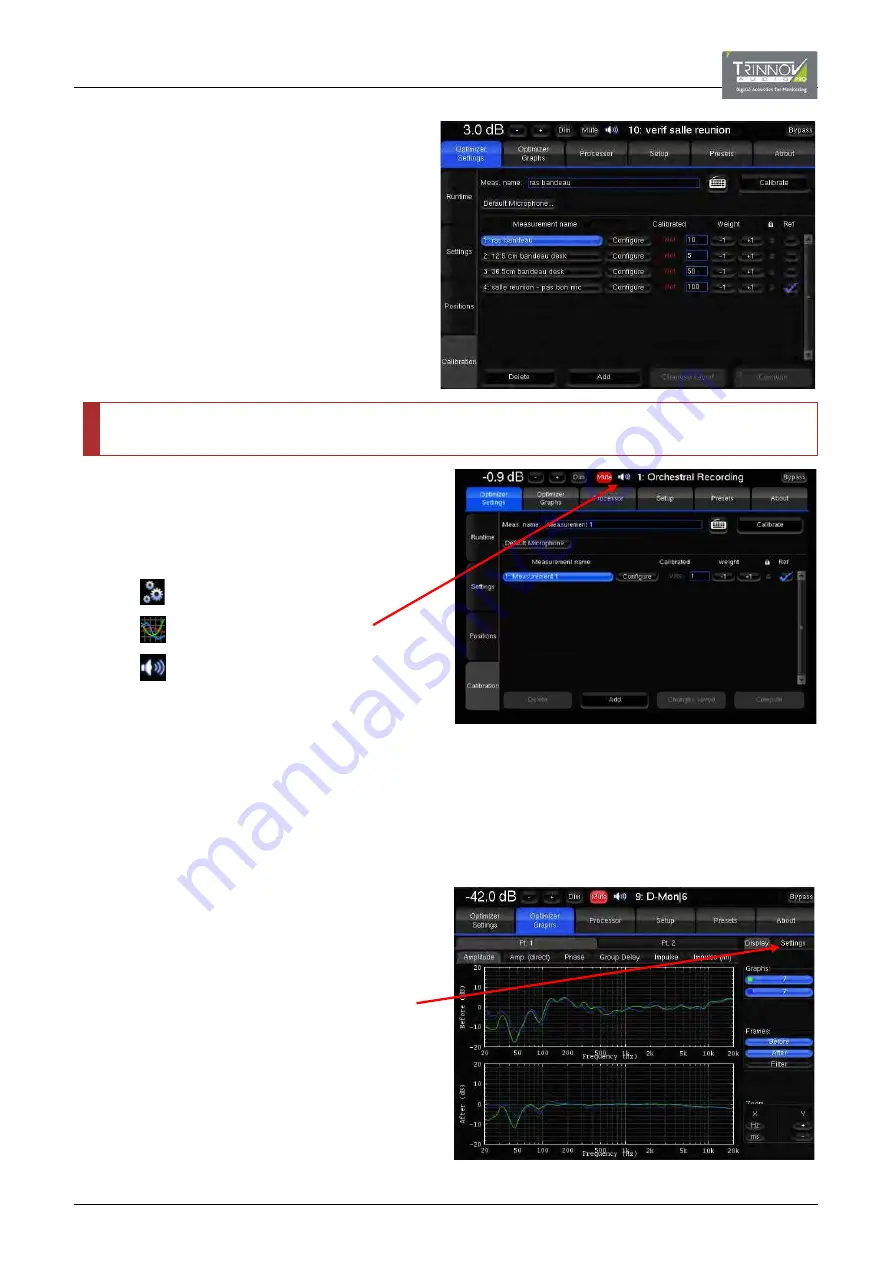
The “Optimizer Graphs” page can be used to
view
the
graphs while listening to the result at the same time.
Use the tabs (
Amplitude
,
Phase
, etc.) to view the
different responses.
Click on
Settings
to re-arrange how the graphs are
displayed.
The “Optimizer Settings” page provides various options
for fine-tuning the Optimizer parameters. See
for details.


