


© Copyright 2012 TRENDnet. All Rights Reserved.
TRENDnet User’s Guide
TEW-716BRG
20
Change your router IP address
Basic Setting > Network Setup
In most cases, you do not need to change your router IP address settings. Typically, the
router IP address settings only needs to be changed, if you plan to use another router in
your network with the same IP address settings, if you are connecting your router to an
existing network that is already using the IP address settings your router is using, or if
you are experiencing problems establishing VPN connections to your office network
through your router.
Note:
If you are not encountering any issues or are not faced with one of the cases
described above or similar, it is recommended to keep your router IP address
settings as default.
Default Router IP Address:
192.168.10.1
Default Router Network:
192.168.10.0 / 255.255.255.0
1. Log into your router management page (see “
Access your router management page
”
on page 18).
2. Click on
Basic Setting
and click on
Network Setup.
3. Enter the router IP address settings and click
Save
to apply the settings.
•
IP Address
– Enter the new router IP address.
(e.g.
192.168.200.1
)
•
Subnet Mask
– Enter the new router subnet mask.
(e.g.
255.255.255.0
)
Note:
The DHCP address range will change automatically to your new router IP
address settings so you do not have to change the DHCP address range manually to
match your new router IP address settings.
You will need to access your router
management page using your new router IP address to access the router
management page. (e.g. Instead of using the default
http://192.168.10.1
using your
new router IP address will use the following format using your new router IP address
http://(new.router.ipaddress.here) to access your router management page.
Set up the DHCP server on your router
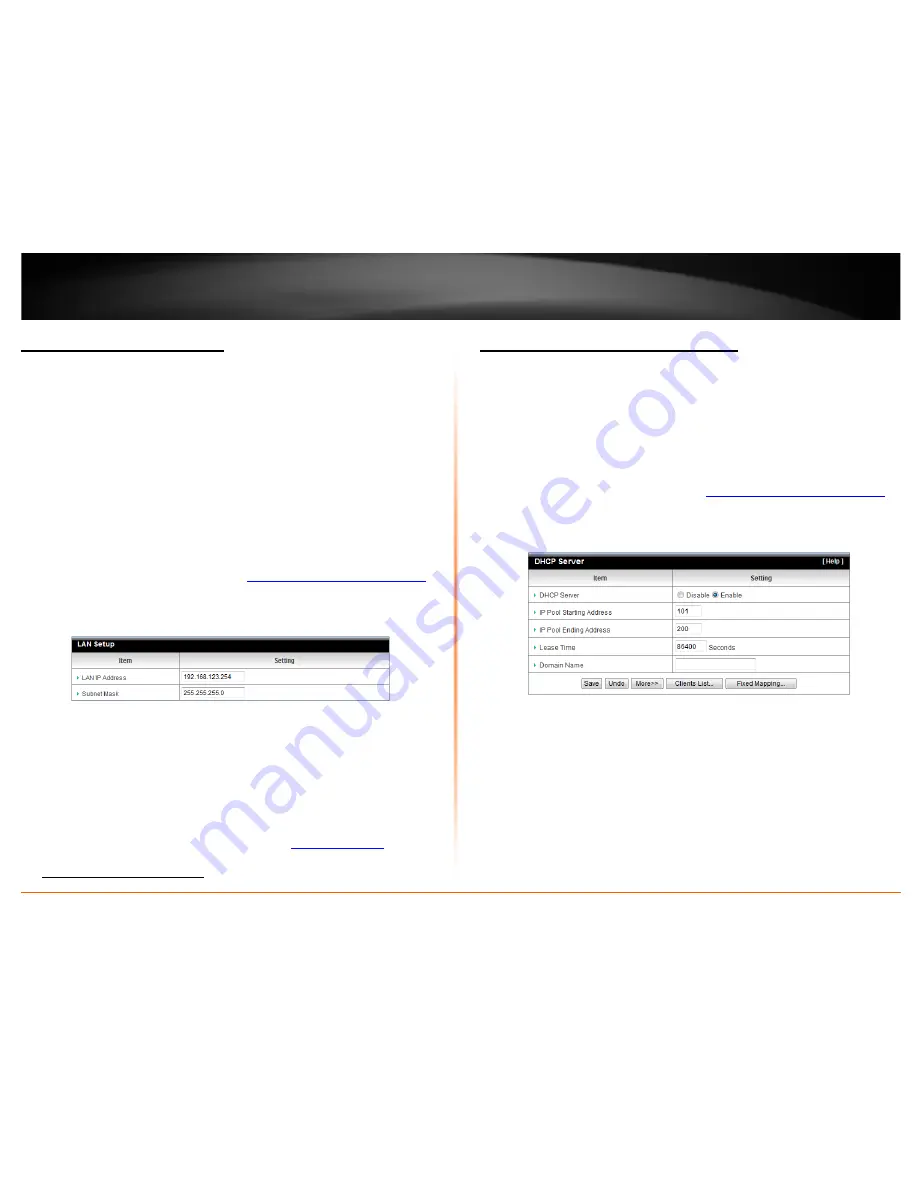
Basic Setting > DHCP Server
Your router can be used as a DHCP (Dynamic Host Configuration Protocol) server to
automatically assign an IP address to each computer or device on your network. The
DHCP server is enabled by default on your router. If you already have a DHCP server on
your network, or if you do not want to use your router as a DHCP server, you can disable
this setting. It is recommended to leave this setting enabled.
1. Log into your router management page (see “
Access your router management page
”
on page 18).
2. Click on
Basic Setting
and click on
DHCP Server
.
3. Review the DHCP Server settings.
•
DHCP Server
– Enable or Disable the DHCP server.
•
IP Pool Starting address:
Changes the starting address for the DHCP server range.
(e.g.
192.168.10.20)
•
IP Pool Ending Address:
Changes the last address for the DHCP server range. (e.g.
192.168.10.30)
Note:
The Start IP and End IP specify the range of IP addresses to automatically
asign to computers or devices on your network.
•
Lease Time
– Click the drop-down list to select the lease time.
Note:
The DHCP lease time is the amount of time a computer or device can keep
an IP address assigned by the DHCP server. When the lease time expires, the
computer or device will renew the IP address lease with the DHCP server,


