Connecting to a Computer
Use with a Computer
1.
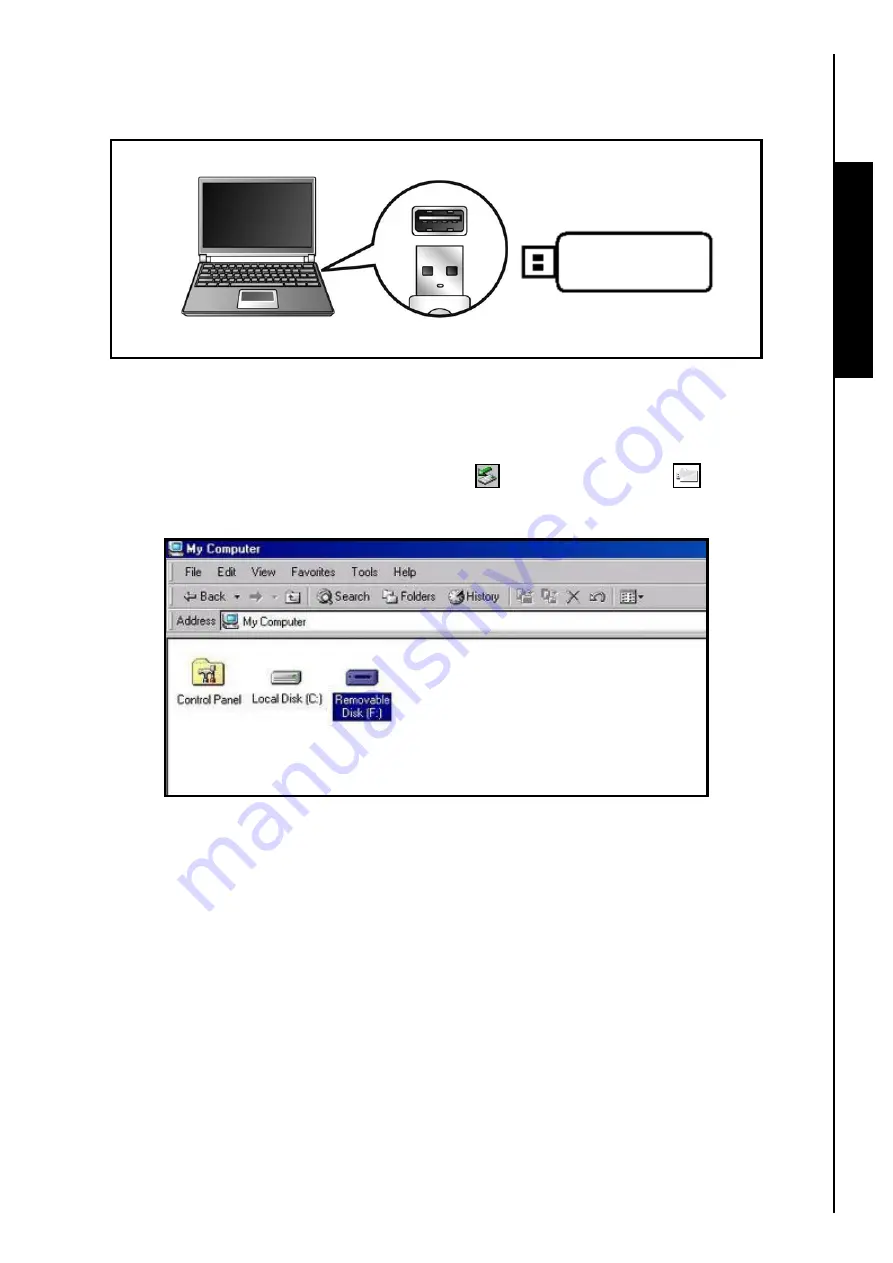
Plug the
JetFlash
™
directly into an available USB port on your desktop, or notebook computer.
Figure 1. Connecting to a computer
2.
When the
JetFlash
™
is successfully connected to a computer the unit’s LED will light up. A new
Removable Disk*
drive with a newly assigned drive letter representing the
JetFlash
™
will appear in
the
My Computer
window. In addition, a
Hardware
icon and
QuickMenu
icon (provided
you setup the
JetFlash Software
) will appear on the Windows System Tray.
Figure 2. *F is an example drive letter, the letter in your "My Computer" window may differ
3.
After the
JetFlash
™
is connected to the computer you can download data to the
JetFlash
™
simply by
dragging and dropping files, or folders onto the
Removable Disk
drive letter that represents the
JetFlash
™
.
4
Summary of Contents for JetFlash 110
Page 1: ......
Page 2: ......
Page 3: ......
Page 4: ......
Page 5: ......
Page 6: ...JetFlash User s Manual Version 2 1...
Page 27: ...JetFlash Software User s Manual Version 2 2...
Page 70: ...E Mail Function 10 The E mail will open in a new window Figure 75 E mail message 41...
Page 81: ...E Mail Function Figure 97 Save the csv file 52...
Page 90: ...61 Figure 114 Take No Action DataBackup Function...
Page 99: ......
Page 100: ......
Page 101: ......
Page 102: ......
Page 103: ......
Page 104: ......
Page 105: ......
Page 106: ......
Page 107: ......
Page 108: ......
Page 109: ......
Page 110: ......
Page 111: ......
Page 112: ......
Page 113: ......
Page 114: ......
Page 115: ......
Page 116: ......


