24
Chapter 5
5. 1. Change the LAN Settings
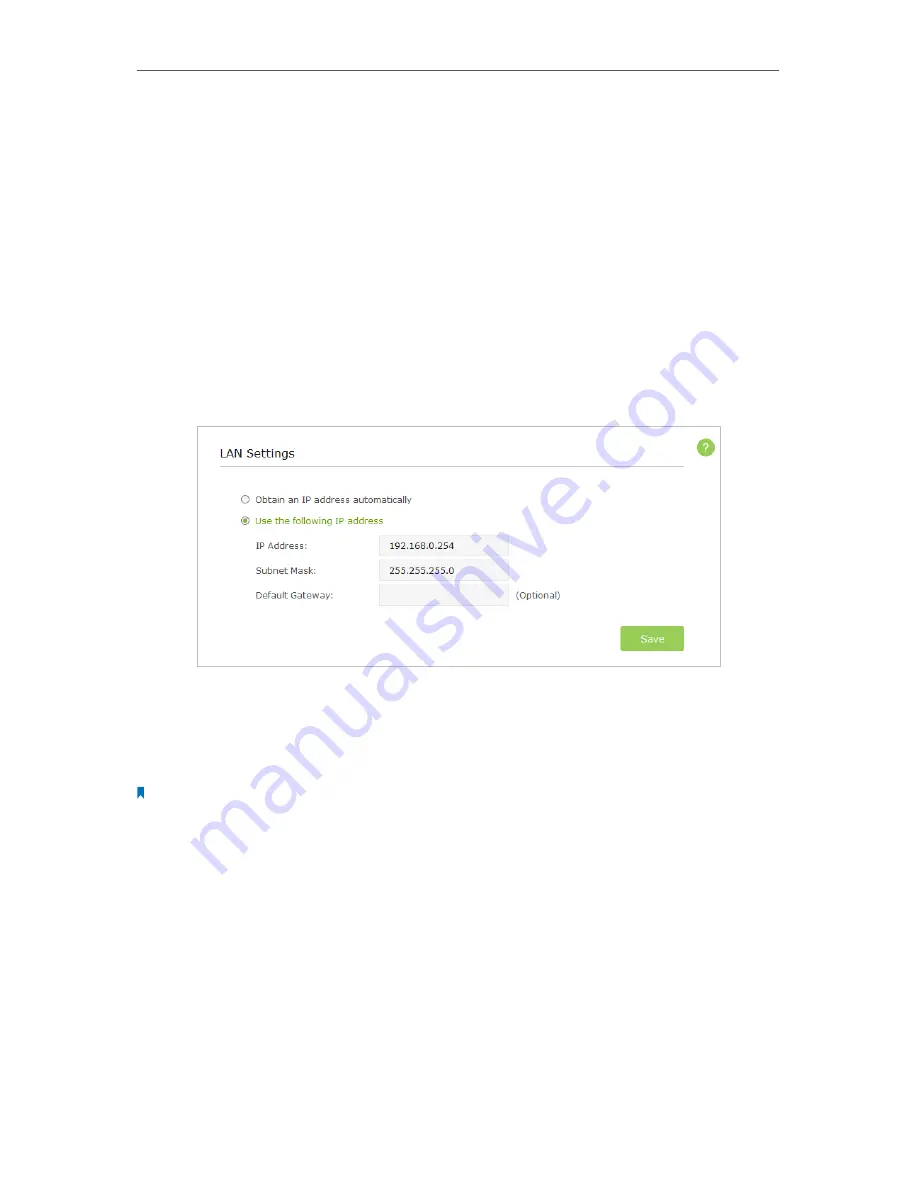
The AP device is preset to
Obtain an IP address automatically
, which allows the device
to dynamically obtain an IP address and gateway from the main router/AP. You just need
to enter
http://tplinkap.net
into the address bar to log into the web-based management
page. It is recommended to keep the default LAN settings to avoid IP conflict with the
main router/AP or other device on your local network. If it is necessary to change the
LAN settings, for example, your network requires a specific IP subnet, please perform
the following steps.
1. Visit
http://tplinkap.net
, and log in with the username and password you set for the
AP device.
2. Go to
Advanced
>
Network
>
LAN
page.
3. Select
Use the following IP address
option and type in a new IP Address appropriate
to your needs.
4. Leave the
Subnet Mask
and
Default Gateway
as it is.
5. Click
Save
.
Note:
After changing the IP address, you should enter the new IP address or use the domain name
tplinkap.net
to log into
the web-based management page.
5. 2. Specify DHCP Server Settings
By default, the DHCP (Dynamic Host Configuration Protocol) Server is set to
Auto
. If the
DHCP server of the host router/AP is disabled, the device’s DHCP server will automatically
assign valid IP addresses to clients. If the DHCP server of the host router/AP is enabled,
the device’s DHCP server will be unable to avoid IP conflict. You can switch
On
(enable)
or
Off
(disable) the DHCP server. If
Off
is selected and there is no other DHCP server
within your LAN, you have to configure the IP address for each client manually.


