


JUNE 2002 © TOSHIBA TEC
5 - 3
e-STUDIO550/650/810 CONTROL PANEL
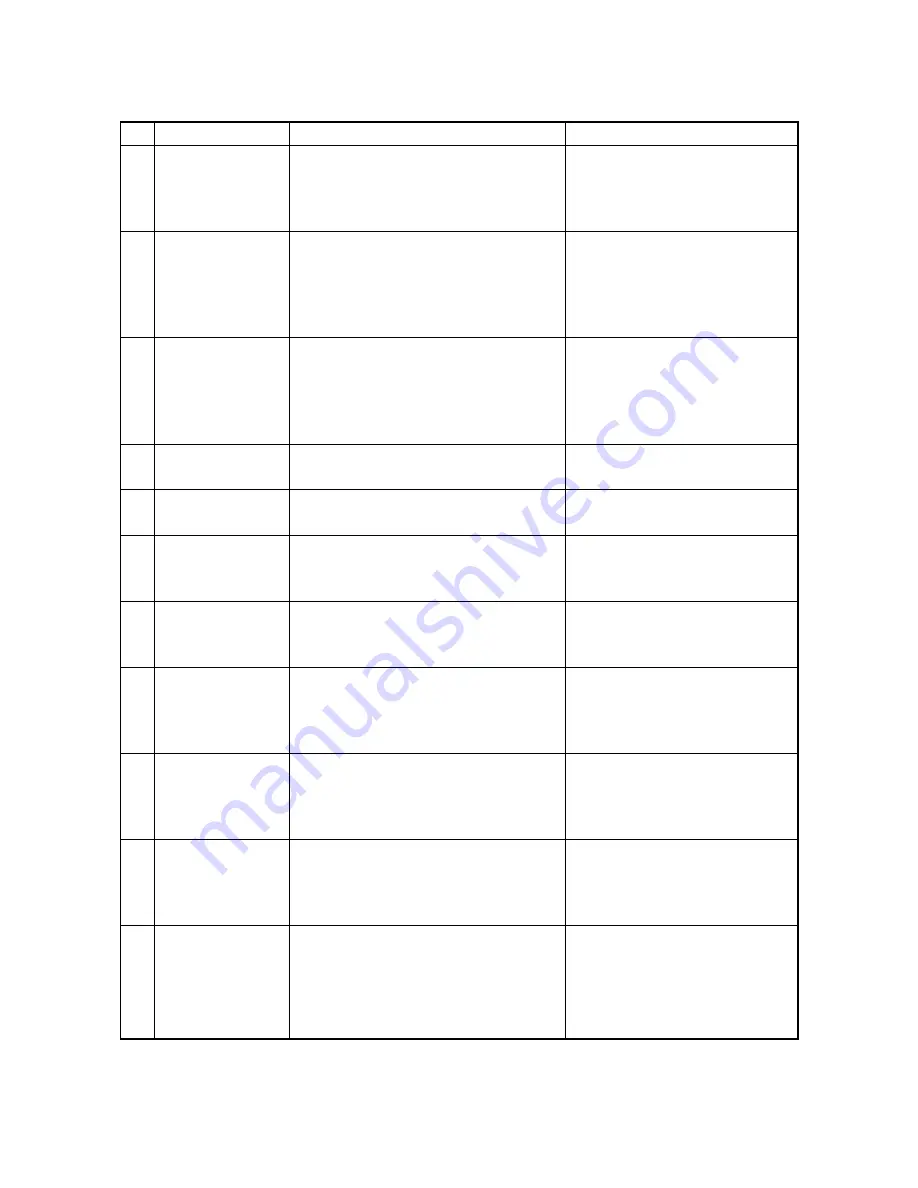
No.
Message
1
WAIT WARMING UP
2
READY(WARMING
UP)
3
READY
4
COPYING
5
Saving energy
- Press [START]
6
Place next original
Press [START] to
copy
7
—
8
READY (PRINTING)
9
READY
(ADD PAPER)
10
READY
(FINISHER FULL)
11
READY
(HOLE PUNCH
DUST FULL)
State of copier
Scanner warming up
- Displayed when the power is turned ON un-
til the copier becomes ready to start scan-
ning.
Ready for scanning
- The copier is ready for scanning and waiting
for operator to select the copying conditions.
- Returns to default setting if no key is
operated within 45 seconds.
Ready for copying
- The copier is ready for copying and waiting for
the operator to select the copying conditions.
- Returns to default setting if no key is operated
within 45 seconds.
The original is being scanned
- Displayed by pressing the [START] key.
The copier is in the energy saver mode.
Ready for the next original
- Displayed by pressing the [Next original;
YES] key.
Power is OFF
- Nothing is displayed in the display panel.
- Timer LED is lit.
Ready for scanning
- The copier is ready for scanning and waiting
for the operator to select the copying conditions.
Background printing is in progress.
Ready for scanning
- The copier is ready for scanning and waiting
for the operator to select the copying conditions.
Paper in the cassette has run out during printing.
Ready for scanning
- The copier is ready for scanning and waiting
for the operator to select the copying conditions.
The finisher is full of paper.
Ready for scanning
- The copier is ready for scanning and waiting
for operator to select the copying conditions.
The punching dust box is full.
Note
- The set number “1” and the repro-
duction ratio “100%” are displayed
when the power is turned ON.
- The set number “1” is displayed. Press
the digital key to change the number.
- The number is reset to “1” by pressing
the [CLEAR] key.
- Bypass feed copying is enabled.
- The set number “1” is displayed. Press
the digital key to change the number.
- The number is reset to “1” by pressing
the [CLEAR] key.
- Bypass feed copying is enabled.
- After scanning is completed, the copier
becomes ready for the next scanning.
- Can be cleared by pressing the
[START] key, function select key.
- Displayed for SADF and manually
placed originals.
- Press the [START] key or function
select key.
- Since background printing is in
progress, the scanned image is not
output immediately.
- Printing is resumed by adding paper
to the cassette.
- Printing is resumed by removing
paper from the finisher.
- Printing is resumed by removing
punching dust from the dust box.
5. 2. 1. Display during normal copying
Summary of Contents for e-STUDIO 550
Page 2: ...Copyright 2002 TOSHIBA TEC CORPORATION ...
Page 338: ...18 PC BOARDS ...
Page 339: ...JUNE 2002 TOSHIBA TEC 18 1 e STUDIO550 650 810 PC BOARDS 18 PC BOARDS 1 PWA F SYS 340 ...
Page 340: ...e STUDIO550 650 810 PC BOARDS 18 2 JUNE 2002 TOSHIBA TEC 2 PWA F LGC 340 ...
Page 341: ...JUNE 2002 TOSHIBA TEC 18 3 e STUDIO550 650 810 PC BOARDS 3 PWA F SLG 340 ...
Page 342: ...e STUDIO550 650 810 PC BOARDS 18 4 JUNE 2002 TOSHIBA TEC 4 PWA F PLG 340 ...
Page 343: ...JUNE 2002 TOSHIBA TEC 18 5 e STUDIO550 650 810 PC BOARDS 5 PWA F CCD2 340 ...
Page 346: ...1 1 KANDA NISHIKI CHO CHIYODA KU TOKYO 101 8442 JAPAN R02032111900 TTEC ...


