


46
Viewing photo fi les (on a DLNA CERTIFIED™ Server
or USB device)
There are three types of viewing modes.
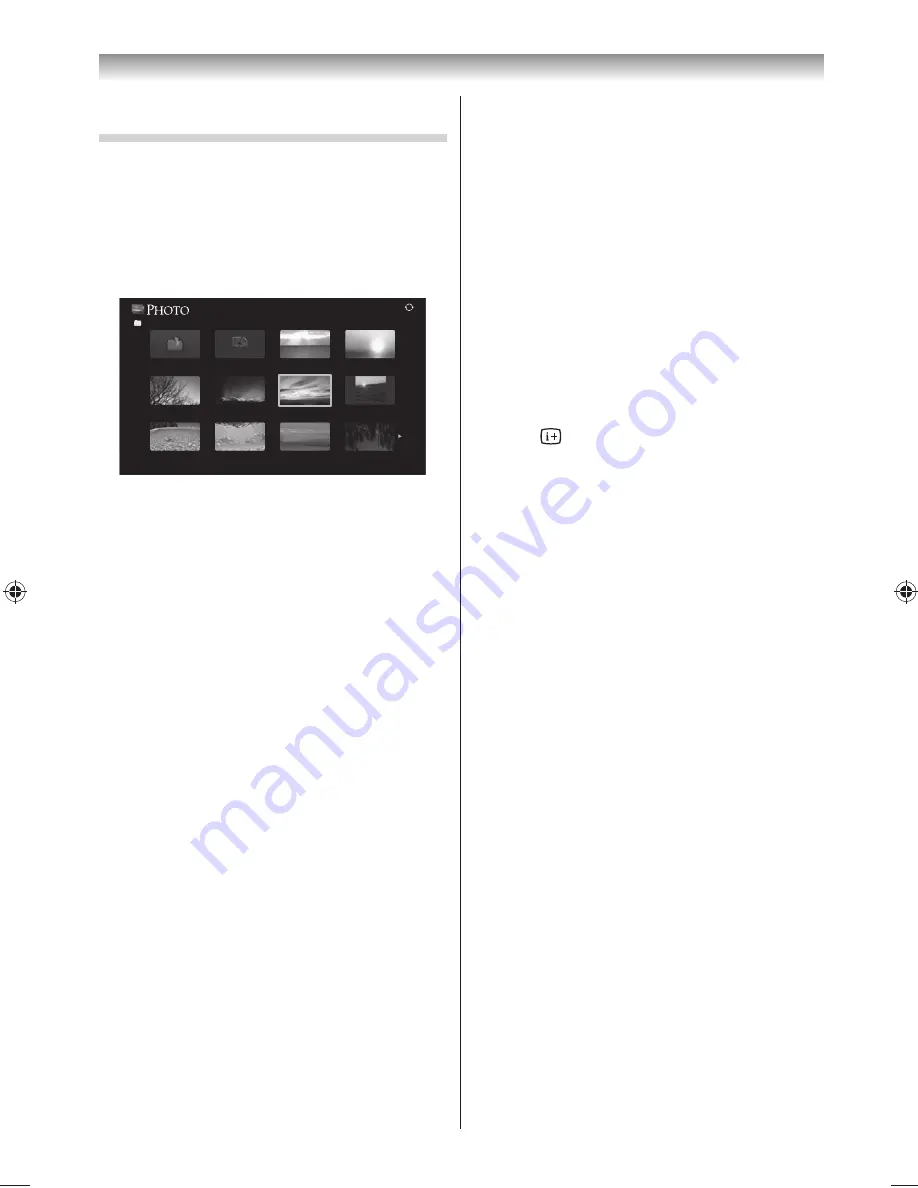
Multi View (USB Photo)
This view allows you to search for photos in a grid
format.
The pictures are displayed using thumbnail data in
each image fi le.
/Folder/select Folder or File
Back
xxxxxxxxx.jpg
xxxxxxxxx.jpg
xxxxxxxxx.jpg
5/20
xxxxxxxxx.jpg
xxxxxxxxx.jpg
xxxxxxxxx.jpg
xxxxxxxxx.jpg
xxxxxxxxx.jpg
xxxxxxxxx.jpg
xxxxxxxxx.jpg
xxxxxxxxx.jpg
The initial highlighted position will be on the top
left thumbnail in the Multi View.
1
Press
,
,
or
to move the highlight in
one window. If all of the photos will not fi t in
one screen, when pressing
at the top left
thumbnail, the screen will move to the previous
page. Conversely, when pressing
at the
bottom right thumbnail, the screen will move to
the next page.
P
U
/
P
u
buttons can be used to page up/down
the
Multi View
when there are more photos
than will fi t onto one screen. When the
P
U
/
P
u
buttons are pressed, the highlight shall be on
the photo at the top left of Previous/Next
Multi
View
.
Note:
The page down function on the last page and
page up function on the fi rst page are not
available.
2
When you select a folder, press
OK
to move to
the next layer. Press
BACK
to move back to the
previous layer.
3
Press
OK
to view the selected photo in Single
View mode.
Single View
In this mode, only fi les located in the selected
directory will be displayed. This view allows you
to change the photo content manually. When
moving from Multi View to Single View, the currently
selected photo will be displayed.
1
Press
to view the next photo. Press
to view
the previous photo.
2
Press
to rotate the image 90° clockwise. Press
to rotate the image 90° counterclockwise.
Note:
The information may not be correctly displayed
depending on the contents or DMS.
Slide Show
This view allows you to watch a slide show of
your photos. In this mode, only fi les located in the
selected directory will be played.
1
To start slideshow, press
OK
in the Single View
mode.
2
Press
or
to view the previous/next photo.
3
Press
to display fi le status information.
Note:
Pressing
or
while in the
Slide Show
mode will
stop the slideshow and rotate the photo.
To set Interval Time and Repeat settings:
1
Press
QUICK
to open the
Quick Menu
.
2
Press
or
to select
Interval Time
or
Repeat
.
3
Press
or
to adjust the setting.
To set Background Music (USB only)
1
Press
QUICK
to open the
Quick Menu
while in
the Slide Show mode.
2
Press
or
to select
Background Music
and
press
or
to select
On
.
The music fi le in the same folder as the
displayed photo will start playing.
Note:
To stop music fi le playback, select
Off
in
Background
Music
.
To zoom in/out photos
During the Single View mode or Slide Show mode,
the zoom function can be used.
RED button (Zoom in)
USB:
x1
S
x2
S
x4
S
x8 zoom
DMP:
x1/8
S
x1/4
S
x1/2
S
x1
S
x2
S
x4
S
x8 zoom
GREEN button (Zoom out)
USB:
x8
S
x4
S
x2
S
x1 zoom
DMP:
x8
S
x4
S
x2
S
x1
S
x1/2
S
x1/4
S
x1/8 zoom
BACK button:
Normal playback
buttons:
Vertical or Horizontal scrolling
Connecting your TV
324046PX200̲Series̲En.indd 46
2012/06/04 13:21:53
Summary of Contents for 32PX200 series
Page 59: ......