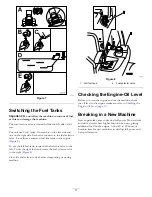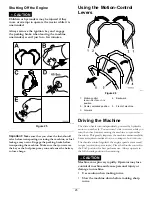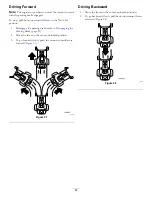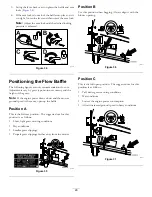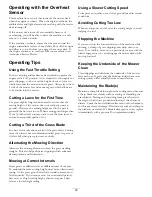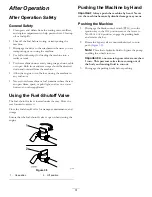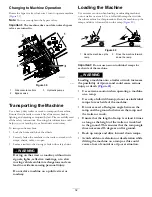
g009612
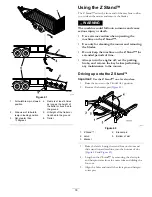
Figure 13
1.
Triangles light up when the interlock components are in the
correct position
Testing the Safety-Interlock System
Service Interval:
Before each use or daily
Test the safety-interlock system before you use the machine
each time. If the safety system does not operate as described
below, have an Authorized Service Dealer repair the safety
system immediately.
1.
Sitting on the seat, engage the parking brake and move
the blade-control switch (PTO) to the O
N
position.
Try starting the engine; the engine should not start.
2.
Sitting on the seat, engage the parking brake and
move the blade-control switch (PTO) to the O
FF
position. Move either motion-control lever (out of the
N
EUTRAL
-
LOCK
position). Try starting the engine; the
engine should not start. Repeat for the other control
lever.
3.
Sitting on the seat, engage the parking brake, move the
blade-control switch (PTO) to the O
FF
position, and
move the motion-control levers to the N
EUTRAL
-
LOCK
position. Now start the engine. While the engine
is running, disengage the parking brake, engage the
blade-control switch (PTO), and rise slightly from the
seat; the engine should shut off.
4.
Sitting on the seat, engage the parking brake, move the
blade-control switch (PTO) to the O
FF
position, and
move the motion-control levers to the N
EUTRAL
-
LOCK
position. Now start the engine. While the engine
is running, center either motion control and move
(forward or reverse); the engine should shut off. Repeat
for other motion control.
5.
Sitting on the seat, disengage the parking brake,
move the blade-control switch (PTO) to the O
FF
position, and move the motion-control levers to the
N
EUTRAL
-
LOCK
position. Try starting the engine; the
engine should not start.
Positioning the Seat
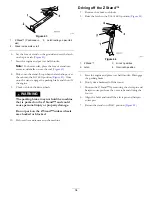
The seat moves forward and backward. Position the seat
where you have the best control of the machine and are most
comfortable.
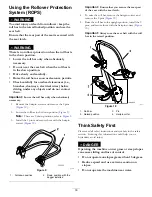
To adjust, move the lever sideways to unlock the seat (
g019754
g019754
Figure 14
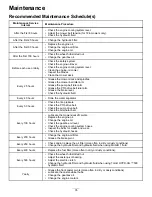
Unlatching the Seat
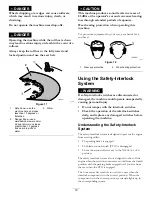
1.
Move the seat to the most rearward position.
Note:
This prevents interference when you raise the
seat.
2.
Push the seat latch rearward to unlatch the seat.
3.
Raise the seat up (
Note:
This allows access to the machine under the
seat.
g000950
Figure 15
1.
Seat latch
3.
Seat
2.
Fuel cap
20
Summary of Contents for Z593-D Z Master 74264TE
Page 75: ...Schematics g012068 g012068 Wire Diagram Rev A 75 ...
Page 76: ...Notes ...
Page 77: ...Notes ...
Page 78: ...Notes ...


