Using the Front Panel
25
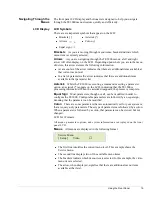
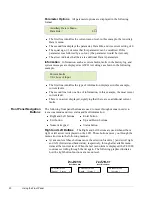
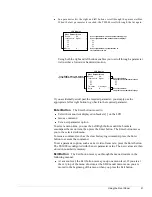
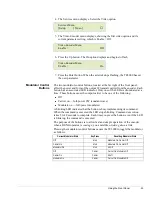
4. The Services menu displays. Select the Video option.
5. The Video Encoder menu displays, showing the first video option and it’s
current parameter setting, which is Enable = Off.
6. Press the Up button. The On option displays and begins to flash.
7. Press the Enter button. When the asterisk stops flashing, the TE3000 has set
the new parameter.
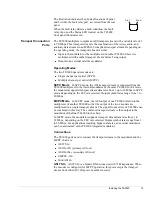
Modulator Control
Buttons
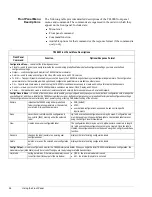
The two modulator control buttons, located at the far right of the front panel,
affect the power and form of the output IF transmit carrier from the encoder. Each
button has an associated LED indicator. Only one of the LEDs is illuminated at a
time. These buttons cause the output carrier to be one of the following:
!
Off
!
Carrier on — full-power CW (constant wave)
!
Modulate on — full-power modulated
A blinking LED indicates that the button is busy implementing its command.
When the command is executed the LED stops blinking. Command execution
takes 5 to 10 seconds to complete. Each time you press the button, even if the LED
is blinking, the command is executed.
The purpose of the buttons is to allow fast and simple operation of the encoder
when a DSNG operator is coming up on a satellite or taking down a link.
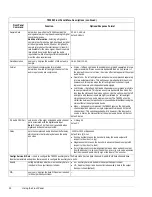
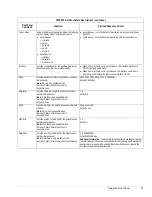
Pressing the modulator control buttons causes the TE3000 to toggle the modulator
as follows:
Services Menu
[Setup [
Video
]
→
Video Encoder Menu
Enable =
Off
Video Encoder Menu
Enable =
On
Current Modulator State
Key Press
Resulting Modulator State
Off
Mod
Modulate On; Carrier Off
Carrier On
Mod
Modulate On; Carrier Off
Modulator On
Mod
All Off
Off
Carrier
Carrier On; Modulate Off
Carrier On
Carrier
All off
Modulate On
Carrier
Carrier On; Modulate Off
Summary of Contents for TE3000
Page 10: ...viii Preface ...
Page 14: ...4 TE3000 Overview ...
Page 52: ...42 Using the Front Panel ...
Page 94: ...84 Maintenance and Software Upgrades ...
Page 96: ...86 Technical Specifications ...
Page 102: ...92 TE3000 PID Assignments ...
Page 112: ...102 Glossary ...


