


3-27
Graphical User Interface
Figure 3–50: Programs -> Export Programs Pop-up Window with Progress Bar
NOTICE
You may abort a running export at any time by tapping the Cancel button in the “Export
Programs” pop-up window shown in
above. If you do so, the export is aborted, and
the “Export Error“message appears. This message lists all programs that have not been exported
successfully.
NOTICE
While the export is running, make sure you do not remove the USB drive from the USB port. If you
remove the USB drive, the export is aborted, and the “Export Error” message appears. This message lists
all programs that have not been exported successfully.
NOTICE
While the export is running, the USB drive may run out of disk space. If that happens, the export
is aborted, and the “Export Error” message appears.
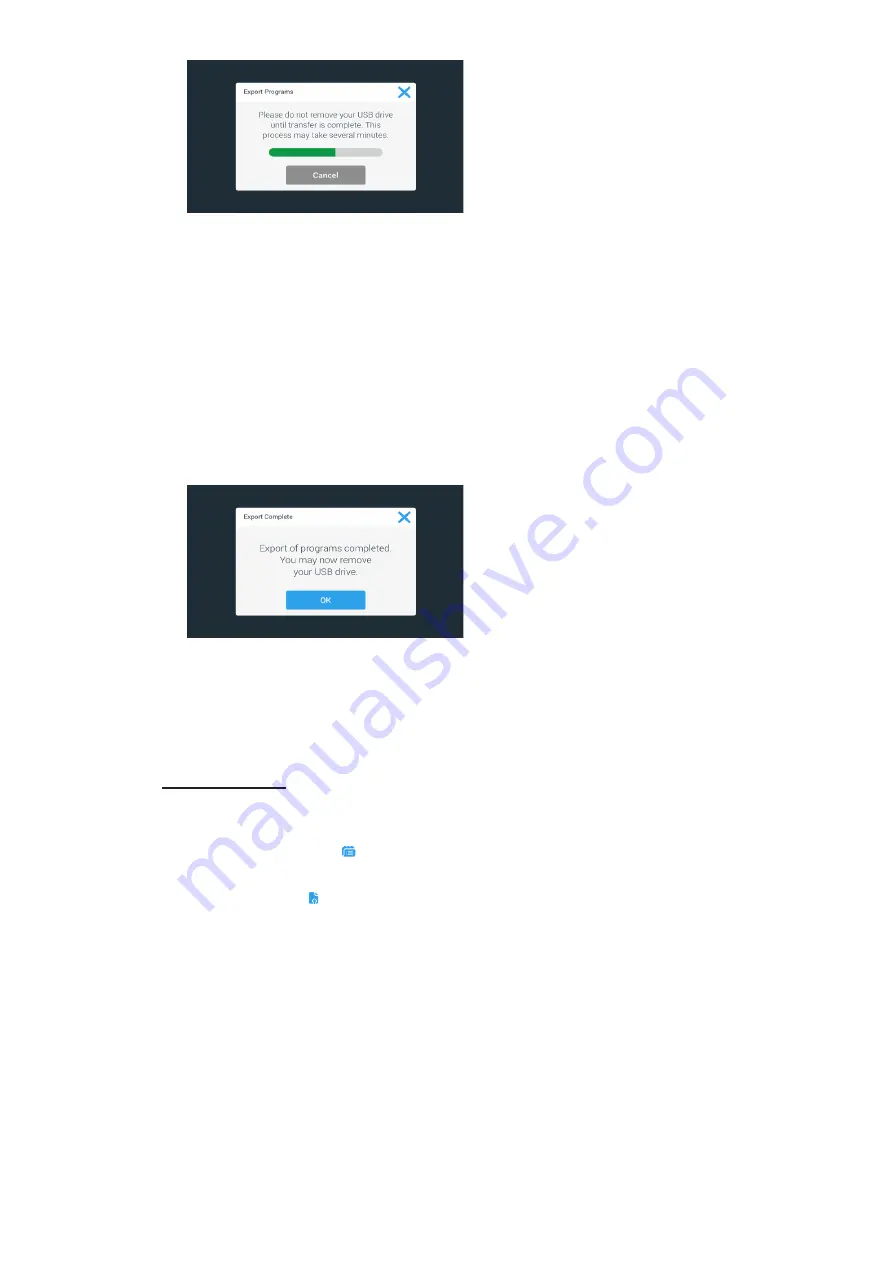
When the export has been successfully completed, the “Export Complete” pop-up window shown in
below appears.
Figure 3–51: Programs -> Export Complete Pop-up Window
6. Tap the
OK
button to acknowledge the message and remove the USB drive.
Your programs are now ready for importing to another centrifuge. On your USB drive, you will find one or
more new files with the general filename
UnitName_ProgramName_YYYY_MM_DD.csv
or
UnitName_
ProgramName_YYYY_MM_DD_01.csv
now.
Importing Programs
Proceed as follows to import one or more programs from a USB drive:
1. Insert the USB drive with exported programs into the USB port of the centrifuge.
2. Tap the
Programs
button on the navigation bar.
The Programs screen appears, listing the existing programs as in the example in
3. Tap the
Import
icon at the bottom edge of the Programs screen.
NOTICE
If you have not inserted a USB drive into the USB port of the centrifuge, the “Import Programs
“pop-up window below appears, prompting you to insert a USB drive.
If necessary, insert the USB drive
into the USB port of the centrifuge.
The Import Programs screen appears.
4. Tap the appropriate checkboxes for the programs you wish to import. Choose either
Select All
for all
programs,
or
scroll and
select individual checkboxes
for the desired programs.
5. Tap the
Import
button.
If necessary, insert the USB drive into the USB port of the centrifuge.
The import will start now, as indicated by the “Import Programs” pop-up window shown in
below. It shows a cautioning message not to remove the USB drive and a green and gray progress bar that
lets you follow the process.
Summary of Contents for Sorvall ST Plus Series
Page 116: ...B 9 TX 750 B 1 4 Biocontainment Certificate ...
Page 120: ...B 13 TX 1000 B 2 4 Biocontainment Certificate ...
Page 126: ...B 19 HIGHConic II B 4 4 Biocontainment Certificate ...
Page 133: ...B 26 Fiberlite F15 6 x 100y B 7 4 Biocontainment Certificate ...
Page 137: ...B 30 HIGHPlate 6000 B 9 4 Biocontainment Certificate ...
Page 140: ...B 33 M 20 Microplate B 10 4 Biocontainment Certificate ...
Page 143: ...B 36 Microliter 48 x 2 B 11 4 Biocontainment Certificate ...
Page 146: ...B 39 Microliter 30 x 2 B 12 4 Biocontainment Certificate ...
Page 149: ...B 42 MicroClick 30 x 2 B 13 4 Biocontainment Certificate ...
Page 152: ...B 45 MicroClick 18 x 5 B 14 4 Biocontainment Certificate ...
Page 155: ...B 48 Fiberlite F21 48 x 2 B 15 4 Biocontainment Certificate ...
Page 159: ...B 52 Fiberlite F10 6 x 100 LEX B 17 4 Biocontainment Certificate ...


