26
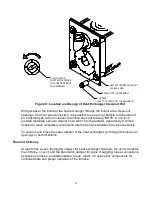
HEAT EXCHANGER CLEAN-OUT
ACCESS (TUBE)
CLEAN-OUT PLUG ASSEMBLY
T-HANDLE
(PART OF CLEAN-OUT PLUG ASSEMBLY)
TURN T-HANDLE
COUNTER-CLOCKWISE
TO LOOSEN & REMOVE
PLUG ASSEMBLY
Figure 6: Location and Design of Heat Exchanger Cleanout Port
With access to the inside of the heat exchanger through the burner area, clean-out
openings, and vent pipe connection, it is possible to use a long, flexible wire brush and
an industrial type vacuum cleaner to remove any soot build-up. NOTE: A one inch
(outside diameter) vacuum cleaner hose will fit into the radiator, apprximatly 8’ will be
needed to reach completely around and into the front area between the cleanout ports.
To vacuum and brush the outer radiator of the heat exchanger, go through the clean-out
openings in both directions.
Flue and Chimney
At least once a year, thoroughly inspect the heat exchanger flue pipe, the vent connector,
the chimney, or vent, and the barometric damper for signs of sagging, loose connections,
excessive corrosion, and deterioration. Clean, repair, or replace any components for
continued safe and proper operation of the furnace.
Summary of Contents for OD6FA072D48
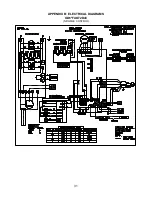
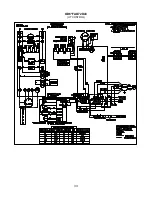
Page 32: ...31 APPENDIX B ELECTRICAL DIAGRAMS OD6 FAO72D48 NRGMAX CONTROL...
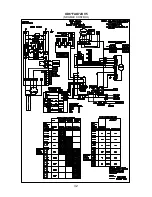
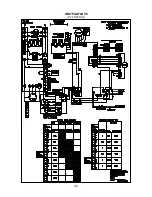
Page 33: ...32 OD6 FAO72DV5 NRGMAX CONTROL...
Page 34: ...33 OD6 FAO72D48 UT CONTROL...
Page 35: ...34 OD6 FAO72DV5 UT CONTROL...
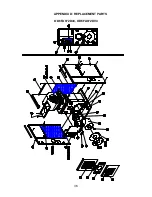
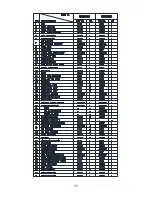
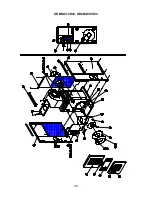
Page 37: ...36 APPENDIX D REPLACEMENT PARTS OD6FA072D48 OD6FA072DV4...
Page 38: ...37...
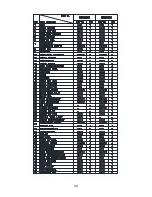
Page 39: ...38 OD6RA072D48 OD6RA072DV4...
Page 40: ...39...
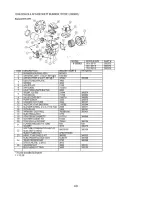
Page 41: ...40...
Page 42: ...41...
Page 43: ...42...


