PROVIDENCE INSERT
PELLET STOVE
16
D.
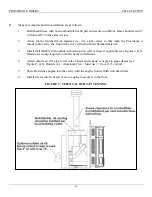
Steps for complete built-in installation are as follows:
1.
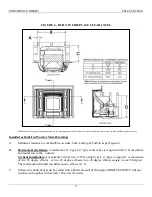
Build hearth base with non-combustible hearth pad and secure to subfloor. Base should exten
t 6”
in front and
6”
to the sides of stove.
2.
Allow for the finished front material (i.e., tile, stone, slate) so that when the Providence is
inserted into cavity, the front of the stove is flush with the finished material.
3.
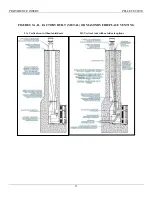
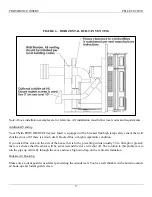
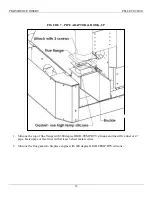
Install wall thimble with outside air hook-up into wall or chase if applicable (see Figures 5 & 6).
Outside air is only required on mobile home installations.
4.
Attach outside air flex pipe to left side of insert and exhaust vent pipe to pipe adaptor (see
Figures 5 & 6). Outside Air
–
Aluminum Flex
– Must use 3” if over 10’ vertical
.
5.
Slide Providence engine into the cavity until the engine front is flush with hearth face.
6.
Install screws into front feet of stove engine to secure it to the floor.
FIGURE 5
–
VERTICAL BUILT-IN VENTING
Summary of Contents for providence
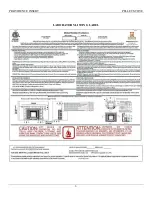
Page 6: ...PROVIDENCE INSERT PELLET STOVE 6 LABORATORY LISTING LABEL...
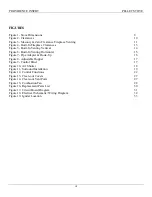
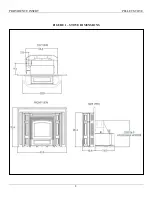
Page 8: ...PROVIDENCE INSERT PELLET STOVE 8 FIGURE 1 STOVE DIMENSIONS...
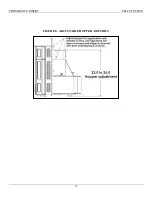
Page 19: ...PROVIDENCE INSERT PELLET STOVE 19 FIGURE 8 ADJUSTABLE HOPPER ASSEMBLY...
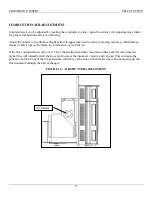
Page 20: ...PROVIDENCE INSERT PELLET STOVE 20 FIGURE 9 CONTROL PANEL...
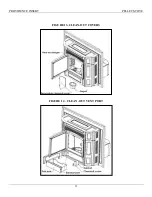
Page 31: ...PROVIDENCE INSERT PELLET STOVE 31 FIGURE 13 CLEAN OUT COVERS FIGURE 14 CLEAN OUT VENT PORT...
Page 32: ...PROVIDENCE INSERT PELLET STOVE 32 FIGURE 15 COMBUSTION FAN...
Page 37: ...PROVIDENCE INSERT PELLET STOVE 37 FIGURE 18 ELECTRICAL SCHEMATIC WIRING DIAGRAM...
Page 40: ...PROVIDENCE INSERT PELLET STOVE THELIN HEARTH PRODUCTS 63 Laxalt Dr Carson City NV 89706...
Page 41: ......


