


Recalling, storing and deleting settings
34
DB6 Single / Multi / AES – Firmware version 1.30
– Select the “Store” page.
– Select the subpage for the setting type you
want to store:
– Scene – to store all settings (including Rout-
ing and all algorithm settings) as a Scene.
– Route – to store the current Routing.
– E(ngine) 1 or E(ngine) 2 – to store the set-
tings of either Engine 1 or 2 as an Engine
preset.
– M(eter) 1 or M(eter) 2 – to store the settings
of either Loudness Meter 1 or 2 as a Meter
preset.
– Select a User preset group.
There are 8 User preset groups, with each
group holding up to 8 presets.
– Select a preset slot in the currently selected
group that you want to use.
– Click the large “Store
(Scene / Route / Engine
Meter)
Preset” button to store (save) your set-
tings as a preset.
The selected data type will be stored as a pre-
set. You can then recall this preset – see “Li-
brary – Recall page” on page 33.
Naming Presets
All user preset types can be (re)named.
To rename a preset:
– On the Store page, select the preset that you
want to rename.
– Click the “Name” button.
– An on-screen keyboard will be shown.
– Use the on-screen keys or the physical key-
board of your computer to edit the name.
– Click the large Enter button to confirm the new
name.
! Please note that the preset itself is
not
stored
when you click the Enter button! To store
the preset with its new name, click the large
“Store
(Scene / Route / Engine Meter)
Preset”
button.
Adding Preset Information
You can add information to presets you have
created or modified. When recalling such a pre-
set later, an inverted “Info” tag will appear at the
bottom of the large Preset Recall button, allow-
ing the user to access this additional information
– see “Preset information” on page 33.
To add information to a preset:
– On the Store page, select the preset that you
want to add information to.
– Click the “Info” button.
– An on-screen keyboard will be shown.
– Use the on-screen keys or the physical key-
board of your computer to edit the name.
– Click Enter to confirm.
! Please note that the preset itself is
not
stored
when you click the Enter button! To store the
preset with the newly added information, click
the large “Store
(Scene / Route / Engine Meter)
Preset” button.
Operating the unit while renaming presets
Please note that even when renaming presets
or adding information as described above, the
faders for the previously accessed page are still
available and operational. This means you can
continue operating the faders even when the
keyboard is shown on screen.
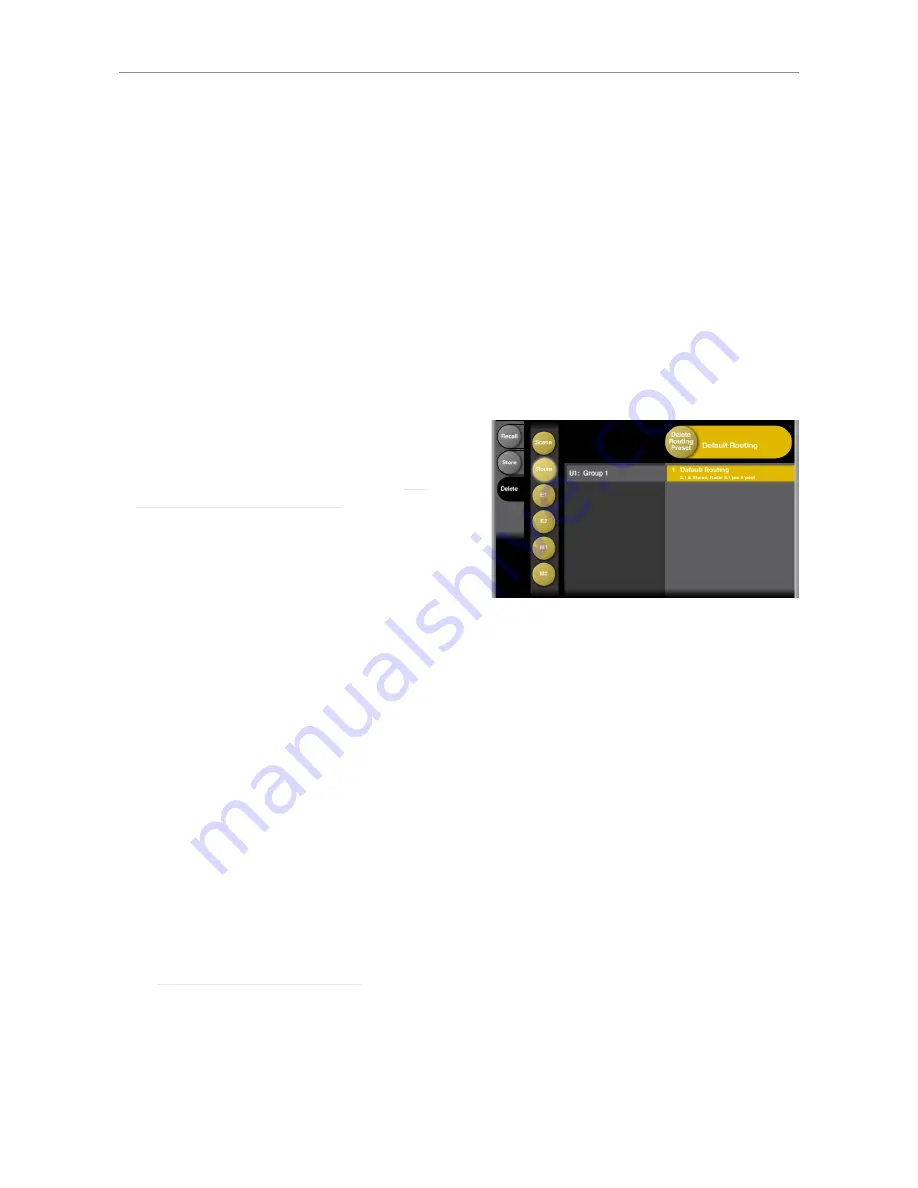
Library – Delete page
Library – Delete page
Use the Library Delete page of the TC Icon soft-
ware to delete settings from a memory bank. You
can only delete User presets. Factory presets
cannot be deleted.
Please note that all colored buttons and selected
items on the Delete page are colored in yellow.
To access the Library Delete page:
– Select the “Library” tab.
– Select the “Delete” page.
– Select the subpage for the setting type you
want to delete:
– Scene
– Route
– E(ngine) 1 or E(ngine) 2
– M(eter) 1 or M(eter) 2
– Select a User preset group.
There are 8 User preset groups, with each
group holding up to 8 presets.
– Select a preset in the currently selected group
that you want to delete.
– Click the large “Delete
(Scene / Route / Engine
Meter)
Preset” button to delete the selected
preset.
Summary of Contents for DB6
Page 2: ......
Page 4: ......
Page 41: ...Updating DB6 firmware English Manual 2014 03 05 37...
Page 73: ...Technical specifications English Manual 2014 03 05 69...
Page 74: ...Technical specifications 70 DB6 Single Multi AES Firmware version 1 30...
Page 75: ...Technical specifications English Manual 2014 03 05 71...
Page 76: ...Technical specifications 72 DB6 Single Multi AES Firmware version 1 30 Item No E60537014...


