


18
TASCAM SS-R1/SS-R05
Turning the power on
Press the
POWER
switch to turn the power on.
The SS-R1/SS-R05 will start up, and the startup screen
will appear (The example screen is from an SS-R1 unit.).
If no CompactFlash card is inserted, the display will
indicate
NO MEDIA
.
If a CompactFlash card is inserted, the display will
indicate
MEDIA READING
, and the card will be read.
When reading is completed, the home screen will appear.
To turn the power off:
No special shutdown operation is required. Simply
press the
POWER
switch to turn the power off.
CAUTION
Do not turn the power off while the CF indicator is blink-
ing (indicating that data is being written).
Setting the date and time
Here’s how to set the date and time of the internal clock.
When you record, the date and time are recorded in the
audio file.
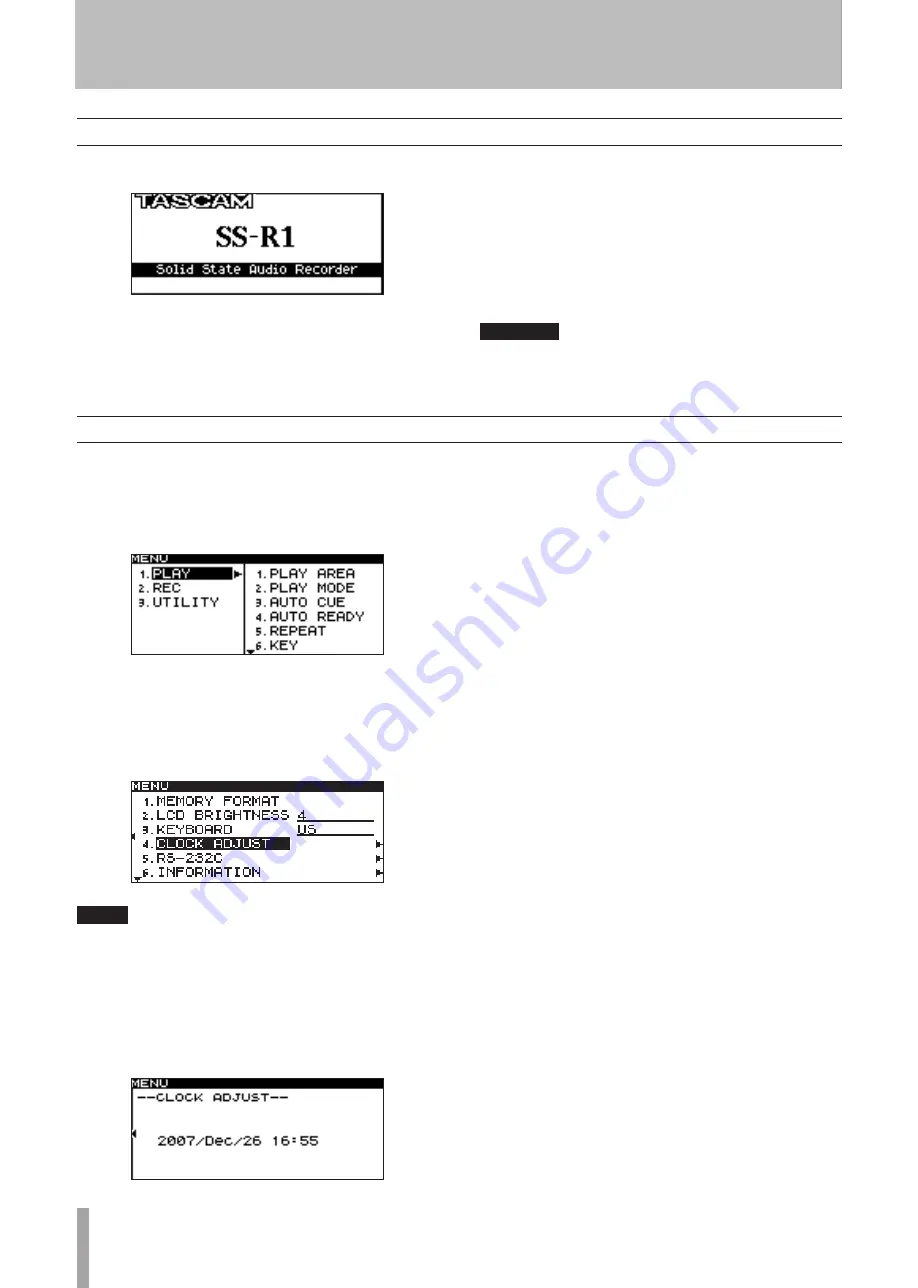
1 Press the
MENU
key to access the menu list screen.
2 Turn the front panel
MULTI JOG
dial (or use the
remote’s cursor
§
,
¶
keys) to highlight the
UTILITY item, and press the
MULTI JOG
dial (or the
remote’s
ENTER
key).
The UTILITY menu selection screen will appear.
NOTE
This is an example of a screen from an SS-R1 unit. The
SS-R05 menu does not show the “5. RS-232C item.”
3 Turn the front panel
MULTI JOG
dial (or use the
remote’s cursor
§
,
¶
keys) to highlight the CLOCK
ADJUST item, and press the front panel
˚
key (or
the remote’s cursor
¥
key).
The clock setting screen will appear.
4 Press the front panel
MULTI JOG
dial (or the
remote’s
ENTER
key).
07
will be highlighted.
5 Set the date and time as follows.
• Use the front panel
∆
,
˚
keys (or the remote’s
cursor
˙
,
¥
keys) to move the highlighted area to edit.
• Turn the front panel
MULTI JOG
dial (or use the
remote’s cursor
§
,
¶
keys) to change the value
highlighted.
6 When you’ve finished making settings, press the
front panel
MULTI JOG
dial (or the remote’s
ENTER
key) to finalize the date and time settings.
4 − Preparations


