INS
TALLA
TION
30
On-Demand Water Heater Installation Manual and Owner’s Guide
INSTALLATION
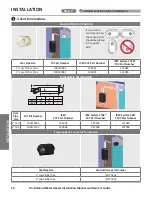
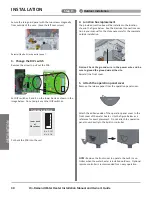
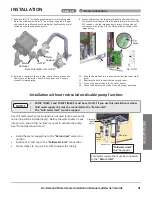
4. Junction box replacement
The provided junction box will be installed in the location
show in the figure below. See the Electrical Connections sec-
tion in your manual for the steps necessary for the complete
outside installation.
Notice: Check the ground wire in the power wire and be
sure to ground the ground wire at the site.
Reinstall the front cover.
5. Attach the operation panel cover
Remove the release paper from the operation panel cover.
Attach the adhesive side of the operation panel cover to the
front cover of the water heater. Use the figure below as a
reference for exact placement. Do not attach the operation
panel cover directly to the built-in controller.
NOTE:
Remove the front cover to operate the built-in con-
troller when the water heater is installed outdoors. Optional
remote controller is recommended for an easy operation.
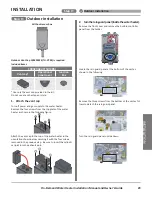
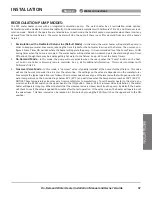
Secure the rain guard panel with the two screws diagonally
from outside of the case. (Save the left over screw.)
Reinstall the built-in controller panel
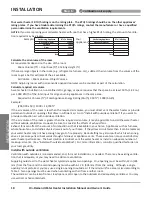
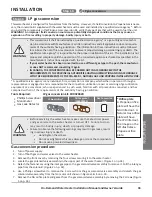
3. Change the DIP switch
Remove the screw to pull out the PCB.
Set DIP switches 3 and 4 on the lower bank as shown in the
image below. Do not adjust any other DIP switches.
Outdoor installation
Lower bank
of
DIP switches
1
2
3
4
5
6
7
8
ON
No. 3: OFF
No. 4: ON
Put back the PCB into the unit.
Step 9:
Outdoor installation
Summary of Contents for 160X3P
Page 84: ...7J8071 1 2000570774 REV B...


