Basic operation
4-9
1
2
3
4
5
6
7
8
9
10
11
12
13
14
15
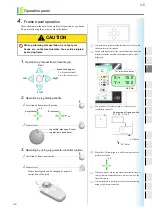
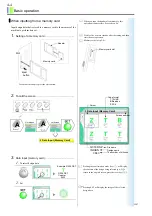
4.
Auto stitch type selection
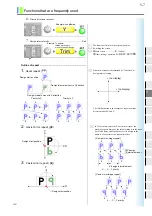
Set color change order according to design to embroider.
1.
To call the screen......................................................
2.
To set ........................................................................
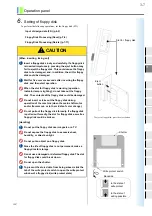
Step 1
1.
Looper number
Setting range: a to f
Step 1
Color scheme will switch in every looper.
2.
Stitch type
Setting range: C (chain stitch), L (loop stitch)
3.
Needle height
Setting range: 0 to 9
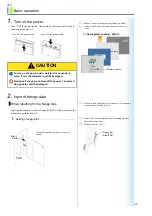
Step 2 ....................................................................................
4.
Looper number
The design of which data is set is the target.
Auto Color Change (AC)/Auto Start (AS)To perform
automatic color change and to start the machine
automatically at embroidering, set “YES” to Auto Color
Change (AC) / Auto Start (AS) (p.4-8).
The number of color change steps in design of which data is
set will be displayed (6 steps in this example).
1
2
1
a
C 0
Looper number
Color scheme
L (loop), C (chain)
Needle height
CM head
1
2
3
4
5
6
1
2
1
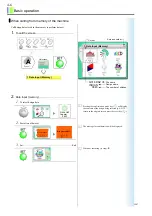
List screen
B
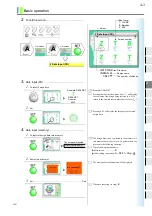
2 Auto Stitch Type Selection
Press ?
List screen
B
or
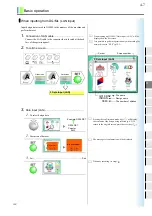
An example of selection
B
*
1
b
C 0
**
*
1
2
1
2
B
1
b
L
0
* **
*
An example of selection
B
1
b
L
5
An example of selection
* **
*
An example of selection
B
3
d
L 5
* **
*
* **
*
* **
*
JZ07
Summary of Contents for TCMX 601
Page 1: ...USER S MANUAL TCMX 601 M XL01 E 2006 07 TCMX 601 ...
Page 18: ...Name of each part and function 2 7 1 2 3 4 5 6 7 8 9 10 11 12 13 14 15 ...
Page 19: ...2 8 Name of each part and function ...
Page 41: ...4 14 Basic operation ...
Page 65: ...6 8 Convenient functions ...
Page 105: ...11 12 Software installation and necessary ...
Page 119: ...14 6 Maintenance ...
Page 129: ...15 10 Supplemental documentation ...


