Note:
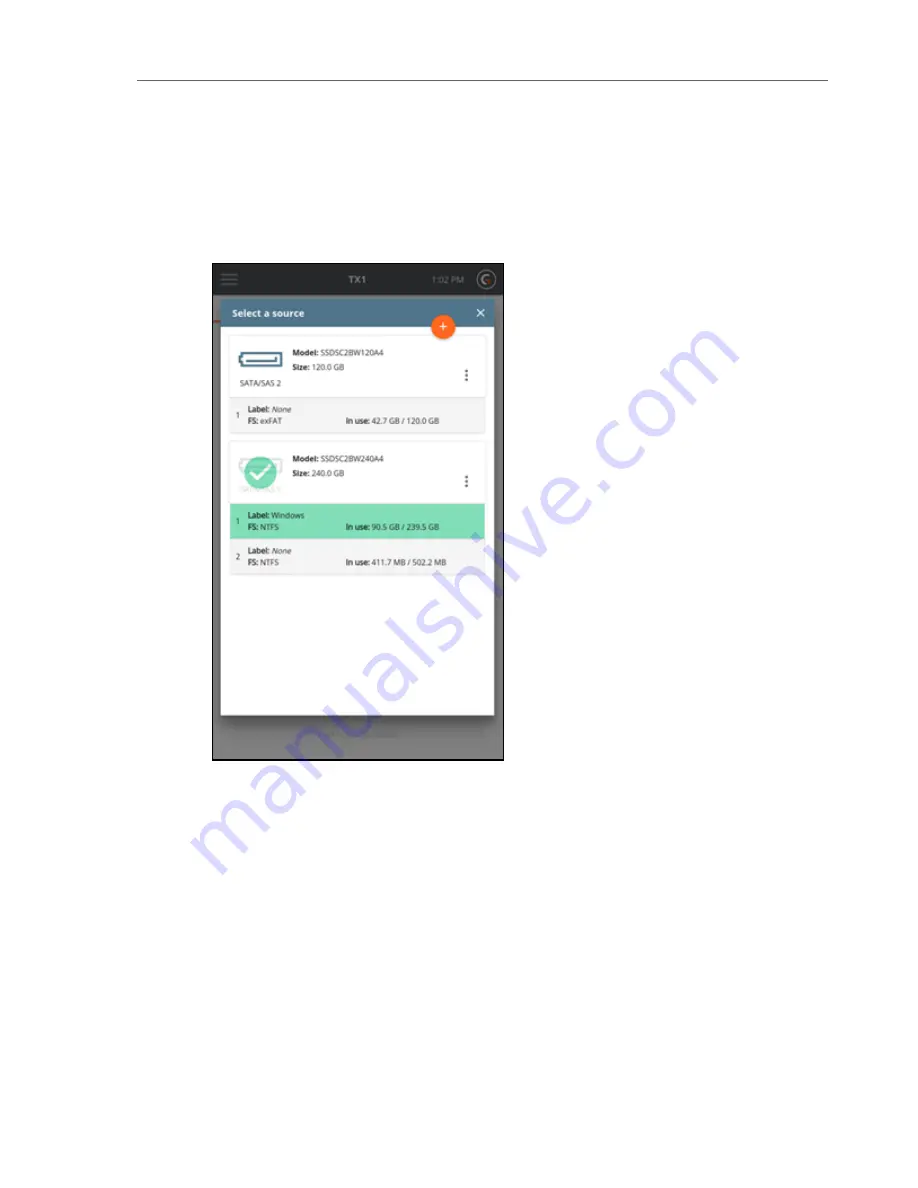
Within any screen displaying a list of drives, you can tap the options icon
(three vertical dots) located on the right side of the drive tile to see more drive detail
and access any available media utilities.
Note:
Unlike a physical Duplication job, the option of Shelving a source drive DCO
(removing it and then re-applying it at the end of the job) does not exist in logical
imaging. The existence of a DCO will be obvious (per warnings in multiple
locations), but the DCO will need to be permanently removed using the manual
HPA/DCO Disable media utility before gaining access to all portions of the source
media.
5. The next step is to determine which files and folders should be acquired. Start this pro-
cess by tapping on the
3
or
Files to Acquire
heading in the job setup stepper (resulting in
the screen shown below). The default setting is to acquire all files and folders. Use the
default setting if your job does not benefit from targeted down-selection of source files/-
folders, and skip to the Destination(s) selection step below.
CHAPTER 4 Using the TX1
61
Summary of Contents for TX1
Page 1: ...USER GUIDE Tableau TX1 Version 2 0...
Page 6: ...vi...
Page 22: ...22 Tableau TX1 User Guide Version 2 0...
Page 32: ...32 Tableau TX1 User Guide Version 2 0...
Page 56: ...3 Tap the Start Hash button at the bottom of the screen 56 Tableau TX1 User Guide Version 2 0...
Page 98: ...98 Tableau TX1 User Guide Version 2 0...
Page 108: ...108 Tableau TX1 User Guide Version 2 0...
Page 110: ...110 Tableau TX1 User Guide Version 2 0...
Page 116: ...116 Tableau TX1 User Guide Version 2 0...


