8
Click for contents
Live View Icons & Controls
Menu Bar
1.
Click this to open the Main Menu.
2.
Lock your NVR to prevent access to the Main
Menu when “Menu Timeouts” is turned off.
3.
Four camera view.
4.
Nine camera view (this will display eight
cameras on the 8 channel model).
5.
Click this to select from one of the mul-
ti-screen viewing modes available.
6.
Click this to change from Mainstream to Sub-
stream when viewing the cameras in Live View
mode. Click again to change to Mainstream.
7.
Click this to change the bitrate and frame rate
when viewing the cameras in Live View mode.
There are three profiles available - Real-time
(high bitrate/high frame rate), Balanced (a
balance between Real-time and Smooth), and
Smooth (high frame rate/low bitrate).
8.
Click this to repeatedly cycle through each
channel full screen. Each channel will be dis-
played for five seconds.
9.
Click this to change the volume or mute the
audio (click the speaker icon to mute).
10.
Click this to access the Search menu.
11.
Click this to access the Startup Wizard.
Please note:
The 16 channel model will
have additional camera views available
(twelve camera and sixteen camera views).
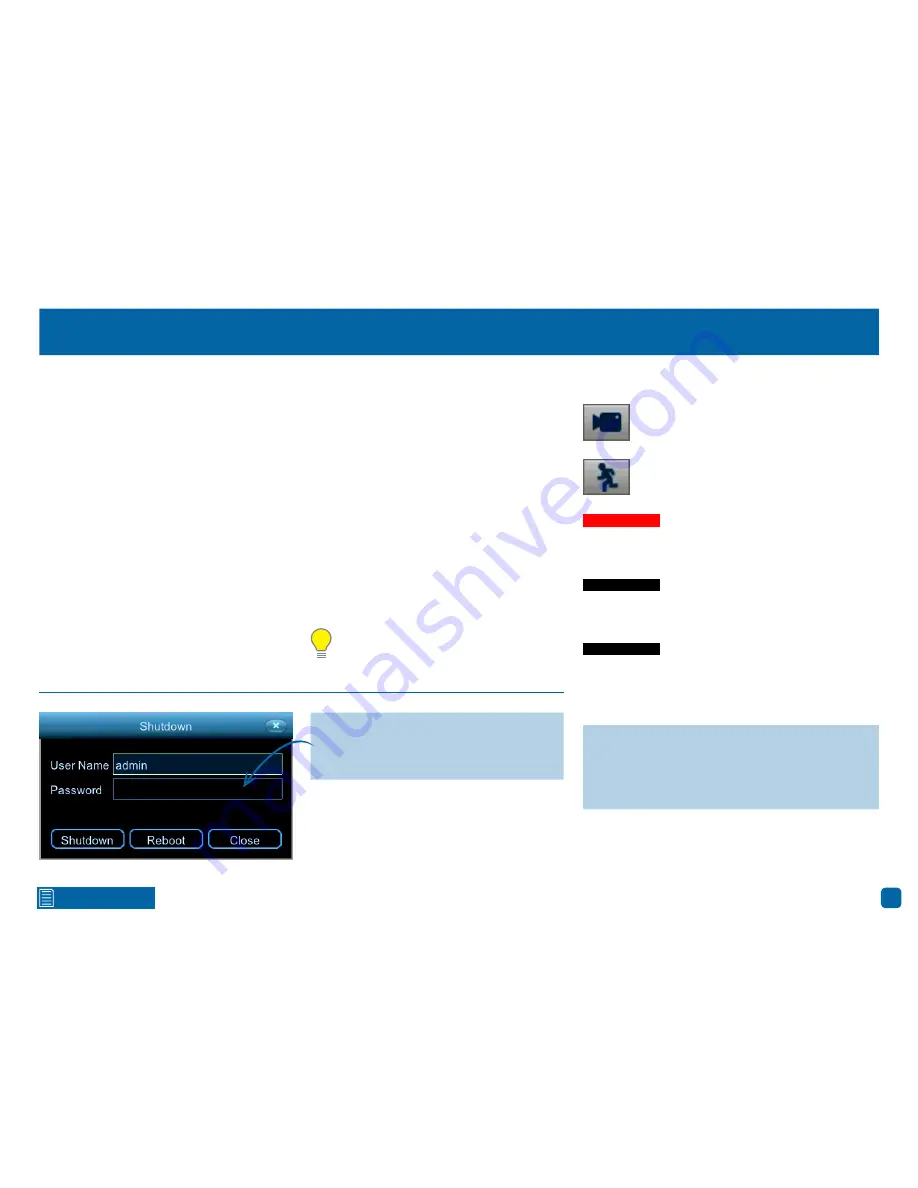
To ensure the integrity of your recordings,
enter your password and click “Shutdown”
when powering off your NVR.
Status Icons
This icon indicates that the camera is being
recorded (either manually or by motion).
This icon indicates that your NVR is detect-
ing motion from the camera.
This message indicates that the
camera has not been configured for
that camera input or the camera input
has lost the feed from its camera.
This message indicates that your NVR
does not have a hard drive or it fails to
detect the drive that is installed.
NO HDD
VIDEO LOSS
Camera/Group:
When viewing a single camera or
a group of cameras, move the mouse to the far left
or right to reveal the camera/group button. You can
cycle through each camera or group of cameras.
This message indicates that your
NVR cannot verify the camera that is
connected to that camera input.
Off-line


