


62
Click for contents
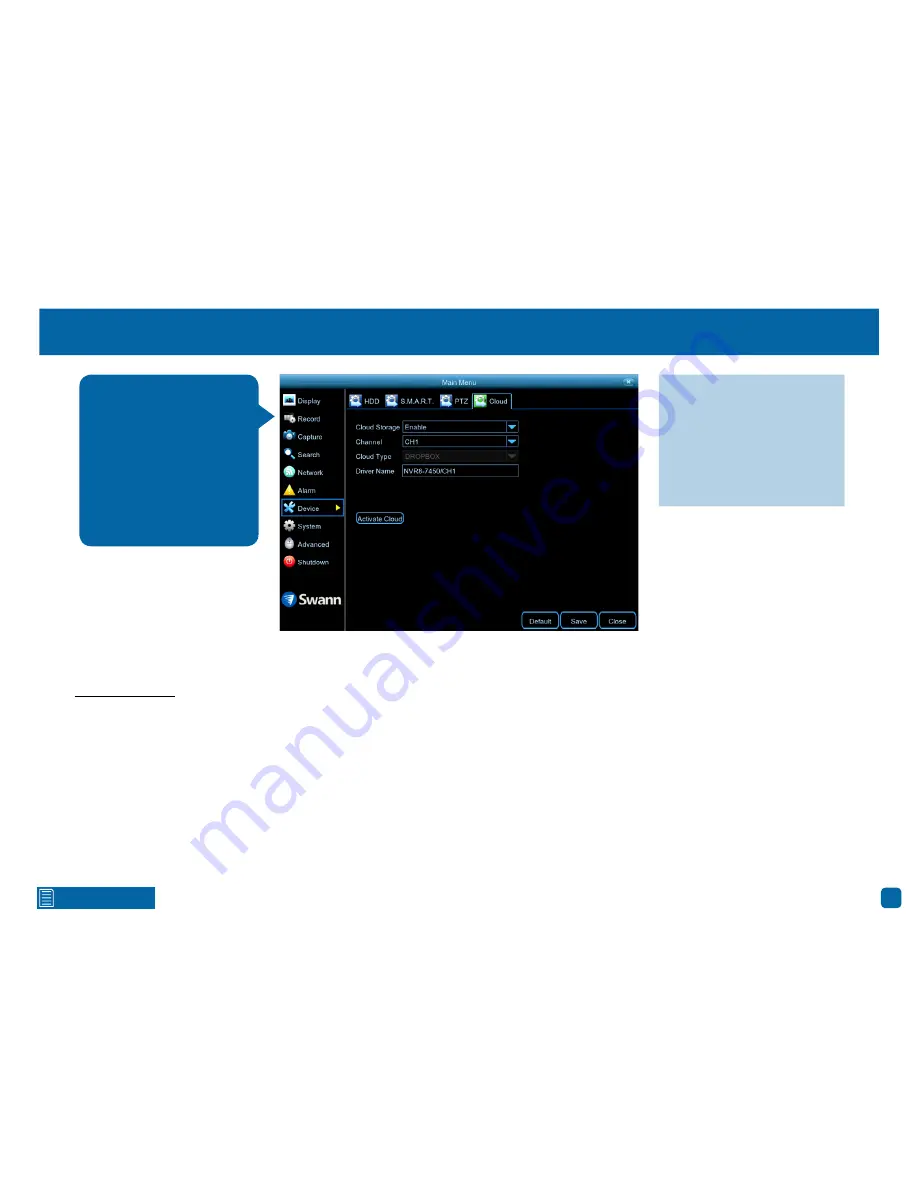
Device: Cloud
Before activating the cloud function, we recommend that you create a Drop-
box account using the same email address and password used for your NVR.
Go to www.dropbox.com, input your name, email address and password,
agree to the terms & conditions then click the sign up button.
Cloud Storage:
Click the drop down menu to enable.
Channel:
Select a camera that you would like to enable for cloud storage.
Activate Cloud:
Click this to activate then click “OK” to confirm.
After a short moment, you will see a message on-screen. An activation link
has been sent to your email (the email address used to receive email alerts).
Check your email then click the link to activate. You will be taken to the Drop-
box website. Click “Allow” to finalise the activation. Repeat these steps if you
would like to enable cloud storage for the other cameras available.
With the cloud function enabled, you need to instruct your NVR to send alerts
to the cloud:
1.
In the Main Menu, click “Alarm”.
2.
Click the drop down menu to select the camera that you enabled for cloud
storage.
3.
Click the “Send to Cloud” checkbox then click “Save”.
Use the “Copy” function to apply cloud alerts to the other cameras available.
When browsing your files in Dropbox, you will see a “NVR4-7450” or “NVR8-
7450” folder. Click this then click the folder for the camera that you enabled
for cloud storage. Your snapshots will be saved here. Click a snapshot to dis-
play.
When the “Capture” function
has been enabled, your NVR
has the ability to copy snap-
shots to the cloud via Drop-
box. Dropbox is a free service
that allows you to easily store
and share snapshots and
always have them on hand
when you need them.
·
Don’t forget to click “Save”
to apply settings.
·
Click the “Default” button to
revert back to default settings.
·
Click the “Close” button to
exit the Main Menu.


