background image


Rev. 2.4 

- 1 - 

© 2014 Suzo-Happ Group 


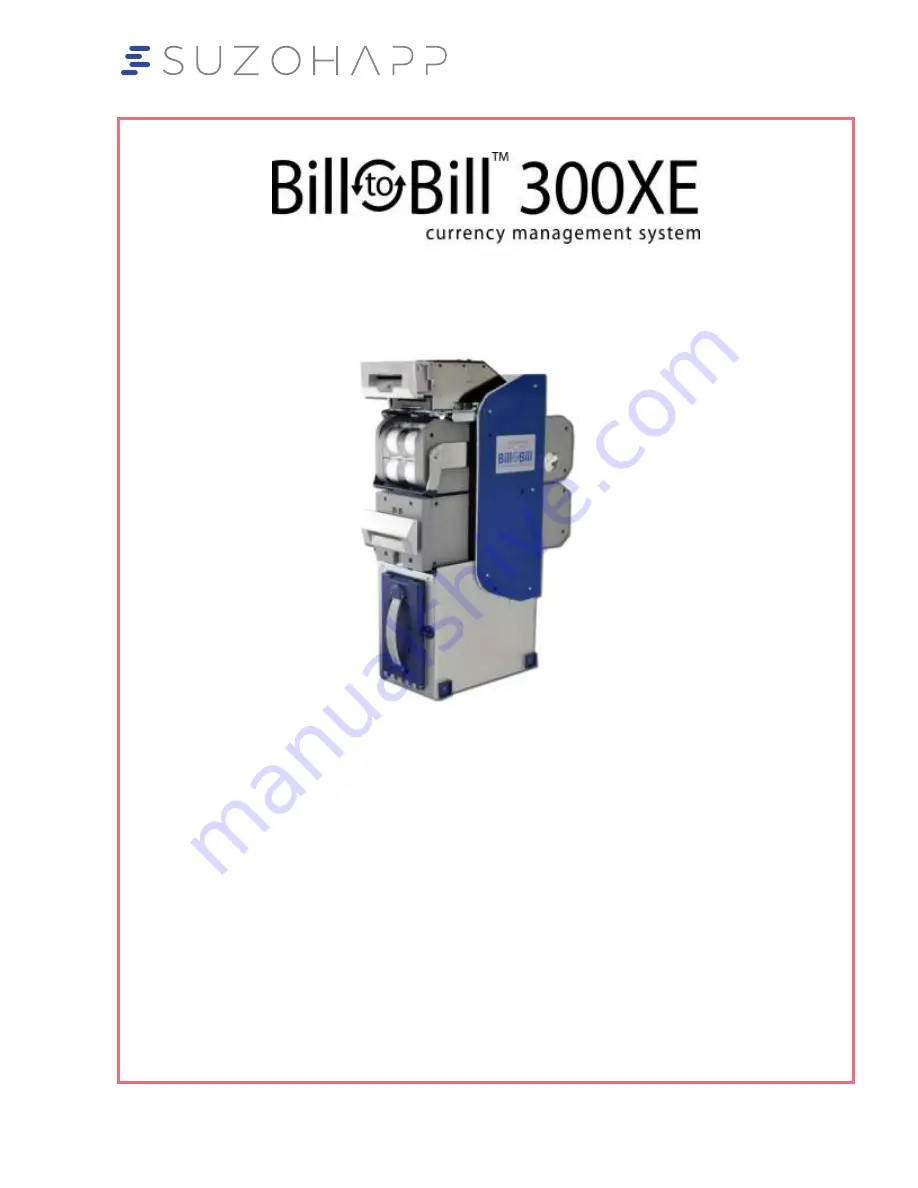
Serviceability Manual 


The information contained here-in is the property of Suzo-Happ Group and is not to be disclosed or used 
without the prior written permission of Suzo-Happ Group.  This copyright extends to all the media in which 
this information may be preserved including electronic, printout or visual display. 

Under no circumstances any part of this publication may be copied, transmitted, transcribed or distributed 
in any form or by any means, or stored in a database or retrieval system, or translated into any language 
(natural or computer) without the prior written permission of Suzo-Happ Group. 

Suzo-Happ Group reserves the right to change the product specifications at any time. Also, Suzo-Happ 
Group disclaims any liability for any direct or indirect losses arising out of use or reliance on this 
information. This information is for guidance only.


Summary of Contents for Bill to Bill 300XE

Page 1: ...lay Under no circumstances any part of this publication may be copied transmitted transcribed or distributed in any form or by any means or stored in a database or retrieval system or translated into...

Page 2: ...er s warranty The unit displayed in this manual may vary from the unit being serviced due to different available configurations The main modules however are the same A side note pertaining to the part...

Page 3: ...Compartment 11 4 1 3 Bezel Maintenance 12 4 2 Chassis BBC 0110 14 4 3 Recycling Cassettes BBR 011X 17 4 4 Path Switch BBS 0110 19 4 5 Dispenser BBD XXXX 23 5 LEVEL 2 MAINTENANCE 26 5 1 Bill Validator...

Page 4: ...6 6 Cashbox FLSCXXXXX 60 6 7 Box Control Unit 60 6 8 B2B Power Interface BBP 571X 60 6 9 Final Money Test 60 7 MAINTENANCE CHART 61 8 SPARE PARTS LIST 62 9 CONTACT INFORMATION 63 9 1 Technical Suppor...

Page 5: ...es the same three criteria These criteria are as follows a Reliability This includes such parameters as Mean Cycle Before Jam MCBJ and Mean Cycle Before Failure MCBF b Availability The percent of the...

Page 6: ...n to tropical and desert climates It can operate in a wide range of humidity levels and dusty air conditions However in order to ensure that the Bill to Bill 300XE unit continues to function properly...

Page 7: ...e level includes dust and debris that has been mixed with oily residue and requires additional effort in order to remove it from the surface this can be seen mainly on rollers which place the dirt und...

Page 8: ...Maintenance Chart in section 7 Level Location Responsibility Service Time per unit 1 On Site Operator 7 10min The tools required for this level are 1 Can of compressed air found in local office supply...

Page 9: ...nual To enable the cleaning mode via switch No 8 you may follow these steps 1 Unplug the power form the unit 2 Remove the validating head from the housing 3 Slide switch No 8 to the OFF position as fo...

Page 10: ...e upper compartment the motion is being restricted by a latch on the right side of the validator head in a position where the front is facing the operator The latch should be pressed inwards to allow...

Page 11: ...LCD cleaner directly on the unit Spray on the micro fiber cloth only Do not over saturate the micro fiber cloth with LCD cleaner apply sparingly Bottom section of Upper compartment Top section of Uppe...

Page 12: ...pt If any such excessive damage is found such as dent or scratches in the bill entrance or perimeter areas please contact our technical support department Additionally spray the compressed air can aro...

Page 13: ...Suzo Happ Group Bill to Bill 300XE Spray the can of compressed air in all the cavities on the two bezels and ensure the dust is sprayed outwards away from the unit as shown below Validating Head Bezel...

Page 14: ...rst remove the chassis out of the Bill to Bill unit by pressing the two blue buttons inwards and pulling the handlebar out Next remove the recycling cassettes and dispenser by pressing the release but...

Page 15: ...Rev 2 4 15 2014 Suzo Happ Group Bill to Bill 300XE Open the chassis to reveal the bill path by pressing down the two latch buttons at the top face...

Page 16: ...ts of bill position sensors distributed along the bill path The sensors on one half can be distinguished by their clear rectangular appearance and the sensors on the other half are clear circular lens...

Page 17: ...rs on the two halves of the chassis Extra care should be taken when cleaning the area under the belts since this area is prone to dust accumulation 4 3 Recycling Cassettes BBR 011X After the recycling...

Page 18: ...reveals two sets of sensors one at the edge of the cover and the other at the edge of the recycling cassette The sensors on the cassettes can be cleaned using a cotton swab without opening the cover...

Page 19: ...n remove the path switch from the chassis by disconnecting the two bearings holding it in place and turning them until the bearing snap piece is pointing away from the chassis In some cases the switch...

Page 20: ...e dust from wearing the surface of the teeth on the gears and that of the index disk Finally find the location sensor on the index disk and clean it using a new cotton swab Do no clean the gears using...

Page 21: ...h the gears on the switch to the side with the gears on the chassis The groove on the bearings should be placed onto the body of the chassis Ensure the switch itself is inserted into the chassis by th...

Page 22: ...Happ Group Bill to Bill 300XE After the switch has been inspected to sit tightly inside the chassis with no gaps the switch can be secured by rotating the bearing snaps 90 degrees on both sides towar...

Page 23: ...ree sets of sensors in the dispenser that must be taken care of The first two can be found by carefully opening the top cover They are located at the bottom floor of the dispenser These sensors must b...

Page 24: ...mpressed air to spray around the sensors and spray any loose debris out of the dispenser Ensure the dispenser cover is opened to allow excess debris be evacuated Additionally special care should be ta...

Page 25: ...Rev 2 4 25 2014 Suzo Happ Group Bill to Bill 300XE...

Page 26: ...e there are no broken and or damaged parts and no broken wires due to the mishandling of the unit or possible vandalism attempts More specific items that should be watched out for are included under e...

Page 27: ...0 units 5101157 Bracket 1 Dispenser Cam 5110049 01 Cam 1 Dispenser Housing Cam 0200111 Guide Assembly 2 Chassis Guide Assembly Optional Recommended consumable parts for this level Part Number Name Qua...

Page 28: ...eps to clean and further inspect both the upper and lower compartments of the bill validator All sensor sets should be first cleaned according to Level 1 however as they are being cleaned ensure that...

Page 29: ...oth sparingly and wipe the o rings For best result move the cloth in a direction perpendicular to that of the direction of rotation turn the wheel and repeat Do not spray LCD cleaner directly on the u...

Page 30: ...ed Press on each of the 12 rollers to ensure the resistance felt in all rollers is approximately the same The middle rollers in both the top and bottom half of the chassis should be paid closer attent...

Page 31: ...microfiber cloth instead The belt can be rotated manually to gain access to the other side of the bet for cleaning Also inspect all the connectors on the chassis and ensure the connectors are neither...

Page 32: ...Some resistance should be felt Then by quickly removing the object or ones finger one should observe a spring back effect of the tape it should not remain loose If cuts or tears are found on the tape...

Page 33: ...astic push rivet securing the PCB and using a cotton swab clean the two white light sensors and their respective lenses Turning around the PCB board would reveal two additional sensors which must be c...

Page 34: ...depressing it and then releasing it The lock should snap back into its original position If any damage is found or if the lock remains depressed contact a technician for further instructions as the sw...

Page 35: ...slide it sideways back and forth to properly clean the belts Repeat the above steps for all 5 slits Next using the compressed air can blow through each of the 10 slits for several seconds while movin...

Page 36: ...teps as in Level 1 maintenance Next while the dispenser is outside the chassis and the cover is opened three belts can be seen connected to the cover Each belt passes through two geared pulleys and be...

Page 37: ...latch on each bearing should be moved away from the body of the dispenser and turned to point upwards Then the cover is lifter up and removed from the dispenser Use of excessive force will permanentl...

Page 38: ...rum has two light guides embedded in its body one on each side Turn the drum around to find each of the light guides and clean it using a cotton swab Using a can of compressed air spray the drum and r...

Page 39: ...Bill 300XE Finally using a can of compressed air clear the inside of the dispenser from any dust ensure this is done diligently since the dispenser is prone to more dust accumulation than most other...

Page 40: ...pulling the handle of the cashbox outwards First inspect the box for any dents and other possible damage and contact a technician if serious damage is found Open the cashbox compartment to reveal the...

Page 41: ...ve accumulated at the back of the cashbox along the tracks of the bill stacking mechanism to ensure the cashbox reaches its maximum bill capacity Additionally turning the cashbox around reveals the st...

Page 42: ...Bill to Bill 300XE Additionally inspect the housing of the cashbox Visually verify that the cable harness does not have damaged wires the red security switch springs back when it is pressed and none o...

Page 43: ...laced in inside in the Bill to Bill 300XE housing should be thoroughly sprayed Ensure there is no dust accumulation occurring anywhere on the bottom of the cashbox Closer attention should be paid to t...

Page 44: ...300XE 5 7 Box Control Unit The box control unit is the module connecting and controlling the Bill to Bill 300XE housing to the cashbox It can be removed from the Bill to Bill 300XE unit by pressing th...

Page 45: ...moved check to ensure that the main connector does not have too much play about it and none of the teeth on the motor gear are chipped or broken Turn the module around and verify the main latch is not...

Page 46: ...nd that all the pins are straight to ensure proper communication between the housing and the cashbox After the inspection has been performed using a can of compressed air spray the motor area the conn...

Page 47: ...erform all steps in this level in a sterile and anti static environment as outlined in the Suzo Happ Group Maintenance Guidelines document Additionally all torque values applied when re assembling the...

Page 48: ...y in validating head Coated lower compartment 5101157 Bracket 1 Dispenser Cam 5110049 01 Cam 1 Dispenser Housing Cam 0200111 Guide Assembly 2 Roller Guide Assembly in Chassis 8215004 Chassis Belt 4 Ch...

Page 49: ...mber Name Quantity Notes 0300052 02 Shutter Motor 2 Dispenser drive and shutter Motors 0100325 Power Interface 1 Chassis Power Interface 8102003 Plastic Push Rivets 25 8203960 Retaining Ring 2 3 10 82...

Page 50: ...ensure a high acceptance rate When extracting the lower Sense A Click module in order to avoid damage the use of the Sense A Click extraction tool is mandatory OPT HW FT01 First insert the extractor...

Page 51: ...this step The o rings outlined below must be replaced Upper compartment Lower Compartment As the o rings are being replaced ensure the aligning mechanism worm gears are not damaged and clean them usi...

Page 52: ...ab to clean the sensors Next replace the 4 o rings and 4 rollers in the lower compartment similarly to the way it was done in the upper compartment The maintenance done on the rest of the components i...

Page 53: ...port of the bill This step requires an intermediate level of disassembly in order to perform the replacement The roller and belt assemblies in unit above are secured using screws older models however...

Page 54: ...connectors for the dispenser and recycling cassettes are loose or damaged due to misuse and repetitive insertion cycles Finally for the rest of the components perform the same maintenance steps as in...

Page 55: ...uired Inside each cassette two white parallel tapes are found Using a soft blunt object or ones finger pad press down each tape in a location where no wheels or drums are present press it up to 1 down...

Page 56: ...nsors have to be cleaned using a cotton swab and then sprayed with compressed air to remove leftover loose dirt Ensure the air is sprayed outward to prevent dirt from being blown into the recycling ca...

Page 57: ...the interface connectors are intact on all recycling cassettes and do not show excessive signs of wear If any damage is detected replace the connected along with the connector wire 0500109 by removin...

Page 58: ...d level 3 maintenance or 540 000 bills as it will be discussed below The disassembly begins by removing the two side covers being held by 4 screws on each side and then turning the two bearings holdin...

Page 59: ...l 300XE Then lifting up the cover will reveal all sensors and belts Optional Turning the dispenser over would reveal the shutter and drive motors It is recommended to replace these motors during Level...

Page 60: ...nsure that the connector is not loose and has no play about its location Also ensure the pins inside each of the 10 slots on the connector are straight If any damage is detected the power interface mu...

Page 61: ...an country or region please contact your closest service center to verify which of the aforementioned groups would be best suited for your project This would help determine whether any modifications t...

Page 62: ...0 60 8 Spare Parts List List of spare parts for levels 1 2 and 3 can be found in their respective sections in this document For additional spare parts which might require replacement please contact yo...

Page 63: ...zohapp com 9 2 Training Level 2 maintenance is performed by trained and certified field technicians For training and certification please contact the distributor or service center Level 3 maintenance...

Page 64: ...to Bill bill to bill suzohapp com Europe Suzo International NL BV Antonie van Leeuwenhoekstraat 9 3261 LT Oud Beijerland The Netherlands T 31 186 64 33 33 F 31 186 64 33 33 http www suzohapp nl custo...

Page 65: ...Chile CL FLS 1705 FLS 1707 China CN FLS 1705 FLS 1707 Colombia CO FLS 1704 FLS 1706 Costa Rica CR FLS 1705 FLS 1707 Czech Rep CZ FLS 1704 FLS 1706 Dominican Republic DO FLS 1704 FLS 1706 European Unio...

Page 66: ...5 FLS 1707 Russia RU FLS 1704 FLS 1706 Singapore SG FLS 1705 FLS 1707 South Africa ZA FLS 1704 FLS 1706 Sweden SE FLS 1705 FLS 1707 Switzerland CH FLS 1704 FLS 1706 Taiwan TW FLS 1705 FLS 1707 Tajikis...

Page 67: ...l Number _____________________ Example 14KA19VH0902 How long have product been used 0 to 6 month 31 to 48 Months 7 to 30 Months More than 48 Months Problem information Specify location see diagram on...

Page 68: ..._______ Anny additional comments or feedback _____________________________________________________________________ _____________________________________________________________________ _______________...

Reviews: