Authentication Configuration
ïê
NOTE
You can configure a schedule with BioStar 2. You can select
Never
or
Always
if there is no configured schedule.
For more information on configuring schedules, see the BioStar 2 Administrator Guide.
ID
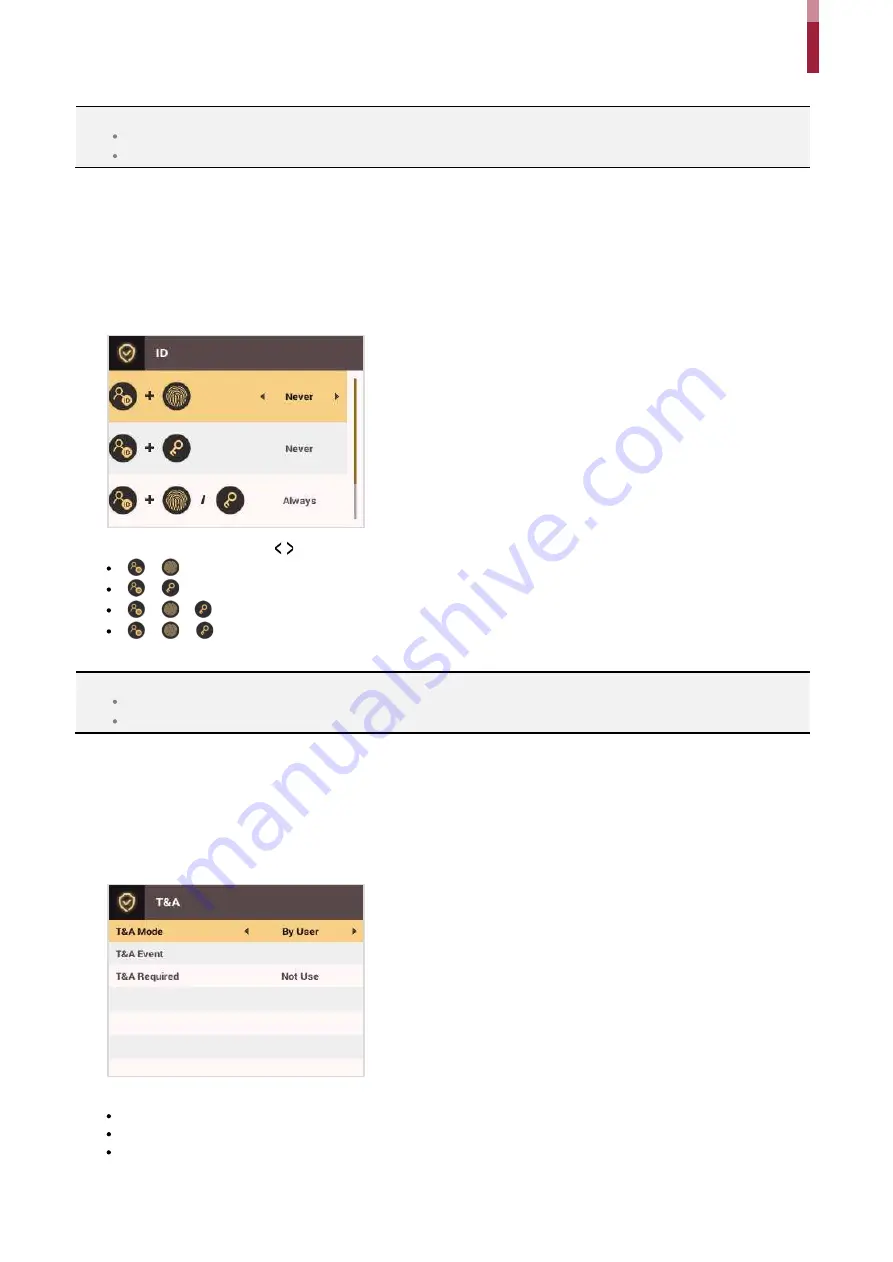
A schedule can be configured for each authentication method using IDs.
1
Press the
ESC
button then authenticate as an administrator.
2
Go to
AUTHENTICATION
>
ID,
then press
OK
.
3
Select an item and press the / buttons to set a schedule.
+
: In this mode, fingerprint authentication is required after entering an ID.
+
: In this mode, a PIN must be entered after entering an ID.
+
/
: In this mode, fingerprint authentication or entering a PIN is required after entering an ID.
+
+
: In this mode, both fingerprint authentication and entering a PIN are required after entering an ID.
4
Press
OK
to save the settings.
NOTE
You can configure a schedule with BioStar 2. You can select
Never
or
Always
if there is no configured schedule.
For more information on configuring schedules, see the BioStar 2 Administrator Guide.
T&A Mode
You can select registration options for the T&A Mode.
1
Press the
ESC
button then authenticate as an administrator.
2
Go to
AUTHENTICATION
>
T&A Mode,
then press
OK
.
3
Select an item and configure the settings.
T&A Mode
: Selects how to use the T&A Mode.
T&A Event
: Checks T&A Events.
T&A Required
: Selects the registration option for the T&A Mode. If
Use
is selected, you can set the T&A Event as a required option to
select during authentication.
Summary of Contents for BioStation 2
Page 1: ...BioStation 2 USER GUIDE EN 102 00 BS2 V1 38A Version 1 38 English...
Page 3: ...Appendices 31...
Page 29: ...Product Specifications Dimensions Unit mm...
Page 41: ......


