14 SERVICING AND MAINTENANCE
66
14)
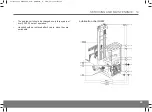
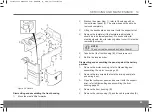
Tighten the screws (eight pcs) on the top of the straddle
leg.
15)
Fit the wiring for the electric brake.
16)
Connect the hydraulic cylinder for the steered wheel.
17)
Connect the battery plug.
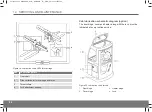
Dismantling and assembling the castor wheel (UFW)
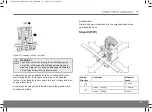
1)
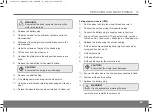
Undo the screws for the guard and remove it.
2)
Move the safety washer tabs away from the locking nut.
3)
Remove the locking nut and safety washer.
4)
Undo the lock plate securing screws and remove it.
5)
Pull out the axle.
6)
Remove the old wheel from the load wheel fork together
with ball bearings and washers.
7)
Install in the reverse order.
Torque
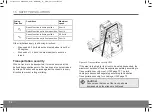
Tighten the screws for the lock plate and guard
to
24 Nm
.
NOTE!
In connection with a wheel change, the locking
washer should also be replaced.
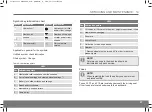
Dismantling and assembling the drive wheel
The drive wheel must be replaced if its diameter is less than
320 mm.
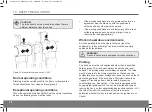
1)
Undo the bolts and open the rear cover.
2)
Slacken the drive wheel nuts.
3)
Lift up the truck so that the drive wheel becomes free.
Secure with wooden blocks.
WARNING!
Ensure that the truck is unable to move while
work is in progress.
4)
Dismantle the drive wheel.
5)
Refit in the reverse order.
Torque
The nuts on the drive wheel must be tightened to
150 Nm
.
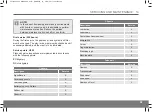
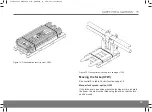
Removal and installation of the mast system
WARNING!
Removal and installation of the mast system must for
safety reasons only be carried out authorised service
personnel.
Instruction Handbook UFW — D008453, B, GBR, ForTranslation


