7
Installing the ribbon cassette
❏
Make sure that the printer is unplugged from its
power outlet.
❏
Open the front cover of the printer.
❏
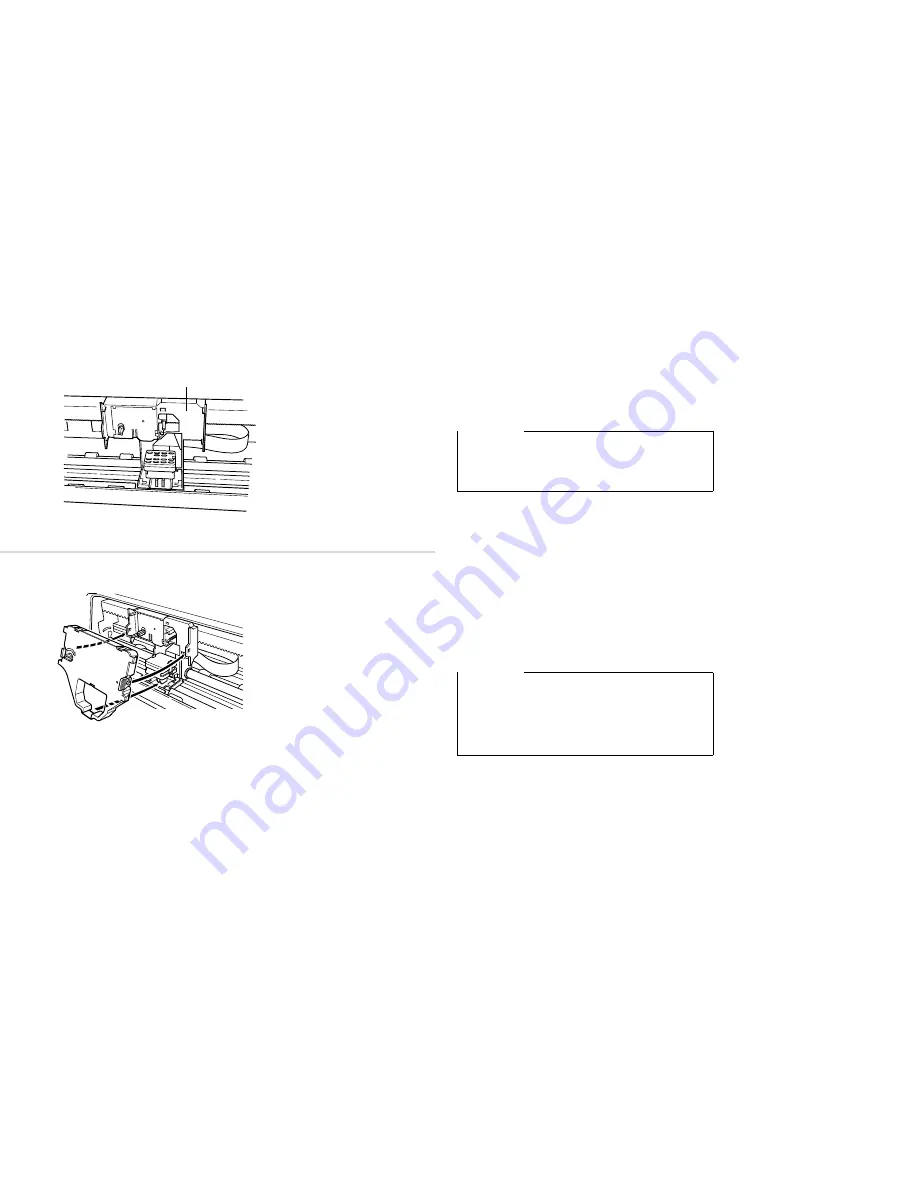
By hand, move the cartridge holder to the center
position of the paper guide where there is a
cutout to allow easy installation and removal of
the ribbon cassette.
❏
Remove the ribbon cassette from its package.
❏
Rotate the knob on the ribbon cassette clockwise
to take up any slack in the ribbon.
❏
Carefully place the cassette onto the cartridge
holder making sure that the spindle of the holder
fits into the socket on the bottom of the cassette.
❏
Press down gently but firmly on the cassette until
it snaps securely into place.
❏
Rotate the knob on the cassette again to take up
any slack.
❏
Close the front cover of the printer.
Important!
Never try to move the print head while the printer is
plugged into a power outlet. Doing so can damage
the printer. If you have just used the printer, let the
print head cool for a few minutes before you touch it.
Important!
Printing that is poor quality or too light is almost
always due to a ribbon that is simply worn out or
“used up.” If you experience problems with print
quality, check the condition of the ribbon. If the black
part looks gray and well-worn, replace the ribbon
with a new one.
Cartridge holder
Support de la cartouche
Druckkopfwagen
Supporto cartuccia


