


Page 72
GPS Chart Plotters
R
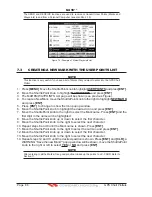
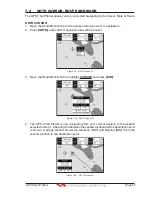
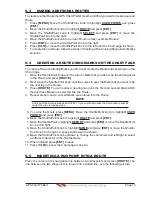
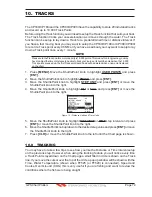
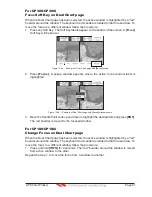
Figure 9.1 - Route Report
6. When finished press
[ENT]
to save.
7. Press
[CLR]
to show the Chart page.
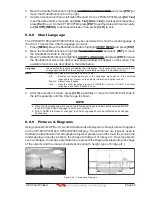
9.2
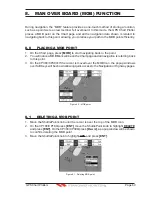
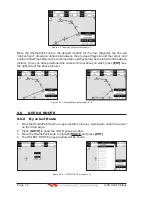
CREATING AN OLYMPIC ROUTE
This feature allows the starting point in a Route to be saved as the final destination point.
1. On the Chart page move the ShuttlePoint knob to the Lat/Lon of the starting Waypoint
in the Route.
2. Press
[ROUTE]
, the starting Waypoint will be placed under the cursor.
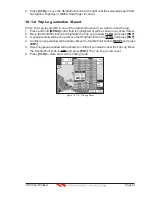
3. Move the ShuttlePoint knob to the second Lat/Lon of the next leg in the Route.
4. Press
[ROUTE]
. Another Waypoint is shown under the cursor and a line joins the
starting Waypoint to the second Waypoint.
5. Repeat steps 3 and 4 until all Waypoints are entered into the Route.
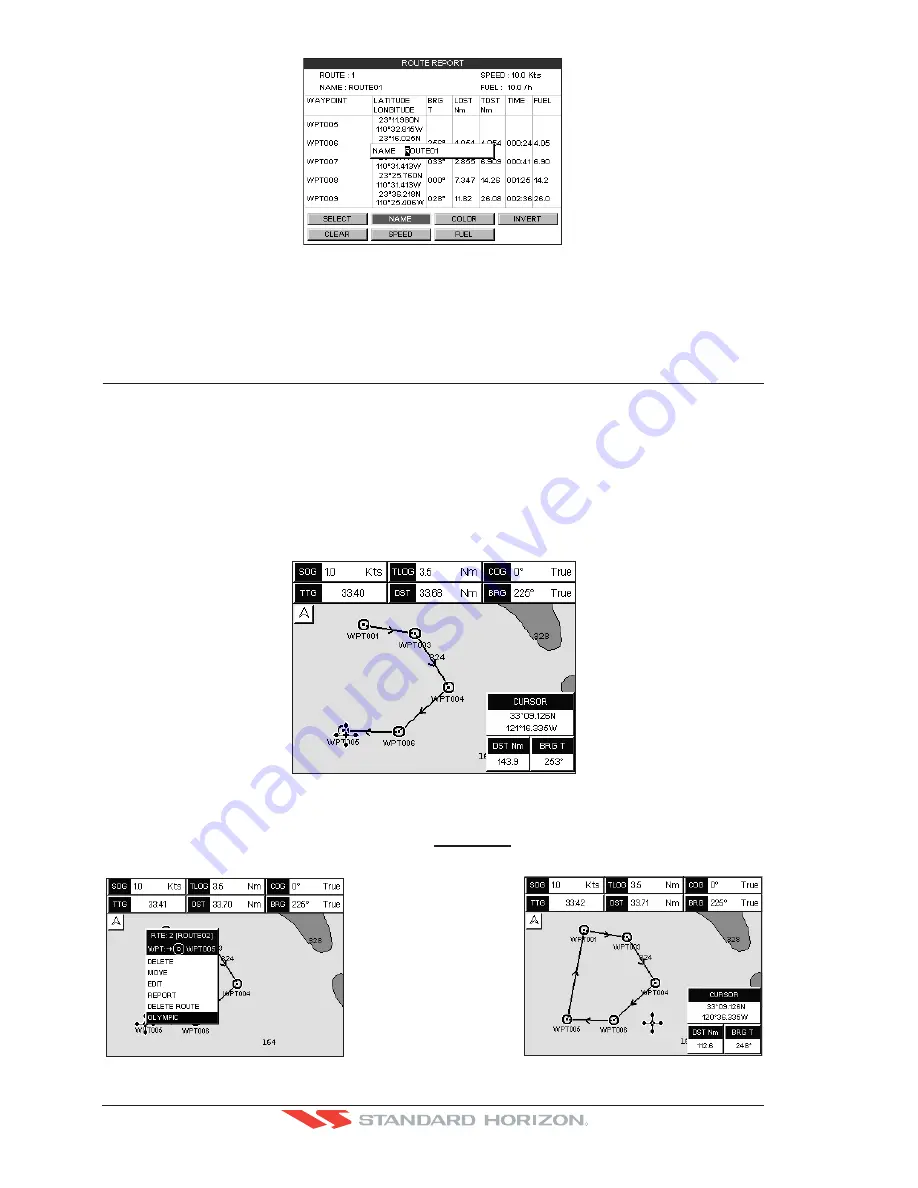
Figure 9.2 - Olympic Route creation (1)
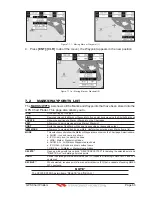
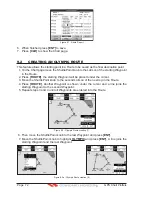
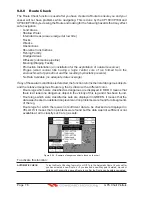
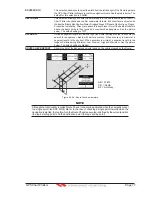
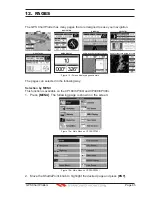
6. Then move the ShuttlePoint knob to the last Waypoint and press
[ENT]
.
7. Move the ShuttlePoint knob to highlight
OLYMPIC
and press
[ENT]
. A line joins the
starting Waypoint and the last Waypoint.
Figure 9.2a - Olympic Route creation (2)
Summary of Contents for CP180
Page 1: ...CP180 CP180i CP300 CP300i Owner s Manual Color GPS Chart Plotters R ...
Page 4: ...Page 6 GPS Chart Plotters R ...
Page 12: ...Page 14 GPS Chart Plotters R ...
Page 38: ...Page 40 GPS Chart Plotters R ...
Page 48: ...Page 50 GPS Chart Plotters R ...
Page 60: ...Page 62 GPS Chart Plotters R ...
Page 68: ...Page 70 GPS Chart Plotters R ...
Page 76: ...Page 78 GPS Chart Plotters R ...
Page 80: ...Page 82 GPS Chart Plotters R ...
Page 108: ...Page 110 GPS Chart Plotters R ...
Page 118: ...Page 120 GPS Chart Plotters R ...
Page 120: ...Page 122 GPS Chart Plotters R ...
Page 126: ...Page 128 GPS Chart Plotters R ...
Page 130: ...Page 132 GPS Chart Plotters R ...


