SpectraLink Corporation
Installation, Configuration, and Administration
NetLink Telephony Gateway
Part Number: 72-0065-02-R.doc
Page 49
16.1
Programming Digital PBX Features
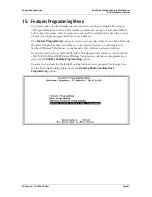
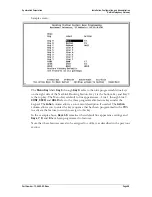
The numbers and symbols along the left side of the screen indicate which number or
digit key is being pressed after the
FCN
key to activate the feature.
1.
Navigate to
key 1
and type MUTE.
2.
If a NetLink OAI Gateway is part of the system, navigate to the key the OAI
function is to be assigned to and type OAI.
3.
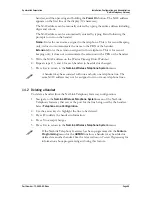
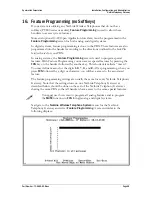
See below for programming the ADMIN feature.
All other digital features are programmed in the PBX per the
LinkPlus Interface Guide
for your system.
16.2
Programming Analog PBX Features
For analog systems, follow the above steps for digital programming, then proceed
with the steps below:
1.
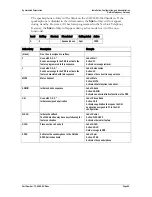
The table below displays the default menu options that are programmed into the
handsets for an analog system. You may set these same functions here or change
them to something else. If you change them, be sure to enter the corresponding
changes in the
Menu Programming
screen in the next section.
Function Key
Feature
Key Sequence
FCN+1
Mute
MUTE
FCN+2
Xfer
FCN+3
Conn
FCN+4
Conf
FCN+5
Fwd
FCN+6
Redial
FCN+7
Pick
FCN+8
Camp
FCN+9
Exit Menus
(Leave Blank)
FCN+0
FCN+*
FCN+#
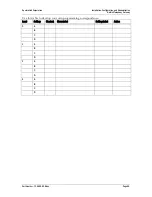
Consult your wired telephone system documents for the key sequence that
matches the feature in the above table. Blank cells are provided for your data.
Note that the zero (0), star (*), and pound (#) keys are not assigned by default,
but may be programmed here and in the default menus on the handsets.
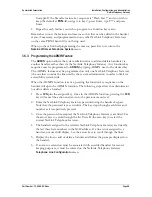
2.
Navigate to the function key, press Enter, and type the key sequence that
corresponds to the feature you want to activate for that function. Press Enter
after each entry.
3.
Type F to assign the FLASH function.


