Various Functions
47
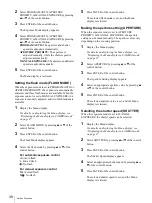
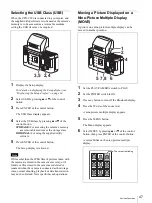
Selecting the USB Class (USB)
When the UPX-C200 is connected to a computer, and
the supplied utility software is to be used or the camera’s
memory is to be accessed as a removable medium,
setting the USB class may be required.
1
Display the Setup display.
For details on displaying the Setup display, see
“Displaying the Setup display” on page 34.
2
Select USB by pressing
v
or
V
of the control
button.
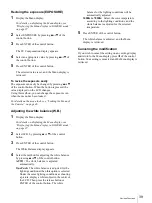
3
Press ENTER of the control button.
The USB Class display appears.
4
Select the USB class by pressing
v
or
V
of the
control button.
STORAGE: For accessing the camera’s memory
as a removable medium as the storage class
ORIGINAL: For using the supplied utility
software
5
Press ENTER of the control button.
The Setup display is retrieved.
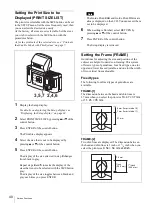
Note
If files other than the JPEG files of pictures taken with
the camera are stored in the camera’s memory, or if
folders or files stored in the camera are deleted or
renamed when the camera is connected as the storage
class, normal shooting, playback or data transmission
may not be obtained. Never perform such operations.
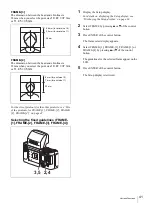
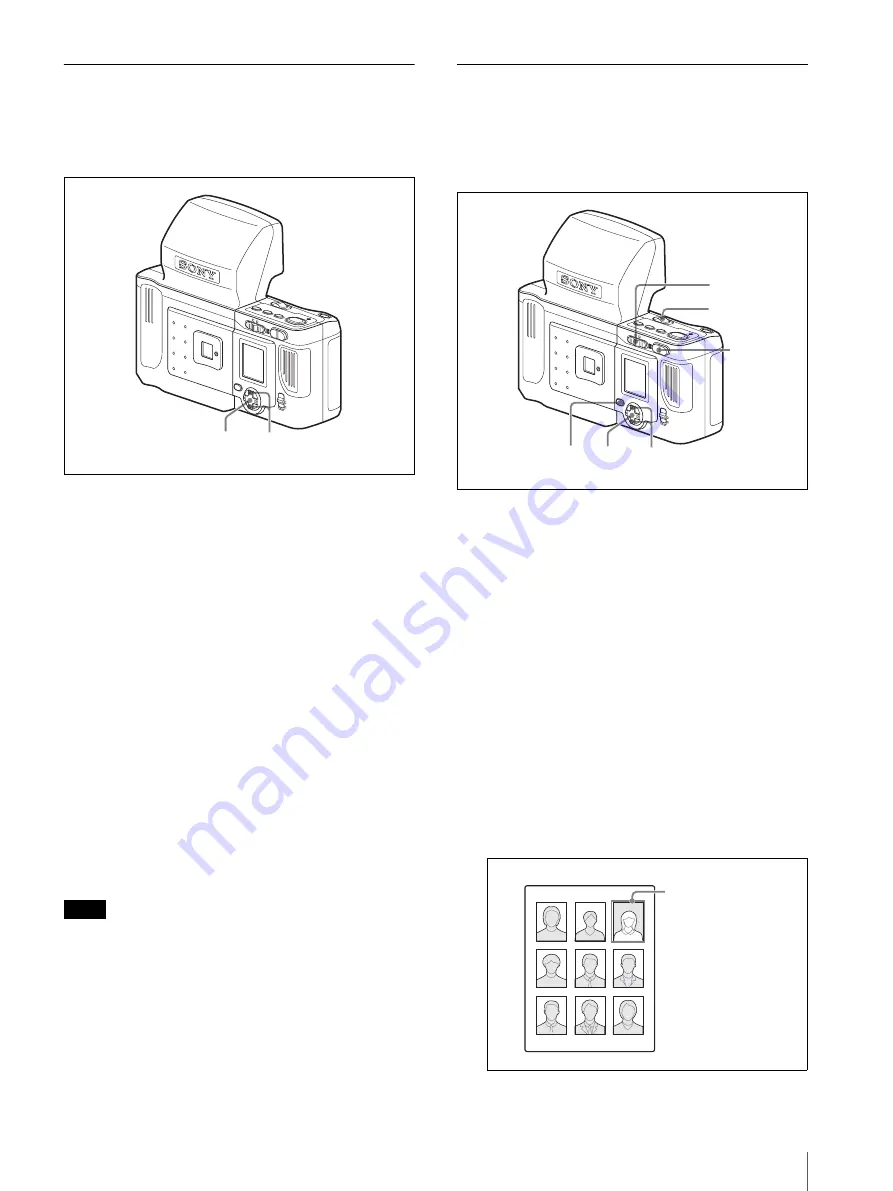
Moving a Picture Displayed on a
Nine-Picture Multiple Display
(MOVE)
A picture on a nine-picture multiple display can be
moved to another position.
1
Set the PLAY/CAMERA switch to PLAY.
2
Set the POWER switch to ON.
3
Press any button to turn off the Bluetooth display.
4
Press the W side of the zoom lever.
A nine-picture multiple display appears.
5
Press the MENU button.
The Menu display appears.
6
Select MOVE by pressing
v
or
V
of the control
button, then press ENTER of the control button.
A cursor blinks on the nine-picture multiple
display.
2,4
3,5
MENU
ENTER
MONITO
TR
(P
AL)
W
T
LCD
VIDEO O
UT
PLAY
CAM
ERA
PRINTER
PRINTER
ALARM
COLOR
B/W
SIZE
6
7,8
5
2
4
1
MENU
ENTER
MONITOT
R
(P
AL)
W
T
LCD
VIDEO
OUT
PLAY
CAM
ERA
PRINTER
PRINTER
ALARM
COLOR
B/W
SIZE
The cursor is blinking.
Summary of Contents for UPX-C200
Page 207: ......
Page 208: ...Sony Corporation Printed in Japan ...

