56
Connection Using i.LINK
Chapt
er 5 Conne
c
tio
ns
a
nd Set
tings
f
o
r Edit
ing
Depending on the editing software used, this unit may
not operate correctly. Before use, be sure to check that
this unit is recommended as supported by the software.
• The HDV/DV connector on this unit is 6-pin. Check
the number of pins of the i.LINK (DV) connector of the
connected computer and use an appropriate i.LINK
cable.
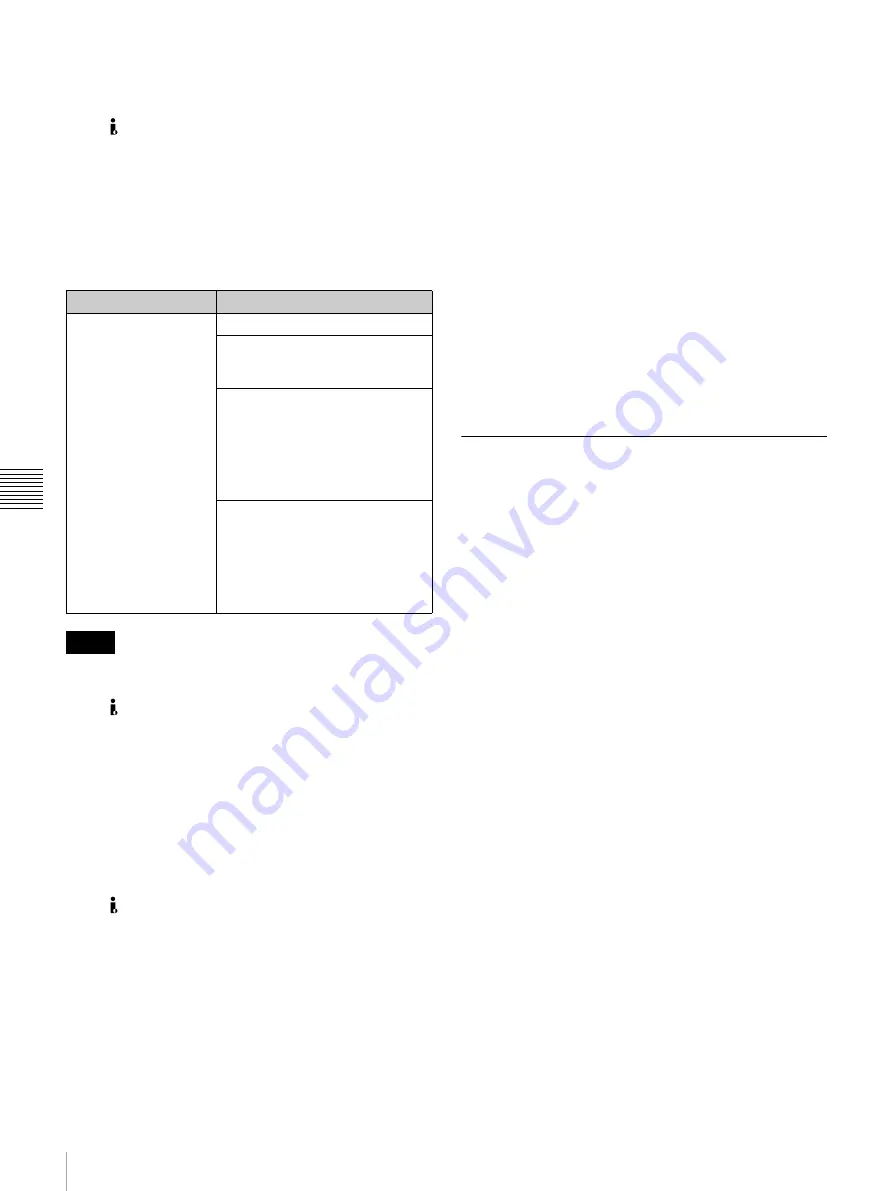
To connect for HDV format
To transfer video and audio signals recorded in HDV
format to a nonlinear editing system, make the following
settings.
• The nonlinear editing system requires editing software
(not supplied) to support the HDV format.
• The HDV/DV connector on this unit is 6-pin. Check
the number of pins of the i.LINK (DV) connector of the
connected computer, and use an appropriate i.LINK
cable.
• To switch between HDV format and DVCAM/DV
format, it may be necessary to temporarily disconnect
the i.LINK cable.
• When connecting an i.LINK cable to a computer or this
unit, check the orientation of the connector. Forcing the
plug into the connector the wrong way may damage the
connector.
• The HDV/DV connector supports HDV (1080i)/
DVCAM/DV signals.
• When using an i.LINK cable connection between this
unit and a device having a 6-pin i.LINK connector, do
not connect or disconnect the i.LINK cable before
powering off the device and disconnecting the power
cord from the AC supply. If you connect the i.LINK
cable while the power cord of the device is still
connected, a high voltage (8 to 40 V) may flow from the
i.LINK connector into this unit, possibly damaging this
unit.
• When converting a tape recorded in HDV format to
DVCAM format for output, the following restrictions
apply.
- The absolute address on the tape (ATN: Absolute
Track Number) is always output as zero.
- During normal speed playback, if there are unrecorded
sections, the tape transport operates with these
sections estimated as absolute addresses converted to
DVCAM.
- The absolute address on a tape recorded with a format
conversion from HDV to DVCAM and that on the
original tape recorded in HDV do not match.
(Timecode values are copied correctly.)
• With this unit it is not possible to output video recorded
in DVCAM(DV) format up-converted to HDV.
When making connections, consult the operating
instructions for the device to be connected and the
nonlinear editing system.
Using in a Cut Editing System
The following figure shows an example of the connections
for a DVCAM format cut editing system with this unit as
the player, and a DSR-2000A/2000AP as the recorder.
You can carry out cut editing, controlling this unit from the
DSR-2000A/2000AP.
Computer settings
Settings on this unit
Install editing software
supporting the HDV
format
Remote control switch: i.LINK
INTERFACE SELECT >i.LINK
OUTPUT menu item: HDV
For capture:
Switching i.LINK input signal:
i.LINK:HDV
Also, set the OPERATIONAL
FUNCTION >AUTO EE SELECT:
STOP and STANDBY OFF menu
items to PB.
For writing back:
Switching i.LINK input signal:
i.LINK:HDV
Also, set the OPERATIONAL
FUNCTION >AUTO EE SELECT:
STOP and STANDBY OFF menu
items to EE.
Notes


