NAS-50HDE.GB.2-890-157-
11
(1)
GB
To select and record individual
tracks
1
Enter the Function menu and select [CD].
You can set the following items in the Option
menu of the CD function (pages 31 to 33).
Format
Bit rate
Monitor sound
Recording destination
2
Load a CD into the disc tray.
3
Press HDD REC
while the main display
appears.
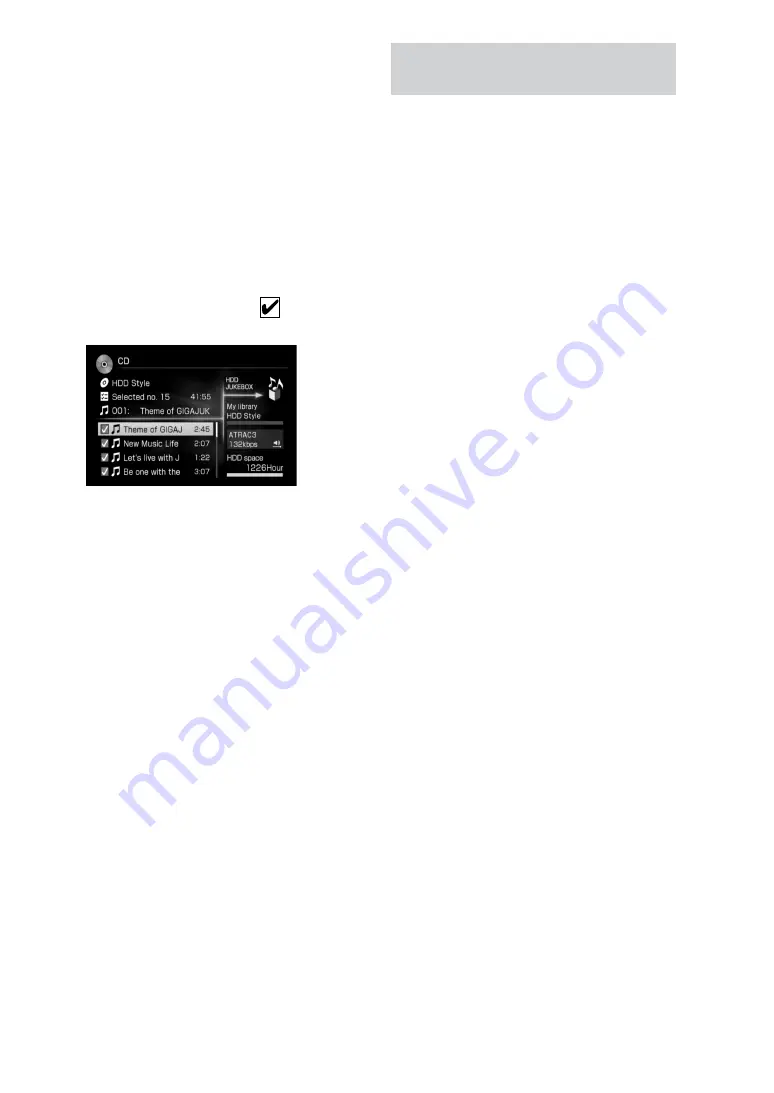
Tracks with the check marks
will be
recorded.
4
Select the tracks to be recorded.
Press ENTER to remove the check mark for
tracks not to be recorded.
5
Press HDD REC
.
Recording starts.
Tip
To select all the tracks, enter the Option menu and
select [Select track] – [Select all]. To deselect all the
tracks, select [Select track] – [Clear all].
Recording a radio broadcast or DAB
service
This section explains how to record from
the radio or DAB* to the HDD Jukebox.
* For the UK model only
When recording from an FM/AM
station
1
Press FM/AM, or enter the Function menu
and select [FM/AM].
You can set the following items in the Option
menu of the FM/AM function (pages 31 to
33).
Format
Bit rate
Track mark*
LEVEL SYNC level
Recording destination
* See “Automatic detection of music and talk”
(page 35) for details.
2
Press FM/AM to select FM or AM.
3
Tune in the radio station (page 23).
4
Press HDD REC
.
Recording starts.
5
Press
or HDD REC
(HDD REC
is not
provided on the UK model).
Recording stops.
To pause recording, press HDD REC
.
When recording DAB service (UK
model only)
1
Press DAB, or enter the Function menu and
select [DAB].
You can set the following items in the Option
menu of the DAB function (pages 31 to 33).
Format
Bit rate
Track mark*
LEVEL SYNC level
Recording destination
* See “Automatic detection of music and talk”
(page 35) for details.
2
Select the DAB service you want to record
(page 24).


