Chapter 4
Menu Settings
4-13
Chapter 4 Menu Settings
Å I N 0 0 : 0 0 : 0 0 : 0 0 Å O U T 0 0 : 0 0 : 0 0 : 0 0
L O C K
D O L B Y
N R
K E Y - I N H
P R E
R E Å D
o f f
C H . C O N D
G R E E N
DIGITÅL
B Å S E B Å L L E D I T S E T
H O M E
T C R P L Å Y 4 F D F 1
I N 0 0 : 0 0 : 0 0 : 0 0 O U T 0 0 : 0 0 : 0 0 : 0 0
01
Ó
04
µ
58
ß
00
ƒ
C O N F I
o f f
Å S S E M -
B L E
o f f
I N S
T C
o f f
I N S
V I D E O
o f f
I N S
Å - C H 1
o f f
I N S
Å - C H 2
o f f
I N S
Å - C H 3
o f f
I N S
Å - C H 4
o f f
I N S
C U E
o f f
4-2 HOME Menu
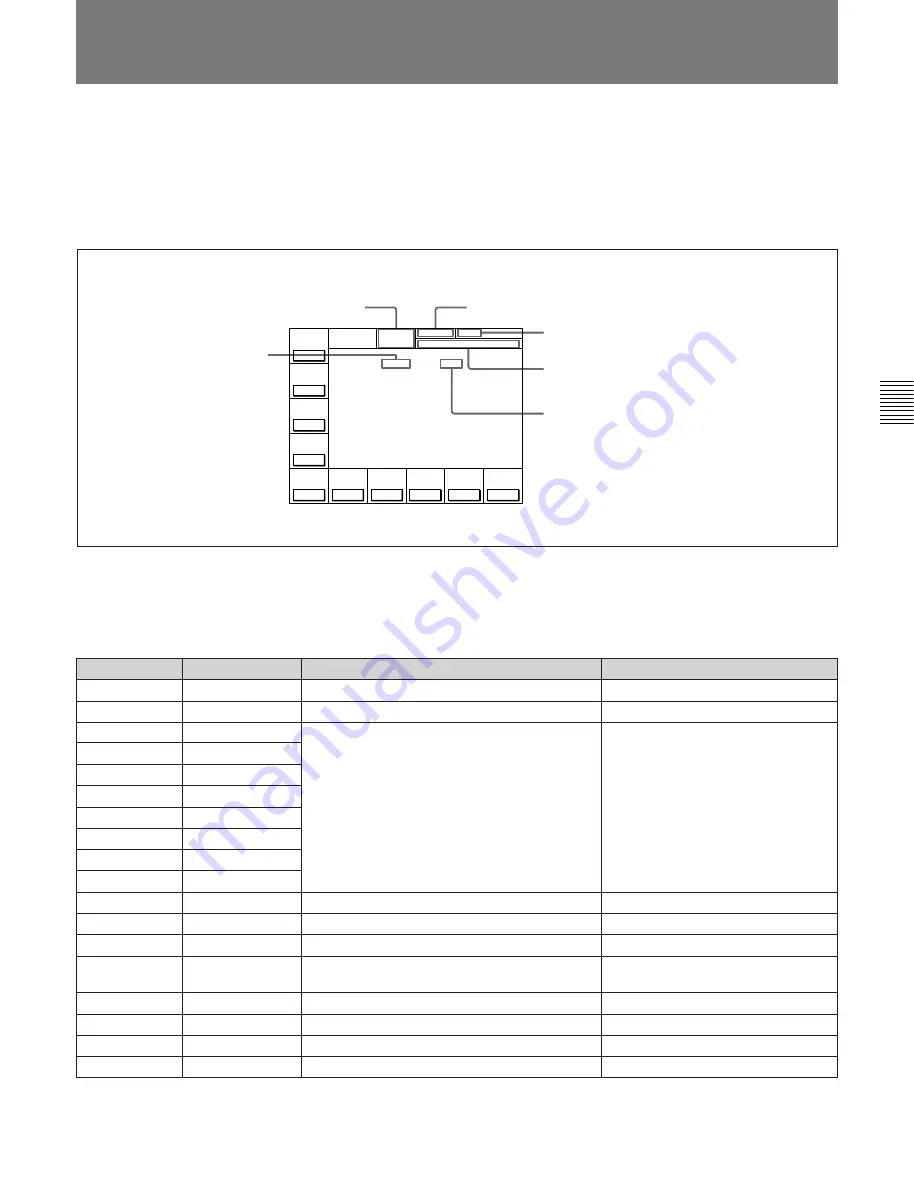
The HOME menu sets the basic VTR operation
conditions for recording, playback, and editing.
The HOME, TC, PF1 and PF2 menus show
information that includes the VTR operation mode,
time code of the current position, and time code type,
etc.
To activate the HOME menu
Press the HOME button.
To change the HOME menu page
Press the ALT button.
HOME menu display
For details on time codes, refer to “4-3 TC Menu” on page
4-18.
HOME menu
Button
Indication
Function
Settings
[F1]
PRE READ
Selects the PRE READ function setting.
off, [video, audio, a/v]
[F2]
CONFI
Selects the simultaneous playback setting.
on, off
[F3]
ASSEMBLE
Selects the edit mode and edit channel.
[F4]
INS TC
[F5]
INS VIDEO
[F6]
INS A-CH1
INS A-CH2
[F8]
INS A-CH3
[F9]
INS A-CH4
[F10]
INS CUE
ALT/
[F1]
REC INH
Selects the REC INH (record inhibit) mode.
off, [all, crash, video, audio]
ALT/
[F2]
PB/EE
Selects the monitor mode.
PB/EE, PB
ALT/
[F3]
FREEZE
Selects the still-picture function setting.
on, off
ALT/
[F5]
CAP LOCK
2FD, 4FD, 8FD (DVW-A500P/1 and
500P/1 only)
Selects CAP LOCK (capstan servo lock) mode.
[F7]
on, off
P-ROLL TIME
Sets the preroll time.
ALT/
[F7]
ALT/
[F6]
DMC
0 to 30 s
Selects DMC playback.
ALT/
[F8]
P-PLAY
Selects program playback.
ALT/
[F10]
LAST EDIT
Restores the last edit point set.
Channel condition
Signal format of the playback tape
Name of the displayed menu
Title of the current VTR SETUP menu
Capstan lock mode
Operation mode
Summary of Contents for DVW-500/1
Page 18: ...1 1 Features Chapter 1 Overview 1 6 Chapter 1 Overview ...
Page 86: ...4 7 SET UP Menu 4 44 Chapter 4 Menu Settings Chapter 4 Menu Settings ...
Page 100: ...5 14 Chapter 5 Recording Playback 5 4 Playback Chapter 5 Recording Playback ...
Page 120: ...6 2 Advanced Automatic Editing 6 20 Chapter 6 Editing Chapter 6 Editing ...


