


12
7
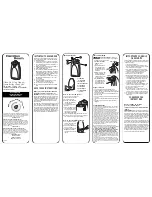
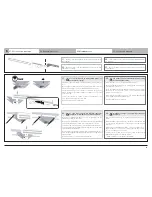
Mémorisation des télécommandes
Memorising remote control
Zenders toewijzen
Memorización del emisor
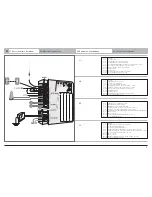
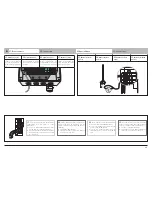
Avant la mise en route des réglages, vérifier que les voyants
ON/OFF
et
PROG
sont allumés et le voyant
Danger est
éteint.
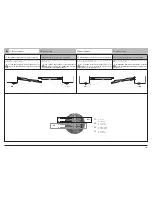
2 modes de fonctionnement :
Ouverture totale seule
■
Ouverture totale systématique des 2 vantaux par appui bref ou long sur la télécommande.
Ouverture piétonne ou totale
■
Ouverture d’un seul vantail pour l’accès aux piétons par appui bref sur la télécommande.
■
Ouverture totale des 2 vantaux par appui long sur la télécommande.
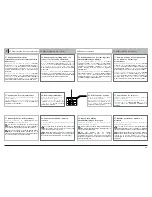
Mémorisation des télécommandes en ouverture totale seule :
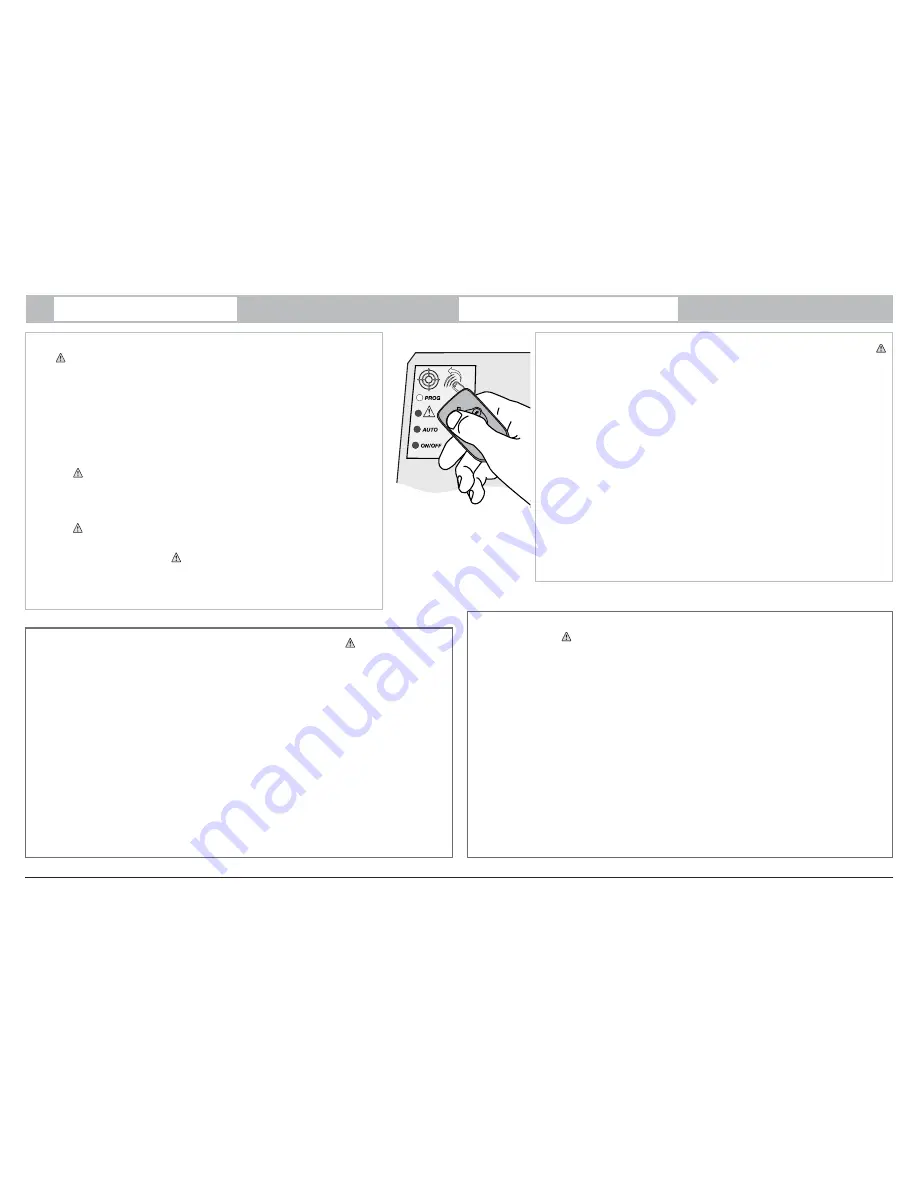
1. Positionner la télécommande sur la cible gravée sur le capot.
2. Maintenir la touche à mémoriser enfoncée jusqu'à voir le voyant PROG clignoter lentement.(le voyant
DANGER
s’éclaire pendant l’appui).
3. Relâcher la touche, elle est mémorisée.
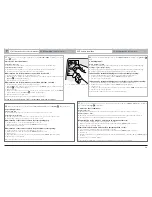
Mémorisation des télécommandes en ouverture piétonne ou totale :
1. Positionner la télécommande sur la cible gravée sur le capot.
2. Maintenir la touche à mémoriser enfoncée jusqu'à voir le voyant
PROG
clignoter lentement.(le voyant
DANGER
s’éclaire pendant l’appui).
3. Relâcher la touche.
4. Appuyez à nouveau (avant 10 secondes) sur la touche à mémoriser jusqu'à voir le voyant
PROG
clignoter lentement.(le voyant DANGER
s’éclaire pendant l’appui).
5. Relâcher la touche, elle est mémorisée.
Suivre la même procédure pour toutes les télécommandes à programmer.
A la fin du cycle de mémorisation, seuls les voyants PROG et ON/OFF sont allumés.
Before starting adjustment, check that indicators
ON/OFF
and
STOP
are lit and
Warning
indicator switch off.
2 operating modes:
Total opening only
■
Systematic total opening of the gate by a short or long press on the remote control.
Pedestrian or total opening
■
Opening of one gate only to allow access for pedestrians by a short press on the remote control.
■
Total opening of both gates by a long press on the remote control.
Memorisation of the remote controls for total opening only:
1. Position the remote control on the target engraved on the cover.
2. Hold down the key to be memorised until the '
PROG
' LED flashes slowly.
3. Release the key, it is memorised.
Memorisation of the remote controls for pedestrian or total opening:
1. Position the remote control on the target engraved on the cover.
2. Hold down the key to be memorised until the '
PROG
' LED flashes slowly.
3. Release the key.
4. Press again (before 10 seconds) on the key to be memorised until the '
PROG
' LED flashes slowly.
5. Release the key, it is memorised.
Repeat this procedure for all the remote controls to be programmed.
Controleer voordat u de instellingen uitvoert of de
ON/OFF
en
PROG
leds branden en de
gevaar
led
uit is.
2 werkingsmodi:
Alleen volledige opening
■
Systematisch volledige opening van het hek bij kort of lang indrukken van de afstandsbediening.
Volledige of gedeeltelijke opening
■
Opening van slechts één hekdeel voor voetgangers bij kort indrukken van de afstandsbediening.
■
Volledige opening van beide hekdelen bij lang indrukken van de afstandsbediening.
Inlezen van de afstandsbedieningen voor alleen volledige opening:
1. Richt de afstandsbediening op het doelwit dat op de beschermkap gegraveerd is.
2. Houd de in te lezen toets ingedrukt totdat de
PROG
led langzaam knippert.
3. Laat de toets los, hij is nu ingelezen.
Inlezen van de afstandsbedieningen voor volledige of gedeeltelijke opening:
1. Richt de afstandsbediening op het doelwit dat op de beschermkap gegraveerd is.
2. Houd de in te lezen toets ingedrukt totdat de
PROG
led langzaam knippert.
3. Laat de toets los.
4. Houd de in te lezen toets nog een keer ingedrukt (10 seconden) totdat de
PROG
led langzaam knippert.
5. Laat de toets los, hij is nu ingelezen.
Herhaal dezelfde stappen voor alle in te lezen afstandsbedieningen.
Antes de poner en funcionamiento los ajustes, comprobar que los indicadores luminosos
ON/OFF
y
PROG
estén encendidos y
que el indicador de
Peligro
esté apagado.
2 modos de funcionamiento:
Apertura total sola
■
Apertura total sistemática de los dos batientes mediante pulsación corta o larga en el mando a distancia.
Apertura peatón o total
■
Apertura de solo 1 batiente para el acceso a los peatones mediante una pulsación corta en el mando a distancia.
■
Apertura total de los dos batientes mediante pulsación larga en el mando a distancia.
Memorización de los mandos a distancia en apertura total sola:
1. Colocar el mando a distancia sobre el objetivo grabado en la tapa.
2. Mantener apretada la tecla de memorización hasta que el indicador luminoso
PROG
parpadee despacio.
3. Soltar la tecla y ya estará memorizada.
Memorización de mandos a distancia en apertura peatón o total:
1. Colocar el mando a distancia sobre el objetivo grabado en la tapa.
2. Mantener apretada la tecla de memorización hasta que el indicador luminoso
PROG
parpadee despacio.
3. Soltar la tecla.
4. Pulsar de nuevo (antes de 10 segundos) la tecla que haya que memorizar hasta que el indicador luminoso
PROG
parpadee
despacio.
5. Soltar la tecla y ya estará memorizada.
Seguir el mismo procedimiento con cualquiera de los mandos a distancia que haya que programar.