


16
Vérification du fonctionnement
Checking the operation
Controleren of de programmering goed werkt
Comprobación del funcionamiento
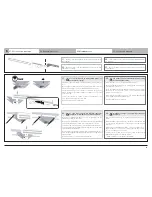
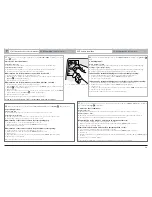
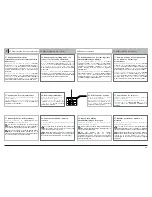
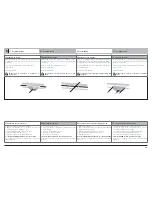
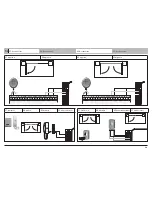
1. Effectuer un appui long sur la télécmmande.
2 Appuyer une deuxième fois sur la touche pour que les
2 vantaux s'arrêtent en milieu de course.
3. Couper l'alimentation du secteur 5 secondes.
4. Remettre l'alimentation du secteur.
5. Effectuer un appui long sur la télécommande.
Les vantaux DOIVENT partir dans le sens ouverture.
(Si les vantaux partent dans le sens fermeture, se référer au
câblage page 10).
1. Do a long press on the key
2. Push a second time on the button so that both leaves stop
at mid opening.
3. Cut off the mains supply 5 seconds.
4. Turn back on the mains supply.
5. Do a long press on the key
The leaves MUST start up in the opening direction.
(If the leaves start in the closing direction, refer to the wiring
page 10).
1. Druk de toets lang in.
2. Druk een tweede keer op de toets zodat de twee hekdeuren
midden in hun loop stoppen.
3. Sluit de voeding van het lichtnet 5 seconden af.
4. De voeding van het lichtnet weer aanzetten.
5. Druk de toets lang in.
De deuren MOETEN vertrekken in de openingsrichting
(Als de deuren in de sluitingsrichting vertrekken, zie bekabeling
blz. 10).
1. Efectuar una pulsación mantenido sobre la tecla
2. Pulsar de nuevo en la tecla para que las 2 hojas se
detengan en medio de su recorrido.
3. Cortar la alimentación eléctrica durante 5 segundos.
4. Encender de nuevo la alimentación eléctrica.
5. Efectuar una pulsación mantenido sobre la tecla
Las hojas DEBEN salir en sentido de abertura.
(Si lo hacen en sentido de cierre, referirse al cableado de la
página 10).
Validation du réglage
Validating your settings
Valideren van de instelling
Validación del ajuste
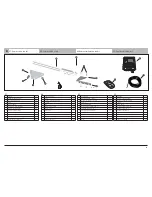
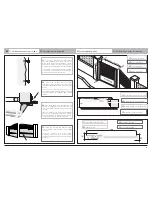
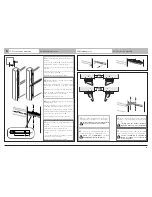
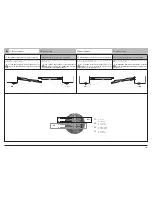
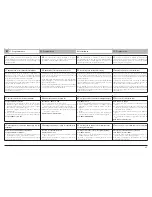
Après avoir réalisé un cycle complet sans encombre, sécuriser
le réglage mécanique en bloquant la patte vantail à l’aide du
3ème trou :
Tracer le point central et percez les vantaux au Ø 8.
Fixez l’équerre.
Ré-installez le vérin.
Vérifier qu’à la fermeture, le portail ne se
ré-ouvre pas.
After having carried out a complete cycle with no mishap,
securize the mechanical setting by blocking the leaf lug using
the 3rd hole :
Draw the central point. Drill the leaves to Ø 8.
Attach the angle plate.
Re-install the cylinder.
Check that at closing the gate does not open
again.
Wanneer een volledige cyclus zonder problemen voltooid is,
moeten de mechanische instellingen vergrendeld worden door
de vleugelklauw te blokkeren met behulp van het derde gat:
Teken het middenpunt af en boor gaten van Ø 8 de vleugels.
Zet de knieplaat vast.
Installeer de vijzel opnieuw.
Controleer of het toegangshek na het sluiten niet
opengaat.
Tras haber realizado un ciclo completo sin problema, asegurar
el ajuste mecanico bloqueando la placa del batiente con la
ayuda del tercer agujero:
Trazar un punto central y perforar los batientes al diam. 8.
Fijar el soporte.
Re-instalar el motor.
Verificar que al cerrarse, el portón no se abra de
nuevo.
8
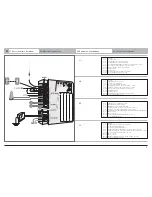
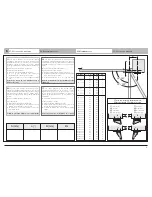
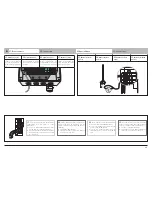
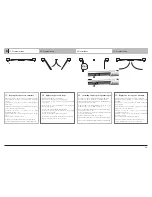
Programmation
Programming
Instellingen
Programación


