


Subject to changes | © 2020 SOLARWATT GmbH | AZ-TM-PME-1755 | Rev 000.2 | Version: 08/2020
Page 49
MyReserve Command technical problems
In the event of an error, contact SOLARWATT Technical S49 351 / 8895-333.
If SOLARWATT Service determines that the MyReserve requires a software update,
three options
are available for the update:
Remote update of MyReseve via internet connection
Software updates to MyReseve can be done remotely by Customer Support.
However, security-relevant updates are only available via Update Stick or App on site.
Update via update stick
The update-Stick is available with plastic housing or with shrink tubing . It will be sent to you free of charge. The return
shipment should be made within 4 weeks via the enclosed return envelope.
1.
Switch off MyReserve Command on the AC side (AC switch at the bottom plate in OFF-position)
2.
Switch off MyReserve Command DC switch
3.
Switch off the inverter, follow the switch-off sequence according to the manufacturer‘s instructions
4.
Remove the AC sensor CAN cable from MyReserve Command
5.
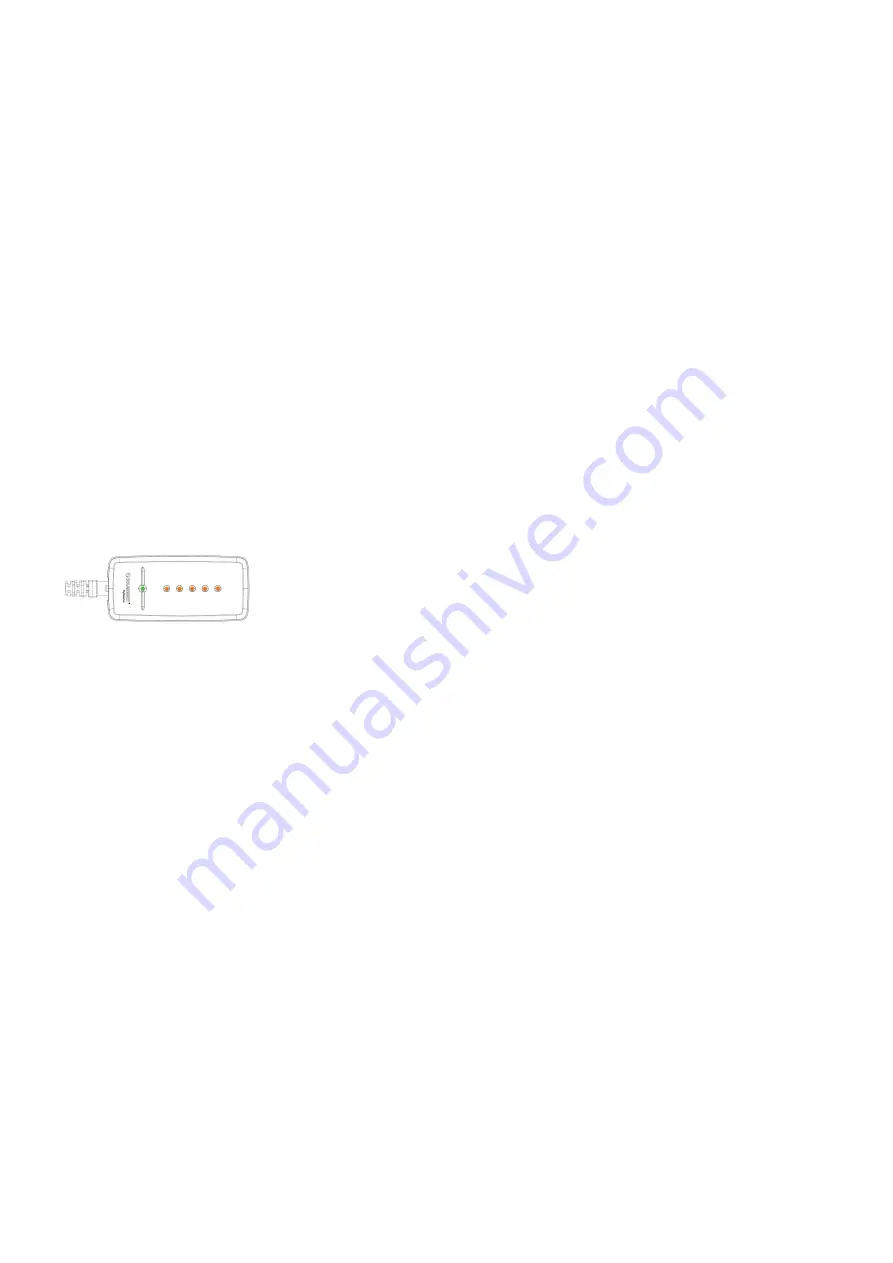
Insert update stick into the RJ45 socket (CAN) on MyReserve Command
6.
Check data cable on update stick for correct fitting
7.
Switch on MyReserve Command on the AC side, leave DC side switched off!
8.
Wait until update is completely installed (first LED permanently green + all 5 orange LEDs light up)
9.
Switch off MyReserve Command on the AC side (AC switch at the bottom plate in OFF-position).
10.
Remove update stick.
Do not yet connect the AC sensor CAN cable.
11.
Switch on MyReserve Command on the AC side (insert the power supply plug)
12. Wait 30 seconds. The PV meter board is being updated. After completion MyReserve Command LEDs light up in
the current state of charge (Status LED green + charge status LED blue).
13.
Switch off MyReserve Command on the AC side (AC switch at the bottom plate in OFF-position).
Now connect the AC sensor CAN cable.
14. Switch on the inverter, follow the switch-on sequence according to the manufacturer‘s instructions
15.
Switch on MyReserve Command DC switch (leave AC supply switched off)
16. Wait until the inverter has found operating point
17.
Switch on MyReserve Command on the AC side
Update via MyReserve App
1.
Switch off MyReserve Command according to installation instructions.
2.
Switch on the AC power supply to the MyReserve.
3.
Load the MTX file for the MyReserve App onto the smartphone.
4. Establish a steady Bluetooth connection between the MyReserve App and the MyReserve Command (MyReserve
App Settings).
5.
Click on “SOFTWARE UPDATE” in the Pro section of the App. An orange colored bar with the new software version
will appear under the heading “Update to Version”. Click on the bar to start the process and the update will start
and could take up to 20 minutes.
Attention: Do not remove the smartphone from the Bluetooth range of the storage system during the transfer.
6.
An app notification will appear after a successful firmware update.
7. Restart MyReserve Command according to installation instructions.
8.
Internal calibrations, if required by the update, will be visible by sequential lighting on the LEDs. For a reboot of
the system, which may be necessary for other reasons, wait at least 3 minutes.


