Smith Corona Corporation
7
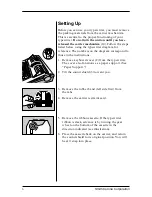
Paper Support
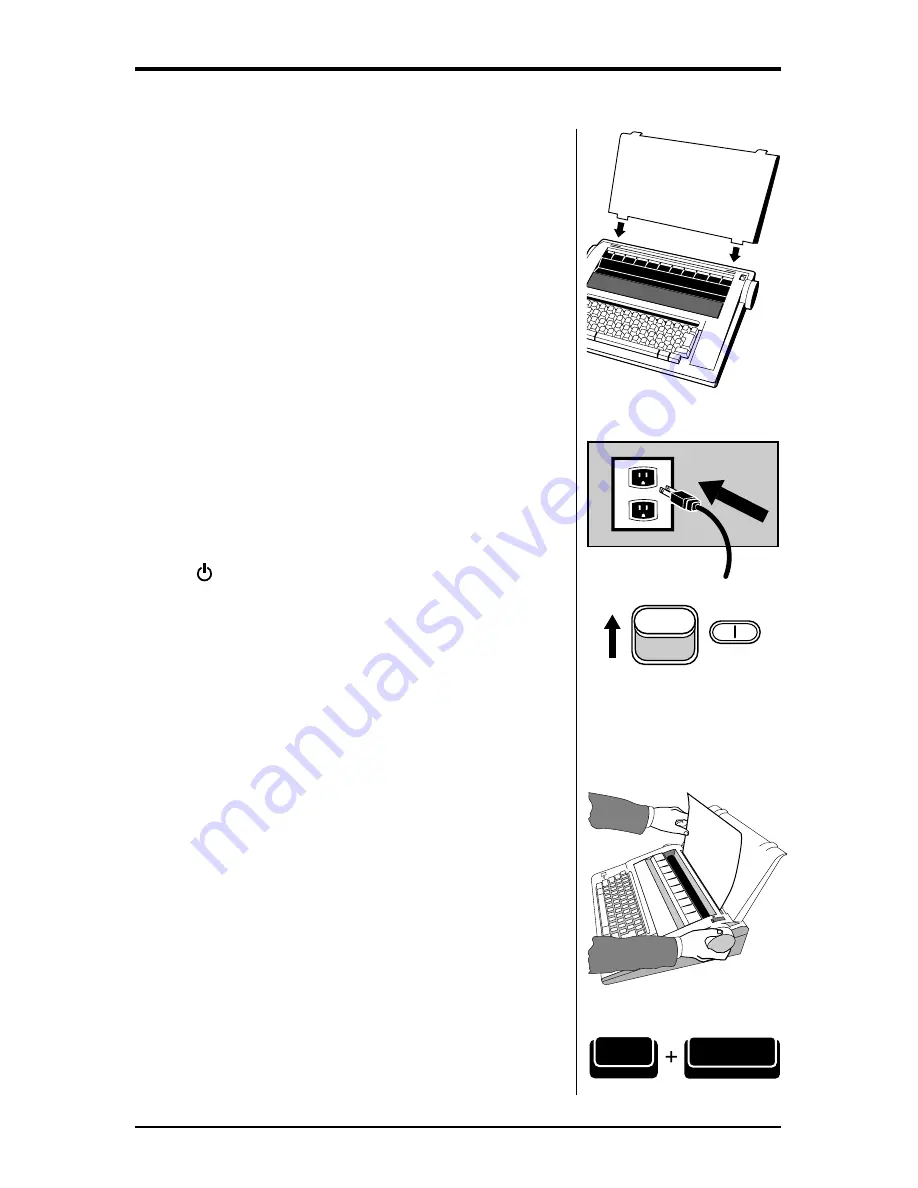
Your keyboard cover also functions as a paper
support.
1. Remove the cover from the keyboard if you have
not already done so.
2. Turn the cover upside down and align the tabs with
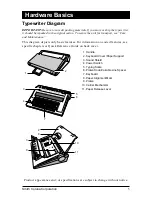
the slots behind the paper alignment mark (8).
3. Slide the tabs into the slots to provide an angled
paper support for your typing page.
Turning the Typewriter On
The electrical cord is stored on the back of the unit.
Remove the plug from the protective slot and unwind
the cord for use.
1. Plug the typewriter into a proper electrical outlet.
(Use the correct electrical current.)
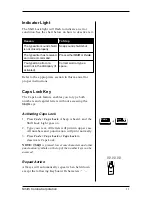
2. The symbol indicates the unit is in Standby
mode. This means your keyboard is inactive until
you select ON (|). Move the power switch (4) to
ON (|). The carrier (10) moves to the preset left
margin.
Inserting Paper
NOTE:
Your typewriter handles 12” wide paper and a 9”
typing line. Standard bond paper stock is recommended for
best quality. Copier paper, erasable bonds and very heavily
textured bond papers do not print well with Correctable
Film Ribbons. For these papers, we recommend High
Density Correctable or Multi-Strike Film. If typing
stencils, use those specifically designed for daisywheel
printers.
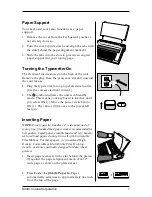
1. Insert paper securely in the slot behind the platen
(9) against the paper alignment mark. (For 12”
wide paper, center on the platen area.)
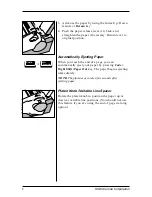
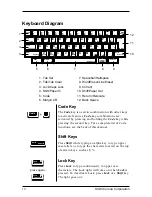
2. Press Code + Left Shift/Paper In. Paper
automatically advances to approximately one inch
from the top of the page.
II II • • • •
II • • • • II
• • • • II • •
• • II • • • •
II • • • • II
• • •
II II • • • •
II • • • • II
• • • • II • •
• • II • • • •
II • • • • II
• • • • II • •
• • II • • • •
II II
• II • • • • II
• • • • II II
Shift
Paper In
Code


