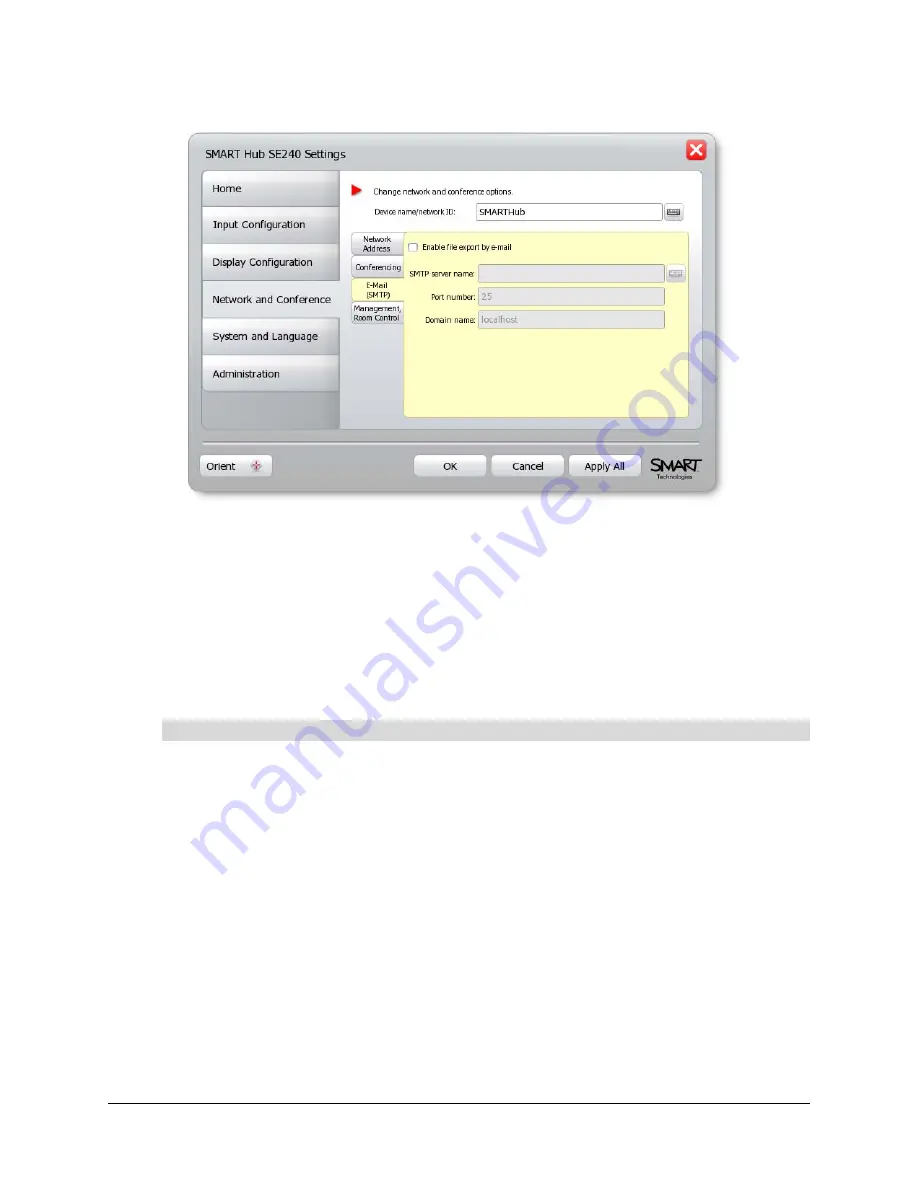
Configuring the SMART Hub SE240
31
5.
Press
E-Mail (SMTP)
.
6.
In the
SMTP server name
box, type the name of the SMTP server (for example,
).
7.
In the
Port number
box, type the port number of the SMTP server (for example,
25
).
NOTE:
25 is the default port number for SMTP.
8.
In the
Domain name
box, type the domain name of the SMTP server (for example,
yourcompany.com
).
9.
Press
Apply All
.
You’ve configured the SMTP settings of the SMART Hub SE240.
1.
Press
Menu
.
The Welcome Center appears.
2.
Press
Settings
.
The
Settings
dialog box appears.
3.
If a password is required to change the configuration settings, type the password in the box at
the bottom of the menu, and then press
OK
.
NOTE:
For information on the configuration settings password, see page 20.
4.
Press
Network and Conference
.
To configure network management (SNMP) settings
Summary of Contents for SE240
Page 1: ...Installation and User s Guide SMART Hub SE240 ...
Page 4: ...ii Important Information ...
Page 10: ...4 About the SMART Hub SE240 ...
Page 20: ...14 Installing the SMART Hub SE240 ...
Page 50: ...44 Configuring the SMART Hub SE240 ...
Page 90: ...84 Troubleshooting the SMART Hub SE240 ...
Page 92: ...86 Regulatory Compliance ...
Page 99: ......


