62 14 972 D 3507
16
D 3507
.
031.01.07
.
02 11.2010
Installation
Sirona Dental Systems GmbH
Installing the wall adapter
Installation Instructions HELIODENT
PLUS
5
Installation
5.1
Installing the wall adapter
5.1.1
Preparation
empty
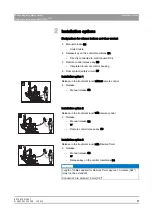
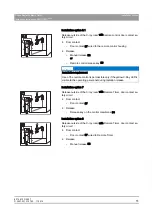
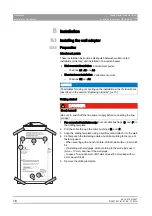
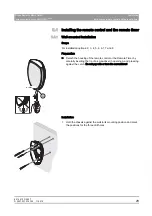
Attachment points
These installation instructions distinguish between wall-mounted
installation (masonry) and installation on wooden beams.
● Wall-mounted installation: 3 attachment points
– Positions A1, A3 and A4
● Wooden beam installation: 2 attachment points
– Positions A2 and A4
empty
Getting started
Switching off the line power supply
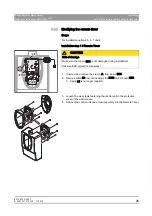
1. For concealed installation only: Cut out cable bushings (B) and (F) in
the drilling template.
2. Pull the cable through the cable bushings (B) and (F).
3. Align the drilling template using a spirit level and attach it to the wall.
4. Center punch the fastening points and drill according to the type of
fastening used.
- When securing with an anchor plate, drill into wall with a ⌀ 8mm drill
bit.
- If installing with wall plugs, drill according to the wall plugs used
(max. ⌀ 10mm) and insert the wall plugs.
- In case of a wooden wall, drill holes at least 80 mm deep with a ⌀
6mm wood drill bit.
5. Remove the drilling template.
NOTICE
Possibilities for using or covering up the installation sites of old units are
described in the section "Replacing old units" [ ➙ 70].
DANGER
Shock hazard!
Be sure to switch off the line power supply before connecting the line
voltage!
B
F
A4
A2
A3
A1


