12
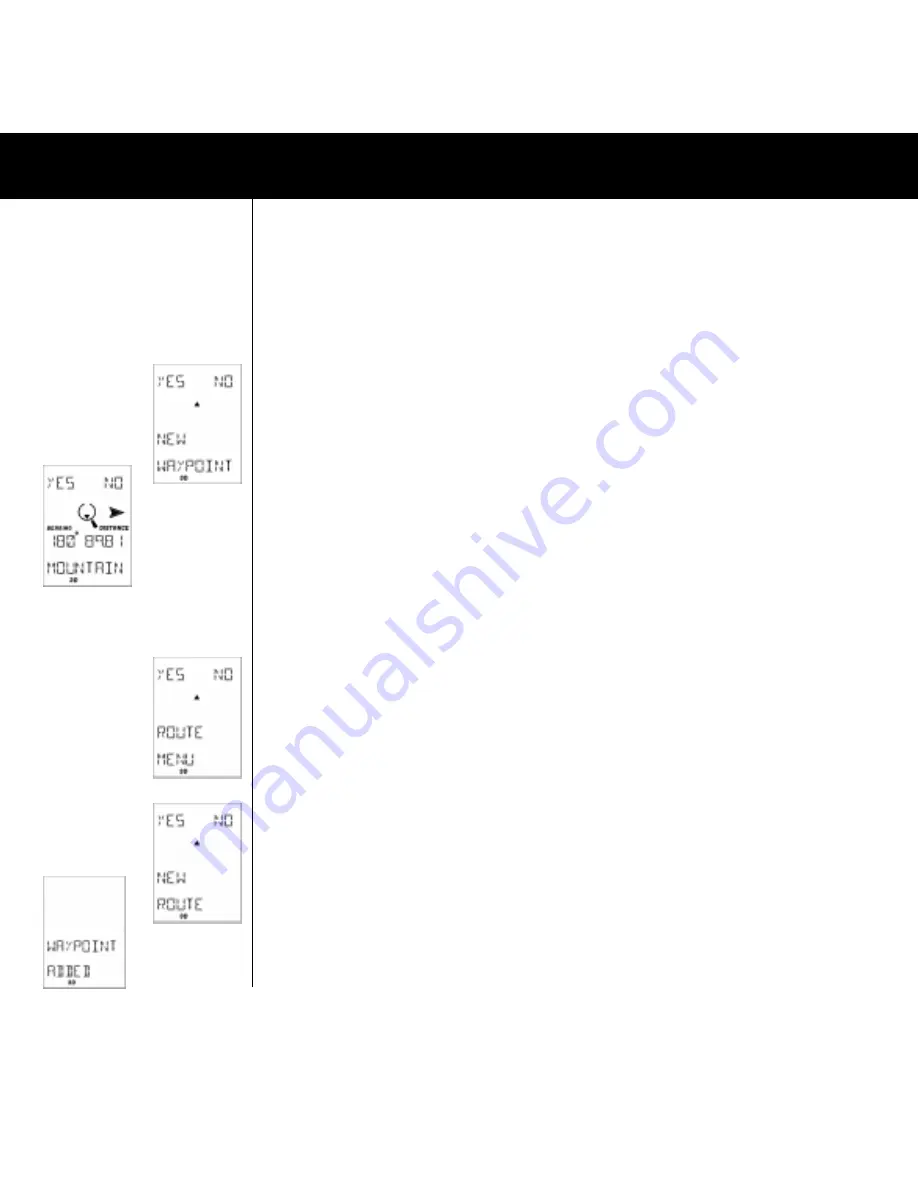
Fig.029
Fig.030
Fig.031
Fig.032
Fig.033
4. After having entered the distance with
UP/DOWN
and
LEFT/RIGHT
press
SET
and you can give the waypoint
created a name. When done press
SET
and the Magnipointer
TM
waypoint is created.
Bearings to a waypoint can be created either by using a protractor on the map or by pointing in a certain direction
in the field.
Note!
The Magnipointer
TM
is an function which should only be used, when the waypoint you want to create will be
on a map without a reference system. Please note that it is always preferable and more accurate to enter a waypoint
by its co-ordinates (see 4.4.7.4).
4.4.7.4 NEW WAYPOINT (FIG. 029)
This function is used for entering new waypoints into the Multi-Navigator
TM
memory. Press
YES
and a co-ordinate
in the selected format will appear. Enter the correct co-ordinate by using
UP/DOWN
and
LEFT/RIGHT
buttons.
When the complete co-ordinate is correct press
SET
and you can if you wish enter the altitude of the waypoint.
Press
SET
again and you can give the waypoint a name. When done, press SET and the text ”WAYPOINT STO-
RED” appears.
4.4.7.5 EDIT WAYPOINT
In this function you can edit the previously stored waypoints. You might want to change the name, altitude or
maybe even the location (co-ordinates). It is done in the same logical order as ”NEW WAYPOINT” with the difference
that when scrolling to find the waypoint you want to edit you will also see the bearing and distance to the one
shown in the display. (FIG. 030) You can also use the compass for pointing out the direction to it in the field.
4.4.7.6 VIEW WAYPOINT
Here is where you can look at the different waypoints in the memory. When pressing
YES
you see the first waypoint
in the memory and its location (co-ordinates). Scroll
UP/DOWN
until you find the one you want to view. When
found you press RIGHT repeatedly to see: bearing and distance to it, time and date when it was created and its
altitude.
4.4.7.7 DELETE WAYPOINT
Function used to delete a waypoint from the memory. The search routine is same as in 4.4.7.6 4.4.7.8 ROUTE
MENU (FIG. 031) This opens the menu where everything that handles routes is found. This is the function to use
when, for example, you want to connect a number of waypoints into a desired travel route. One advantage with
routes is that the Multi-Navigator
TM
automatically changes to the next waypoint on the route when you have reached
a waypoint i.e. it does not require you to manually change to the next waypoint. One other advantage is the fact that
you can also recall a route reversed if you want to ”return home” by the same route. You can store up to 10 routes
each consisting of max. 100 waypoints. Select route menu by pressing
YES
and you will find....
4.4.7.8.1 NEW ROUTE (FIG. 032)
Here is where you create new routes. Note that you must have a number of waypoints stored before you can
create a route. Press
YES
if you want to create a new route and the text ”ADD WAYPOINT” appears which prompts
you to add a starting waypoint for the route. When pressing
YES
the first waypoint (in alphabetical order) is suggested.
Use
UP/DOWN
to find your starting waypoint and when found press YES. (If you have a lot of waypoints in the
memory and you want to search letter by letter, press
RIGHT
and you can search on each letter.) You will also see
the direction and distance from your current position to the waypoint displayed. Repeat the procedure to add more
waypoints into the route the same way as described above. When a new waypoint is added the LCD will show you
”WAYPOINT ADDED” (FIG. 033), which leg you added, the names of the ”from” and ”to” waypoints as well as the
bearing and distance of this leg. (FIG. 034) Continue to add waypoints. When you have added your final destination
waypoint press
NO
when the display shows ADD WAYPOINT and the route is stored.
Note!
Anytime, while adding waypoints into a route, you can press RIGHT/LEFT to see data about the total route.
(FIG. 040). One more press will get you back and you can add more waypoints to the route.
THE WAYPOINT FUNCTION


