


4
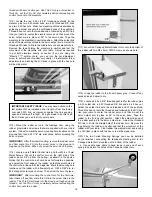
tabs that are in the wing. Remove the hatch. Redrill the holes in
the hatch with a 7/64" dia. bit to allow clearance for the screws.
❑
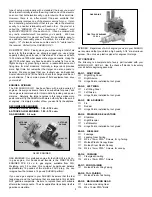
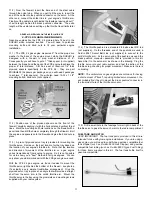
3) The aileron servos are mounted to the back, uncovered
sides of the servo hatches. From the kit contents, locate the four
3/8" x 3/4" x 3/4" hardwood aileron servo mounts. You will also
need the servos and the servo mounting grommets and screws
supplied by your radio manufacturer during this step. Remove the
servo output arm and lay the servo flat on its side. Position two of
the mounting blocks beneath the servo's mounting arms, also
flat on the same surface as the servo. Drill appropriate servo
mounting holes into the wood mounting blocks. Use the screws
that came with your radio system to now mount the servos to the
two mounting blocks.
Masking Tape
Paper Towels
Power Drill With Selection of Bits
Dremel
®
Tool with Selection of Sanding and Grinding Bits
Soldering Iron and Solder
Large Fuel Tubing
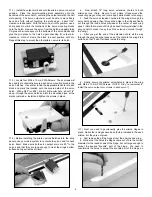
WING ASSEMBLY
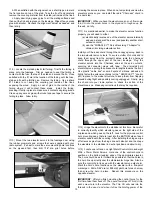
Before starting actual construction, trial fit both wing panels onto
the Hardwood Wing Joiner and the Aluminum Tube Rear Wing
Joiner. Check to see that the wing panels fit together in proper
alignment, and that both root ribs come into firm, straight contact
with each other. If the Hardwood Wing Joiner requires a little
trimming to achieve this fit, do so now. NOTE: Be sure you've got
the Hardwood Wing Joiner right side up - the greater angles are
on the bottom. Do not glue the wing panels together yet!
❑
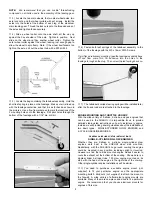
1) Locate the two pre-covered aileron servo hatches and eight
M2.6 x 10mm PWA Screws. Trial fit the hatches into the aileron
servo openings to determine which hatch goes in the right wing and
which goes in the left wing. Tape the hatches in place, aligning their
servo arm cutouts with the ones in the wing openings.
❑
2) Drill a 3/64" (or #56) dia. hole near each corner of the hatch.
Drill completely thru the hatch and into the hardwood mounting
Summary of Contents for SUKHOI SU-31 ARF
Page 23: ...23 ...