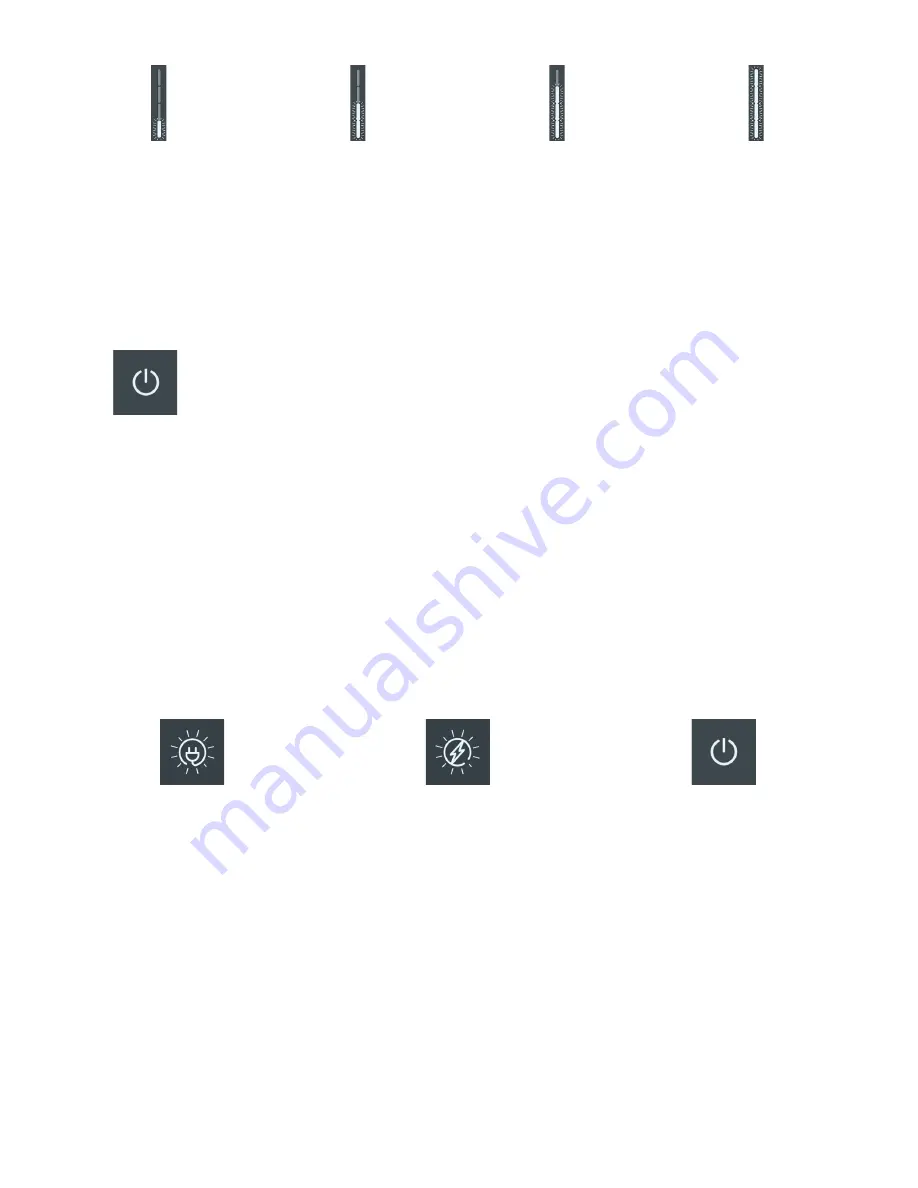
Press 1x for 2 Hr. Delay
Press 2x for 4 Hr. Delay
Press 3x for 6 Hr. Delay
Press 4x for 8 Hr. Delay
NOTE:
The LED bar display indicates that current is flowing to the vehicle and the vehicle battery is charging. The LED bar
display is off in the following cases:
•
The
vehicle
is
not
drawing
power.
– The charging unit pauses, for example, because of load management
– The vehicle pauses the charging
• Charging completed.
•
Once charging is completed, the “Ready” status light turns off:
•
Carefully remove the connector from EV and stow the cable in the cable holster to prevent damage to
either the cable or connector
.
8.2.2. Start charging - RFID Feature
Proceed as follows to begin charging:
•
Check that the charger is ready for operation: The Power LED must be lit and white.
•
Register RFID card on the device.
– If the RFID function is activated on your device, hold your RFID card in front of the card reader.
An acoustic signal is emitted.
– Register on the device with a method supported by the operator, for example via an app.
•
Open the EV connection cover and insert the charger connector into EV socket. Make sure that the con-
nector pins are not bent or damaged before inserting into the EV socket.
•
The device locks the plug into the socket. The “Vehicle connected” LED lights up.
NOTE
: LED lights indicate the charger status:
Vehicle connected. LED lights up white.
Charging in progress. LED lights up white.
Charging completed.
Charger is ready. LED lights are off.
After successful authorization, charging will begin automatically unless a delay has been set.
NOTE:
The communication connection to the vehicle is established. This process may take some time depending on the connec-
tion speed and response speed of the backend (e.g. VersiCloud) and vehicle.
43
VersiCharge™ AC Electric vehicle charging station


