NOTE
The record button is automatically released when the image acquisition stops.
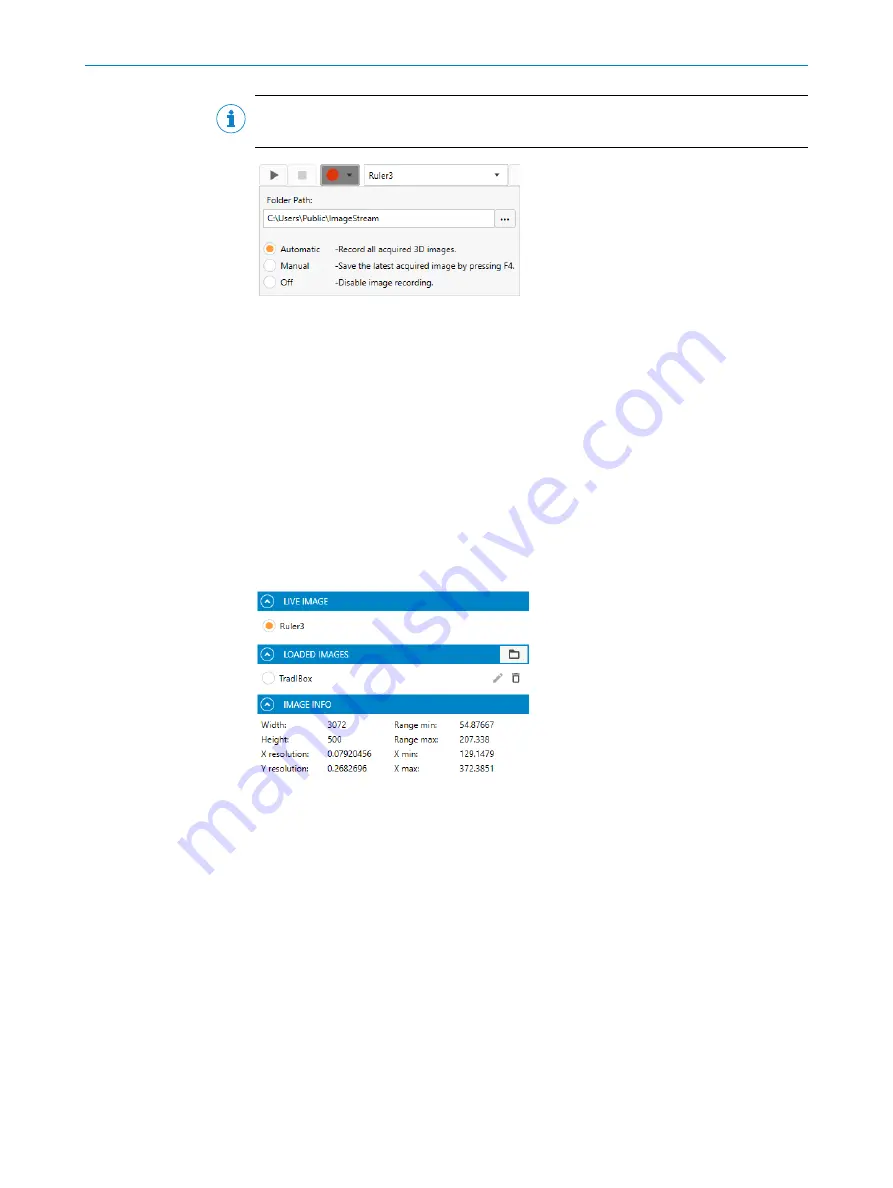
Figure 78: Recording images to file
1.
Click the correct tab:
2D Image
for recording of 2D buffers,
3D Image
for recording of
3D buffers.
2.
Click the record button and select a
Folder path
.
3.
Enter a file name. The file name will be used as the folder name where all images
will be saved.
4.
Click
Save
to close the dialog box.
5.
Click the record button to select
Automatic
or
Manual
image acquisition.
6.
Click the start button to start the image acquisition.
✓
Each acquired buffer is saved in the selected target folder on the PC.
Load image data
You can load a 2D or 3D image that has been saved to disk, either by a recording or
saved as a single image.
Figure 79: Loading and selecting an image GUI reference
To load a single 2D or 3D image, do as follows:
1.
Open the
Evaluation
window.
°
The
Live image
section, shows the current 3D image.
°
The
Loaded images
section, shows previously loaded images.
2.
Click the
Folder
button to load a new image.
3.
Find and select the image file (*.dat) and click
Open
.
✓
The image is added to the
Loaded images
section.
4.
Select an image using the corresponding radio button.
9.2.7
Handling log messages
1.
Search for log messages by typing in the
Search Log Message
. Possible matches will
automatically appear.
2.
In the
Log level
drop-down list, select which type of log messages you want to see
and search for.
OPERATION
9
8026049//2021-04 | SICK
O P E R A T I N G I N S T R U C T I O N S | Ruler3000
79
Subject to change without notice


