4-77
3
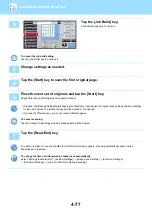
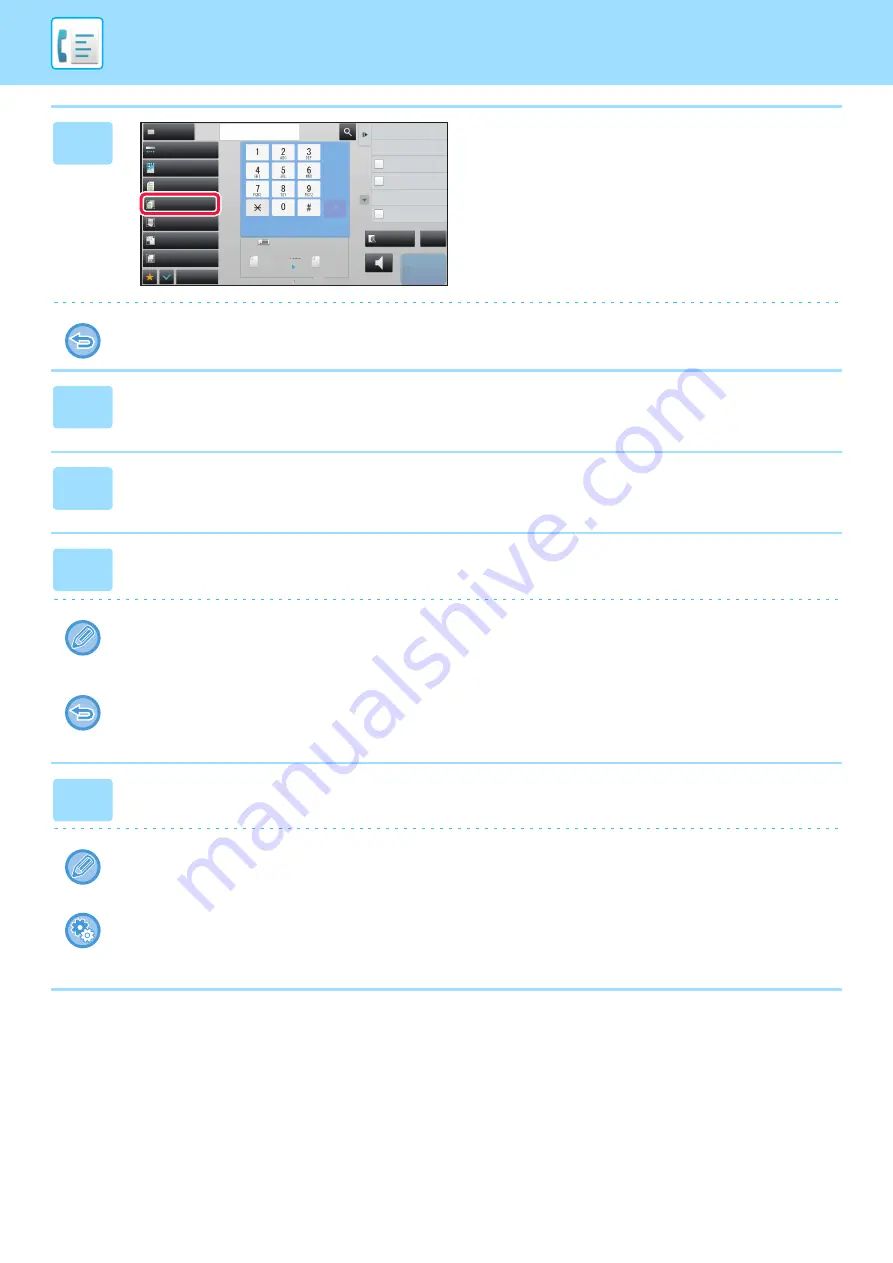
Tap the [Job Build] key.
A checkmark appears on the icon.
To cancel the job build setting
Tap the [Job Build] key to uncheck it.
4
Change settings as needed.
5
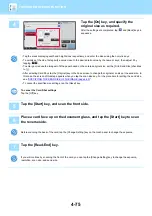
Tap the [Start] key to scan the first original page.
6
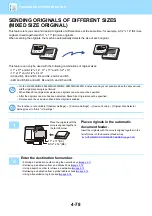
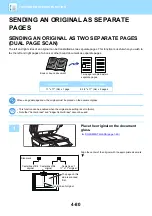
Place the next set of originals and tap the [Start] key.
Repeat this step until all originals have been scanned.
• If needed, tap [Change Setting] before tapping the [Start] key, and change the original scan settings and send settings
for the next original. The setting changes will be applied to the next job.
• If you tap the [Preview] key, you cannot scan additional pages.
To cancel scanning:
Tap the [CA] key. All settings including scanned data will be cleared.
7
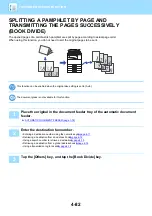
Tap the [Read-End] key.
If no action is taken for one minute after the confirmation screen appears, scanning automatically ends and the
transmission is reserved.
To change the time until transmission takes place automatically:
Select "Settings (administrator)" - [System Settings]
→
[Image Send Settings]
→
[Common Settings]
→
[Condition Settings]
→
[Job Auto Start Time During Scanning].
Exposure
Original
Resolution
Job Build
Original Count
Slow Scan Mode
Others
Address
Fax Number
Sending History
Call Search Number
Call Program
Call Registered settings
Direct TX
Verification Stamp
Send Same Image
as Fax Address
Scan Size
Auto
Auto
reception memory
100%
100%
Send Size
Speaker
Start
CA
Address Book
Preview
Mixed Size Orig.
Auto
Super Fine
8½x11
8½x11


