- 21 -
Input prepared Test weight value and press
key, then
message will be
displayed.
Then load Test weight on weighing scale and press
key.
Then, indicator will make adjustment for “Standard weight value” and calculate “Span value”.
※
“At least 10%” means to guarantee precise weighing process you have to make standard with at least
10% of weight of Max. capacity.
We programmed the calibration will not be done, when you load less than 10% of max. capacity.
Caution
※
In case of Max. load cell capacity value /Division value is under 5,000, please prepare Standard
weight at least 10% of Max. load cell capacity value or max. display capacity value and set.
In case of Max. load cell capacity value / Division value is over 5,000, please prepare Standard weight
at least 20% of Max. load cell capacity value or Max. display capacity value and set.
This will be make more accuracy calibration setting.
- If you set test weight value over max. load cell capacity, Error Message “Err 04” will be displayed.
- If you set test weight value under 10% of max. load cell capacity value, Error Message “Err 05” will
be displayed.
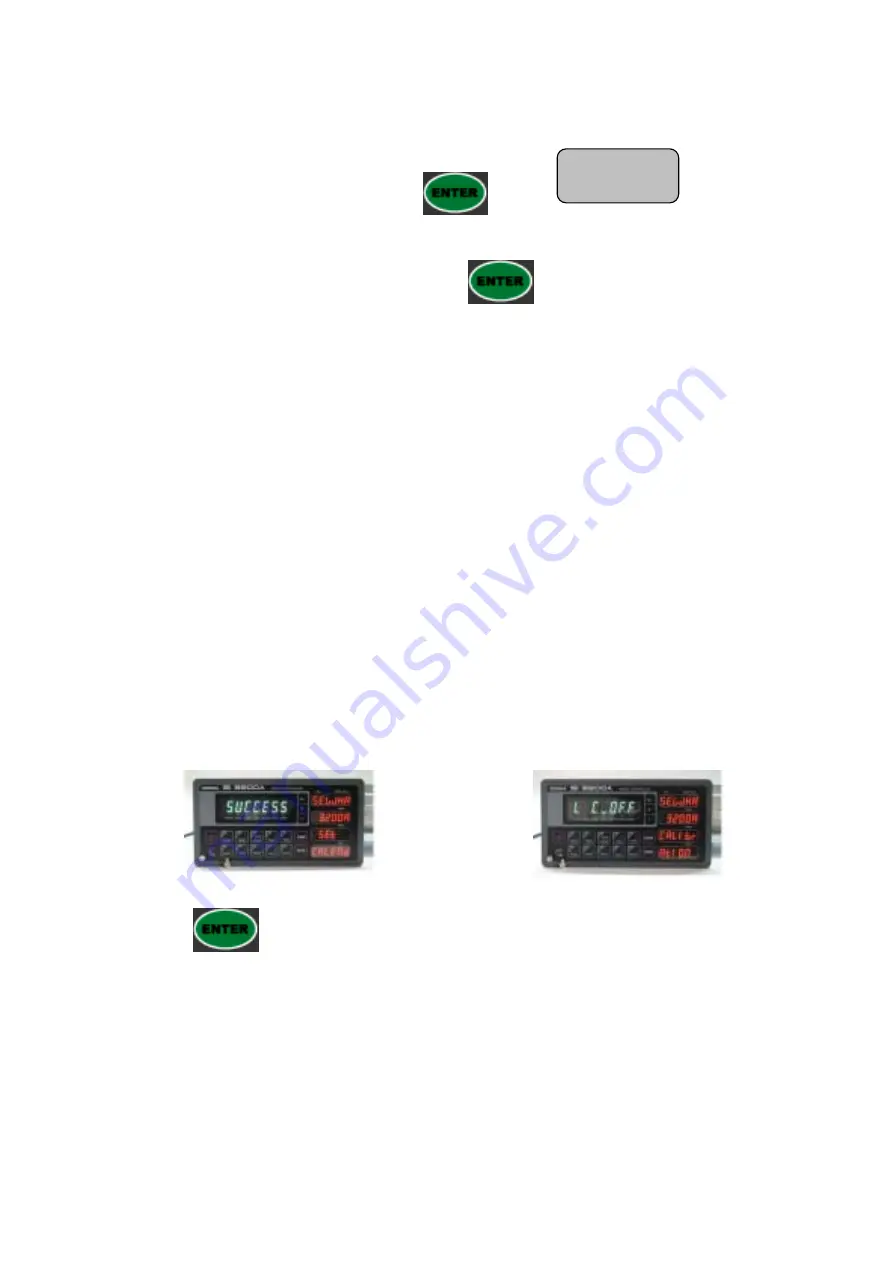
Step No.6 – End calibration process / “CAL” switch OFF
Now, the Test weight calibration is done.
Calibration process completed.
Push Calibration Lock S/W and tight Cal. Bol.
Press
key to save all calibration process. Now, Off the
“CAL LCK S/W”
and fasten the
Calibration Bolt.
Caution
※
To process “Simulation Calibration” process, All indicator has its’ own standard value of 2mV gap.
So, if you replaced analogue board, you have to input standard value of 2mv gap.
And you can check the this 2mV gap value on
F96.
(value is between 200,00 ~400,000)
UP


