Transferring Data to a PC
98
Figure 11-3: Insert a USB memory stick into the USB port on the Display Unit to export data.
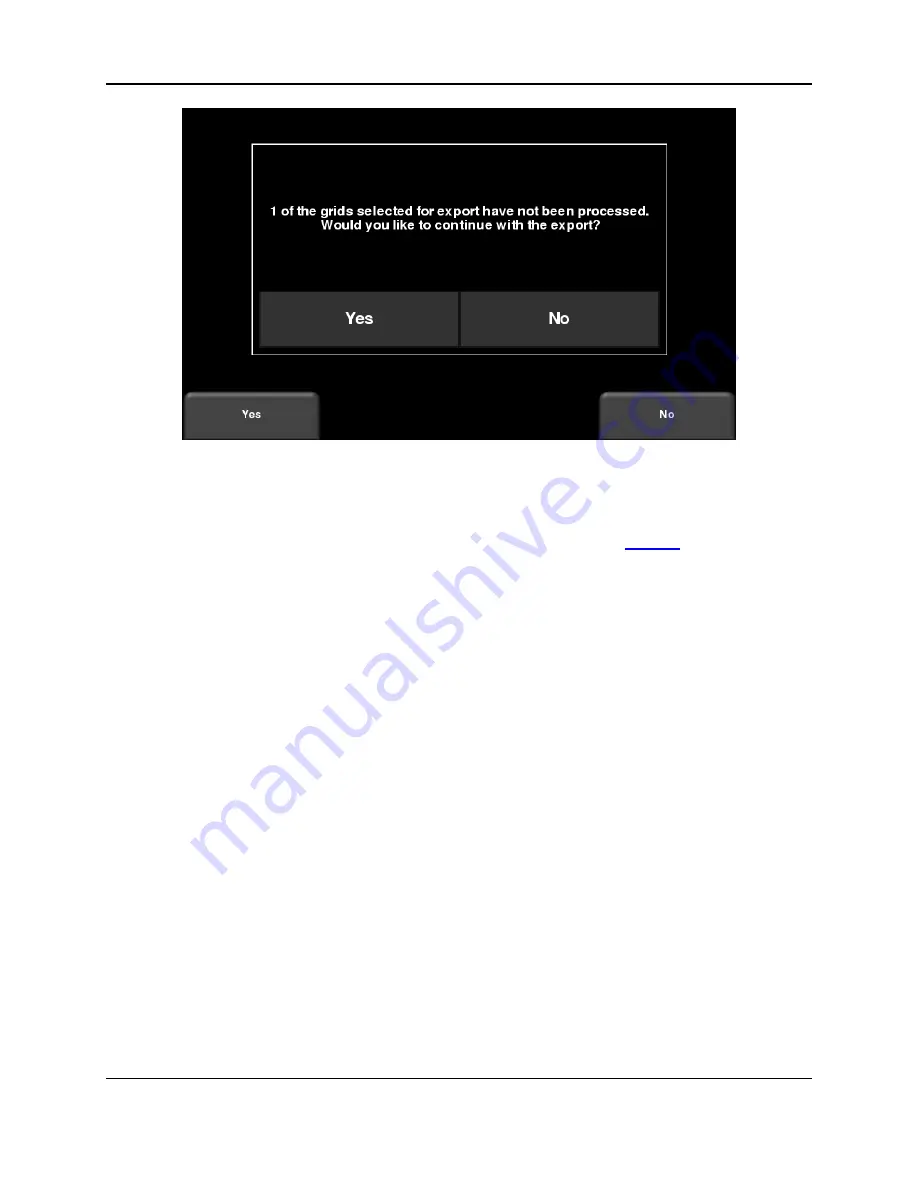
Alternatively, if you want to export data from a specific Project (LMX200 Enhanced only), you
can select No for the time being. Later on, when you are ready to export your data, from the
main menu select
Setup > File Management
and press
Export Data
11.1 Formatting USB Sticks
There may be times when a USB stick is not recognized by the LMX200. In this case, you may
need to format
the USB stick. Ensure that it’s formatted as FAT/FAT32 (NTFS will not work).
Also ensure that there are no hidden or write-protected partitions on the USB drive.
If the problem persists after formatting, try another USB stick.
Summary of Contents for LMX200 Series
Page 1: ...2015 00158 09 ...
Page 2: ...ii ...
Page 4: ...Product Registration iv ...
Page 10: ...x ...
Page 14: ...xiv ...
Page 48: ...Tools Setup 48 ...
Page 52: ...GPR Concepts 52 ...
Page 86: ...SliceView 86 ...
Page 96: ...Capturing Screens E mailing Mini Reports 96 Figure 10 3 Example of a Mini Report ...
Page 104: ...Transferring Data to a PC 104 ...
Page 108: ...Troubleshooting 108 ...
Page 111: ...Care Maintenance 111 ...
Page 112: ...Care Maintenance 112 ...
Page 114: ...Parts List Accessories 114 ...
Page 116: ...Parts List Accessories 116 ...
Page 118: ...Technical Specifications 118 ...
Page 120: ...Appendix A Health Safety Certification 120 ...
Page 128: ...Appendix B GPR Emissions Interference and Regulations 128 ...
Page 130: ...Appendix C Instrument Interference 130 ...
Page 132: ...Appendix D Safety around Explosive Devices 132 ...


