Transferring Data to a PC
97
11 Transferring Data to a PC
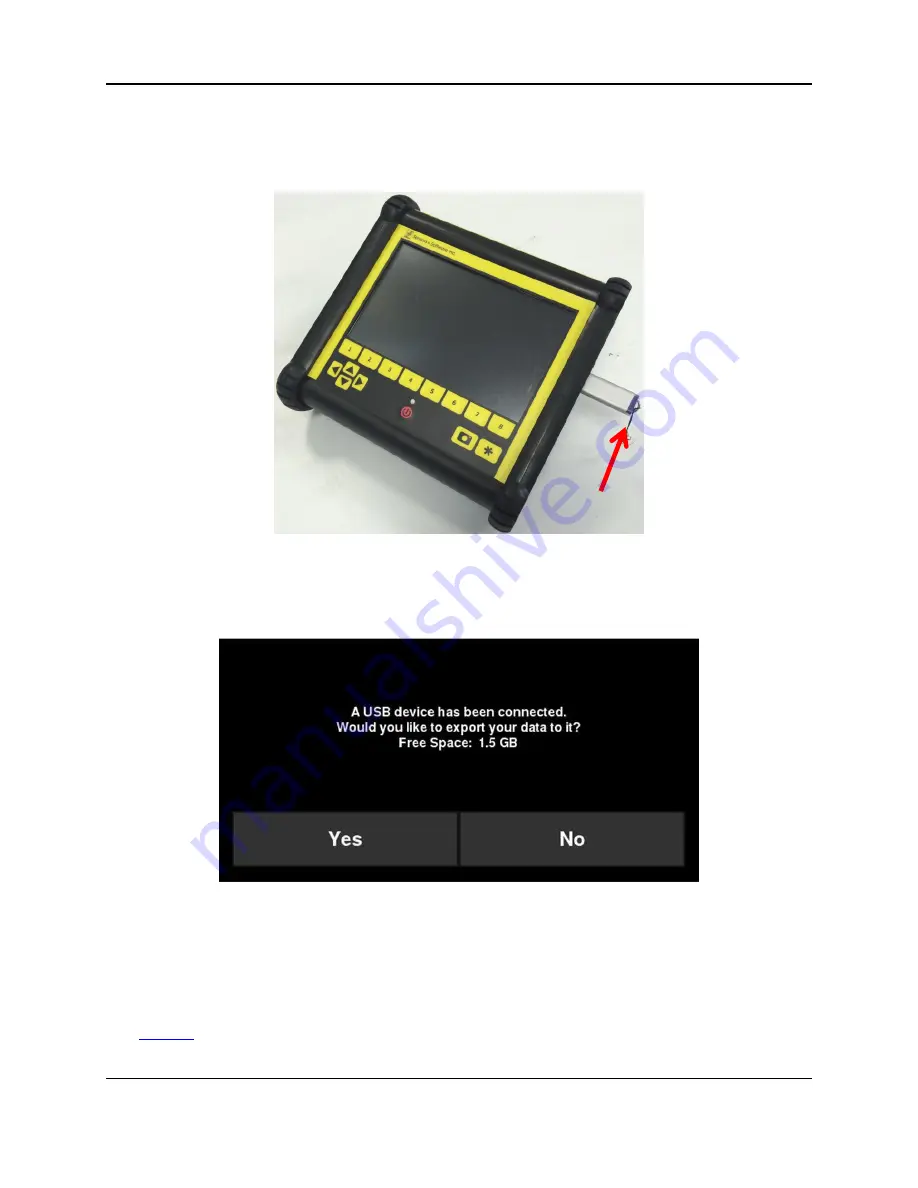
Data can be exported to a PC by inserting a USB drive into the USB port (Figure 11-1).
Figure 11-1: Insert a USB memory stick into the USB port on the Display Unit to export data.
Once the USB drive is recognized, a message will appear telling you that a drive has been
inserted and if you wish to export your data to it (Figure 11-2). Click
Yes
.
Figure 11-2: When a USB drive is connected to the Display Unit, a message opens asking if you would like to export
all your data to it. Select Yes to transfer immediately. If you select No, you can export the data later by going to the
Setup > File Management menu option.
If there are grids that were collected, but not processed, it will alert you after you select
Yes
to
exporting the data (Figure 11-3). This is important, as unprocessed grids will not automatically
show up in EKKO_Project as depth slices (you will need an additional module to view them)
–
USB-memory
stick
Summary of Contents for LMX200 Series
Page 1: ...2015 00158 09 ...
Page 2: ...ii ...
Page 4: ...Product Registration iv ...
Page 10: ...x ...
Page 14: ...xiv ...
Page 48: ...Tools Setup 48 ...
Page 52: ...GPR Concepts 52 ...
Page 86: ...SliceView 86 ...
Page 96: ...Capturing Screens E mailing Mini Reports 96 Figure 10 3 Example of a Mini Report ...
Page 104: ...Transferring Data to a PC 104 ...
Page 108: ...Troubleshooting 108 ...
Page 111: ...Care Maintenance 111 ...
Page 112: ...Care Maintenance 112 ...
Page 114: ...Parts List Accessories 114 ...
Page 116: ...Parts List Accessories 116 ...
Page 118: ...Technical Specifications 118 ...
Page 120: ...Appendix A Health Safety Certification 120 ...
Page 128: ...Appendix B GPR Emissions Interference and Regulations 128 ...
Page 130: ...Appendix C Instrument Interference 130 ...
Page 132: ...Appendix D Safety around Explosive Devices 132 ...


