


44
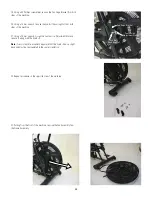
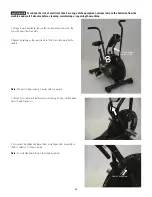
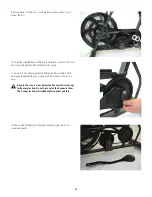
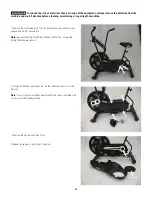
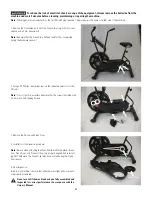
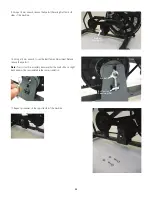
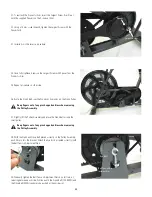
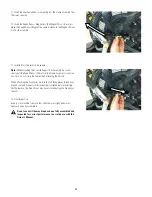
1. Remove the 3 indicated bolts from the Crank Arm using a 14mm socket
wrench and a 4 mm hex wrench
Note:
Be aware that the Crank Arm and Pedal will fall if not supported
during the hardware removal.
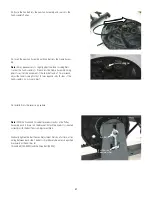
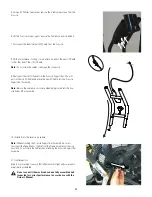
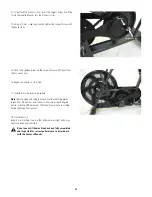
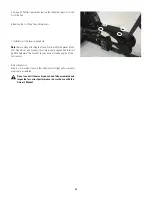
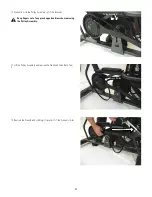
2. Using a #2 Phillips screwdriver, remove the indicated screws from the
Shrouds.
Note:
To assist with re-assembly, be aware that the screws indicated with
an arrow are Self-Tapping Screws.
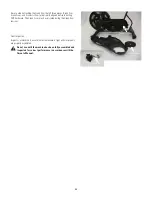
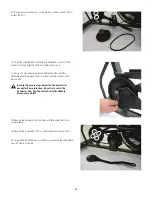
3. Remove the Shroud and Crank Cover.
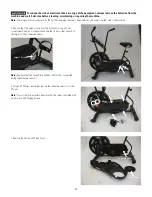
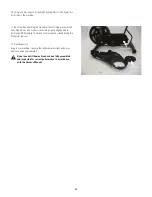
4. Repeat procedure on right side of machine.
To reduce the risk of electrical shock or usage of the equipment, always remove the batteries from the
machine and wait 5 minutes before cleaning, maintaining or repairing the machine
.
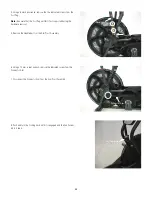
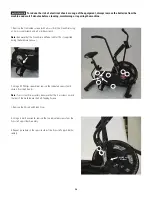
Connector Arm
Crank Cover


