


40
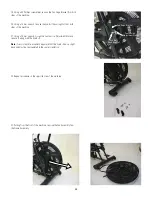
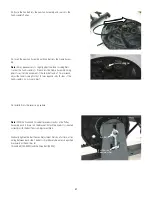
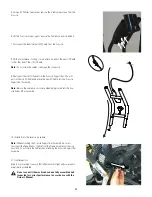
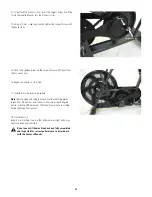
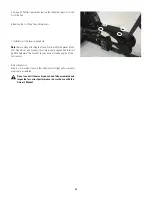
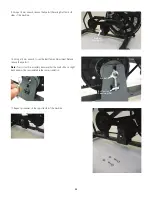
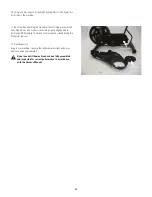
13. To reattach the Connector Arm, insert the Largest Screw from Step
1 with the supplied Spacer into the Connector Arm.
14. Using a 14 mm socket and wrench, tighten the Largest Screw with
the Spacer fully.
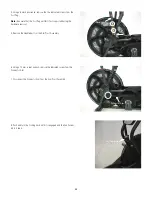
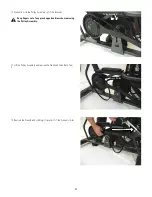
15. Once fully tightened, remove the Largest Screw with Spacer from
the Connector Arm.
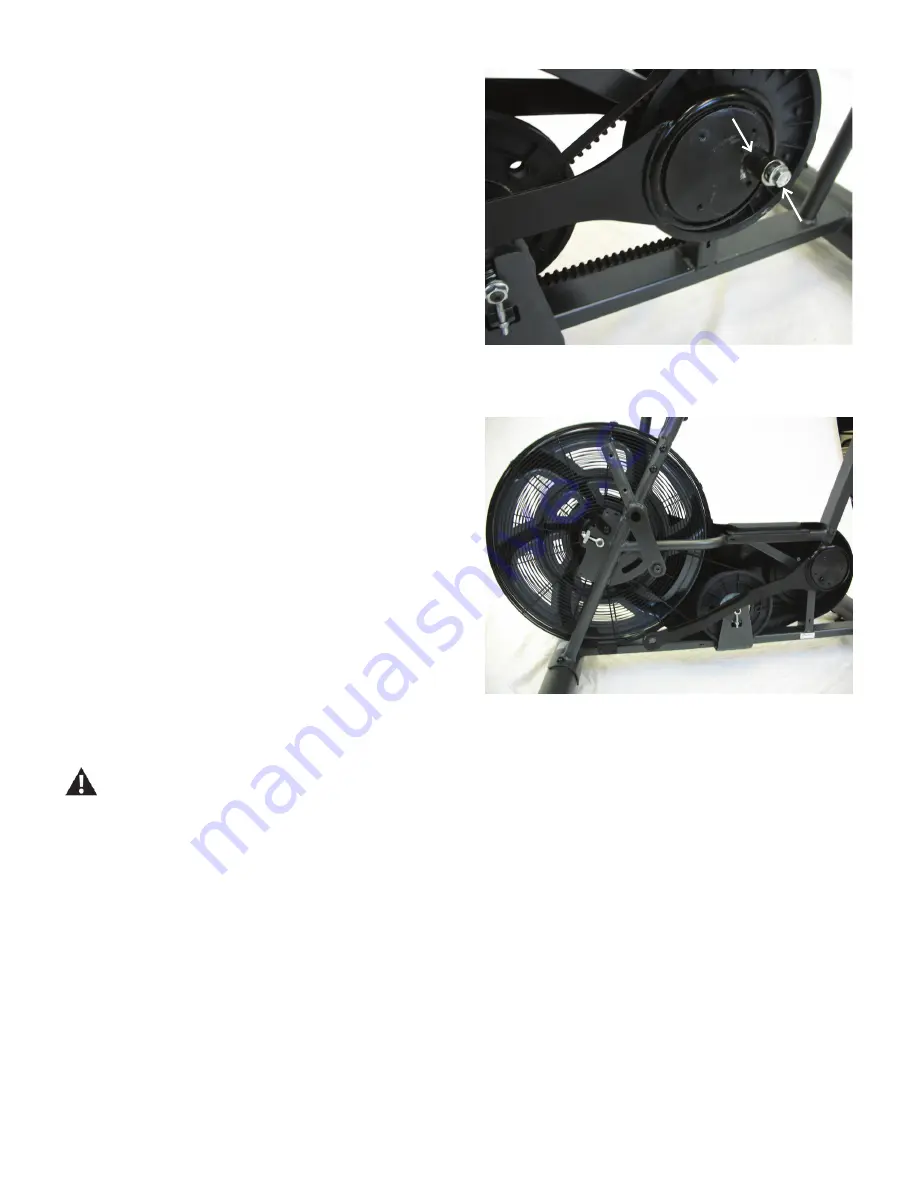
16. Repeat procedure on other side.
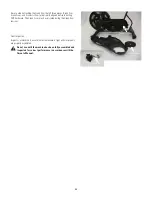
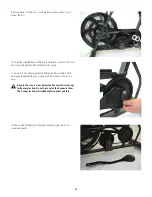
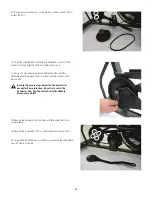
17. Installation is the reverse procedure.
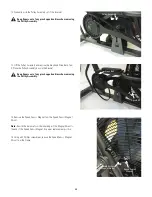
Note:
Be sure when attaching the Crank Arm that all three pieces
(Crank Arm, Crank Cover, and Connector Arm) are properly aligned
before installing ANY hardware. The Crank Cover may have rotated
during the Crank Arm removal.
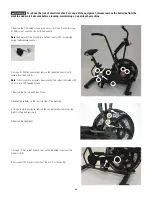
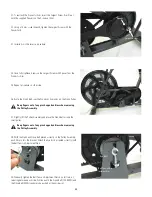
18. Final Inspection
Inspect your machine to ensure that all hardware is tight and compo-
nents are properly assembled.
Do not use until the machine has been fully assembled
and inspected for correct performance in accordance
with the Owner’s Manual.
Largest Screw
Spacer


