


42
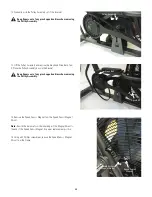
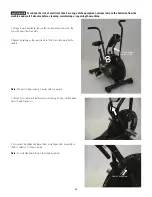
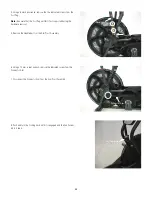
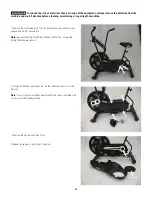
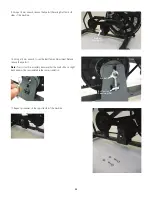
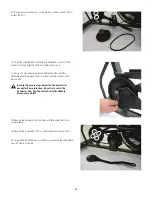
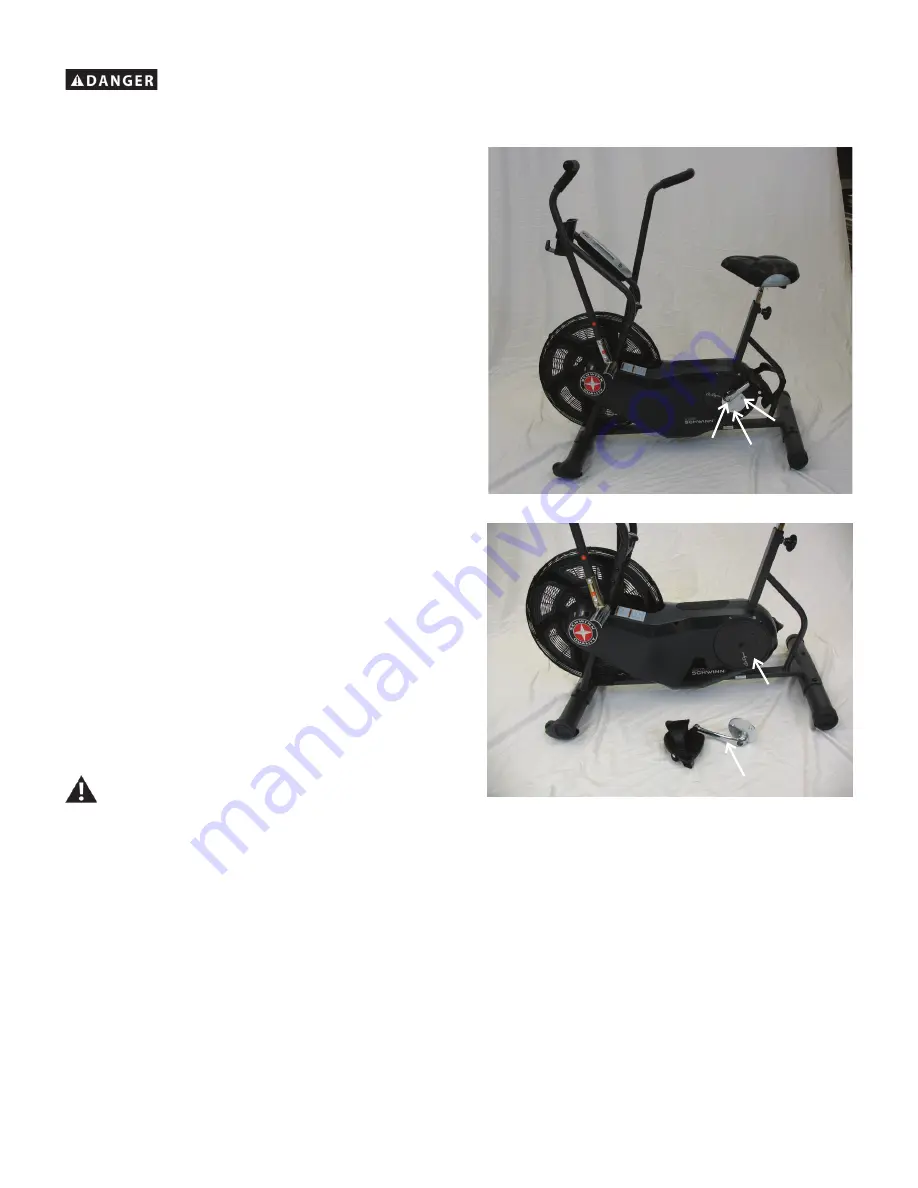
1. Remove the 3 indicated bolts from the Crank Arm using a 14mm socket
wrench and a 4 mm hex wrench
Note:
Be aware that the Crank Arm with Pedal will fall if not supported
during the hardware removal.
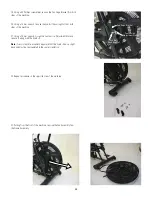
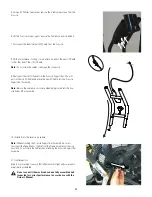
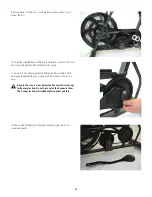
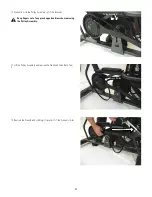
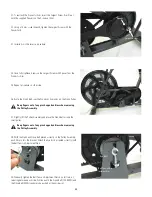
2. Installation is the reverse procedure.
Note:
Be sure when attaching the Crank Arm that all three parts [ the
Crank Arm, Crank Cover, and Connector Arm (located behind the Crank
Cover)] are properly aligned before installing ANY hardware. The Crank
Cover may have rotated during the Crank Arm removal.
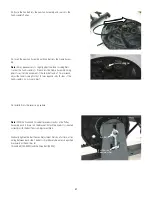
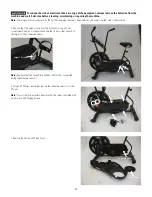
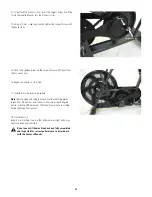
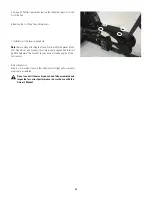
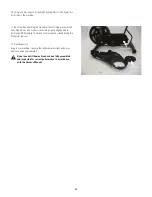
3. Final Inspection
Inspect your machine to ensure that all hardware is tight and components
are properly assembled.
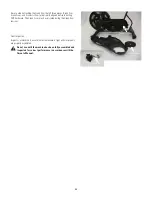
Do not use until the machine has been fully assembled and
inspected for correct performance in accordance with the
Owner’s Manual.
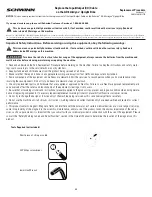
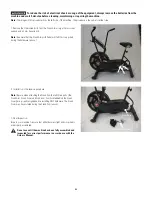
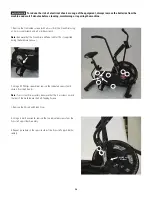
To reduce the risk of electrical shock or usage of the equipment, always remove the batteries from the
machine and wait 5 minutes before cleaning, maintaining or repairing the machine.
Note:
The images in this procedure show the left side of the machine. The procedure is the same for either side.
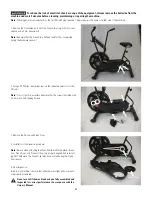
Crank Arm with Pedal
Crank Cover


