Page 26/70
| May 2015 | 2.0
4.1.3.
Contour field
Creating a field in this way allows an entire
contour of a field to be defined, or even only one
side with a curved section.
After tapping on
CONTOUR
at the bottom of the
screen, the menu will display the option
Create
field: Contour
screen
First enter the distance of the GPS antenna from
the field boundary in
Antenna Offset
. The minus
symbol (-) can be used to position the offset to the
left or to the right. In Figure 26, the green arrow
indicates the vehicle (GPS antenna) and the green
cross indicates the position of the field boundary.
Defining a corner point:
Define the first corner point of the desired starting
position of your vehicle by tapping on
Add corner
point
.
Corner point 1 is now defined. This step
must be repeated for a field that only has straight
boundaries until all corner points are defined.
Tip!
Quite often, it is very difficult to position the
vehicle precisely in the corner of a field.
Therefore, always define two corner points
in each corner! Corner points defined
further away from and outside the corner
ensure that the direction of the boundaries
can also be more accurately defined.
Recording a curve:
A curve can be recorded in order to define a
curved reference line. Place the vehicle in the
desired starting position and then tap on
Record
Curve
.
The recording symbol will now turn green.
Now drive precisely parallel to the curved side in
order to ensure an accurate recording.
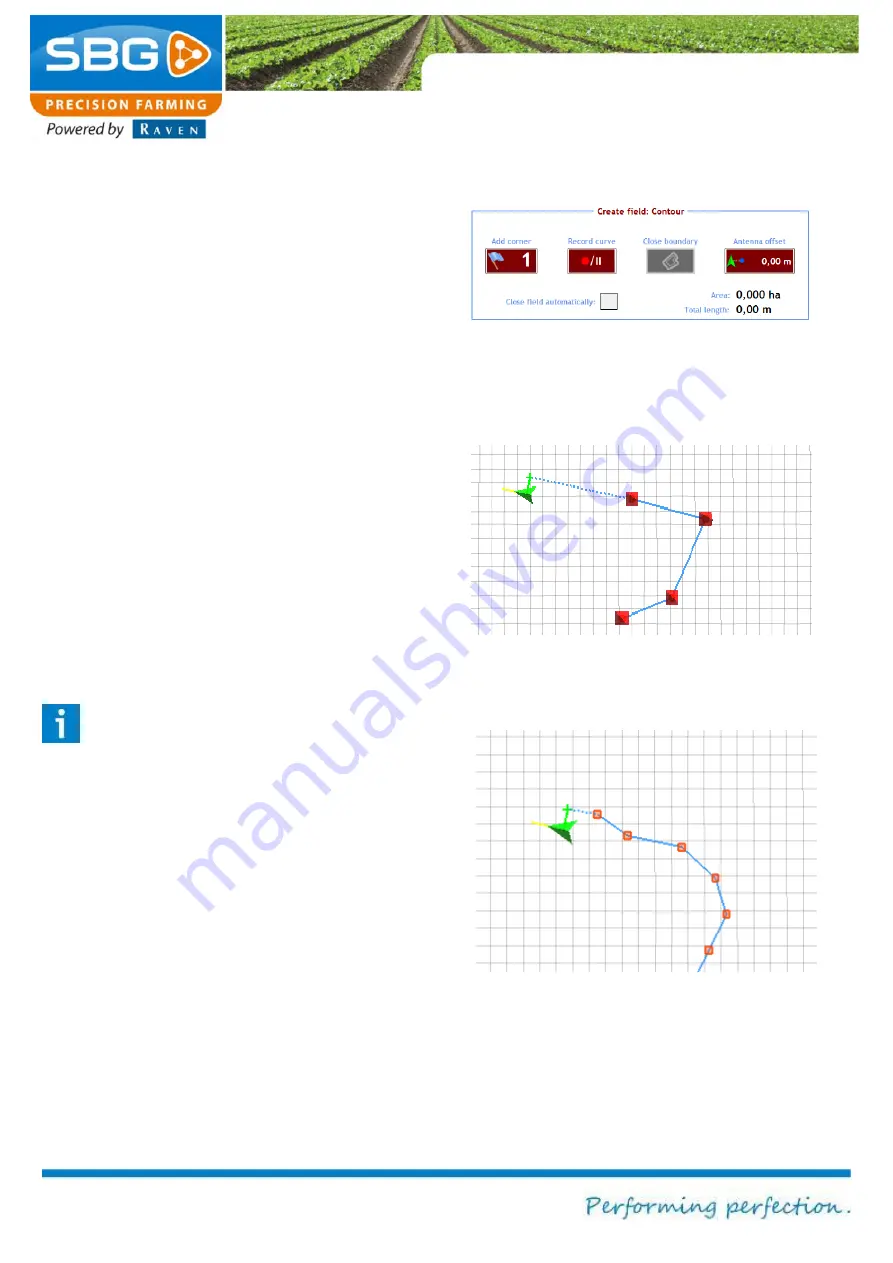
Figure 25 Create a field: Contour
Figure 26 Example of a corner point
Figure 27 Example of recording a corner point


