AUTO MODE SETTINGS
5
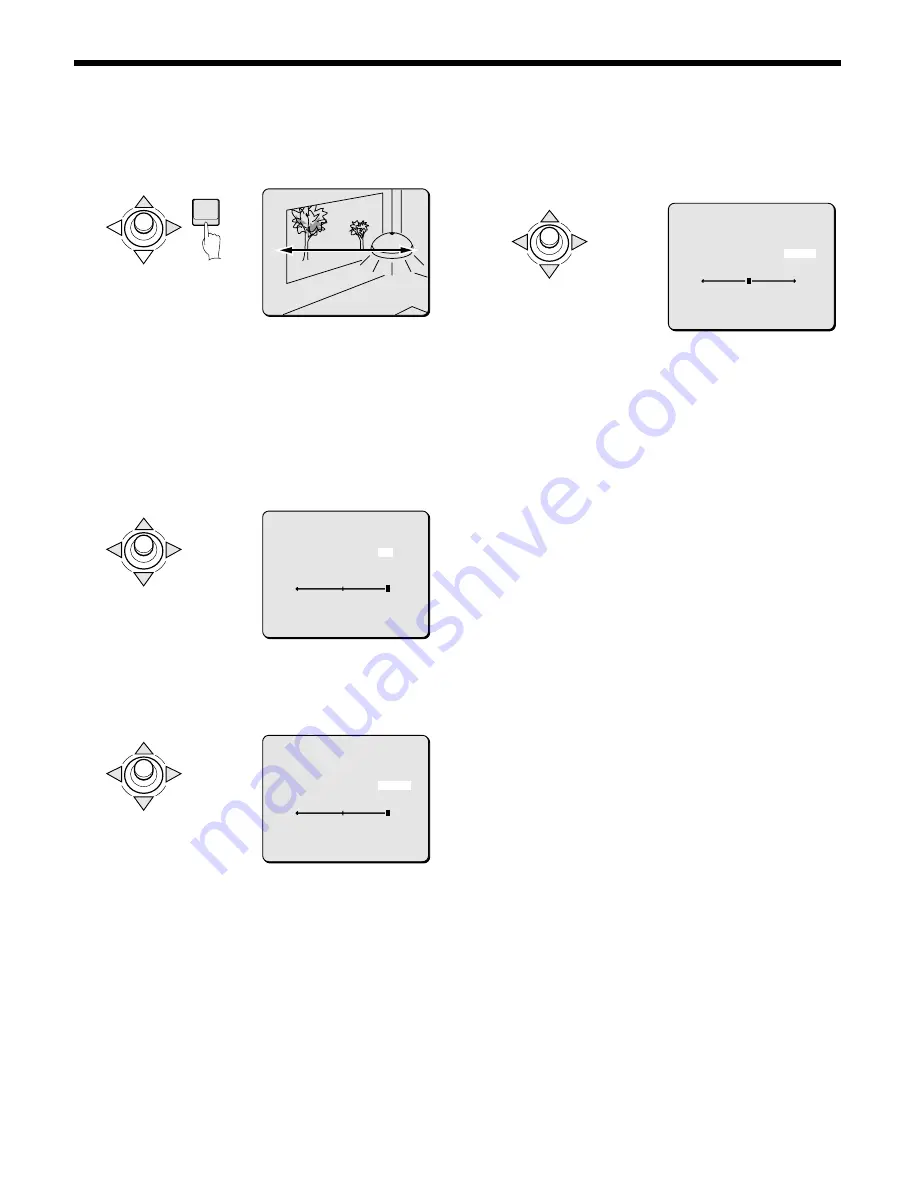
Use the joystick lever (
j
or
c
) to decide the ending
location, then press the ENTER button.
The AUTO PAN screen will reappear and END will be blinking.
Note:
•
During use of Auto Pan, if camera information for tilt, zoom and
focus are different for the start point and end point, the
information recorded for the start point will have priority.
•
If the start point and the end point use the same location, the
camera can pan in a 360 continuous loop.
6
Use the joystick lever (
j
or
l
) to move the cursor to
PAUSE TIME, and then use the joystick lever (
d
or
c
) to
select the standby time between the end point and the
start point. (Ex: 5S)
Available settings: 1S, 2S, 3S, 5S, 10S, 20S, 30S
7
Use the joystick lever (
j
or
l
) to move the cursor to
DIRECTION, then use the joystick lever (
d
or
c
) to set
the direction of the pan. (Ex: RIGHT)
Available settings:
•
LEFT: Camera pans left from start point to end point.
•
RIGHT: Camera pans right from start point to end point.
8
Use the joystick lever (
j
or
l
) to move the cursor to PAN
SPEED, then use the joystick lever (
d
or
c
) to adjust the
speed for the auto pan. (Ex: 8)
Available settings: 1 (slow) – 15 (fast)
9
Canceling a settings screen
•
Use the joystick lever (
l
) to select BACK for MENU, then
press the ENTER button. The MAIN MENU screen will
reappear.
•
To return to the normal screen, use the joystick lever (
l
c
) to select END for MENU, then press the ENTER button.
Note:
•
When auto pan is used, autofocus will not function even if it is
set to “ON”. The focus setting will automatically be set to
manual.
•
When PAN MODE is in use, VIEW SETTING will be set to “0”.
ENTER
END SETTING
END SETTING
SET
SET ‚
END SETTING
SET ‚
AUTO PAN
POSITION END ‚
PAUSE TIME 5S
DIRECTION LEFT
[PAN SPEED]
15
MENU BACK
AUTO PAN
POSITION END ‚
PAUSE TIME 5S
DIRECTION RIGHT
[PAN SPEED]
15
MENU BACK
AUTO PAN
POSITION END ‚
PAUSE TIME 5S
DIRECTION RIGHT
[PAN SPEED]
8
MENU BACK
English
– 43 –


