CAMERA SETTINGS
5
Use the joystick lever (
j
l
d
c
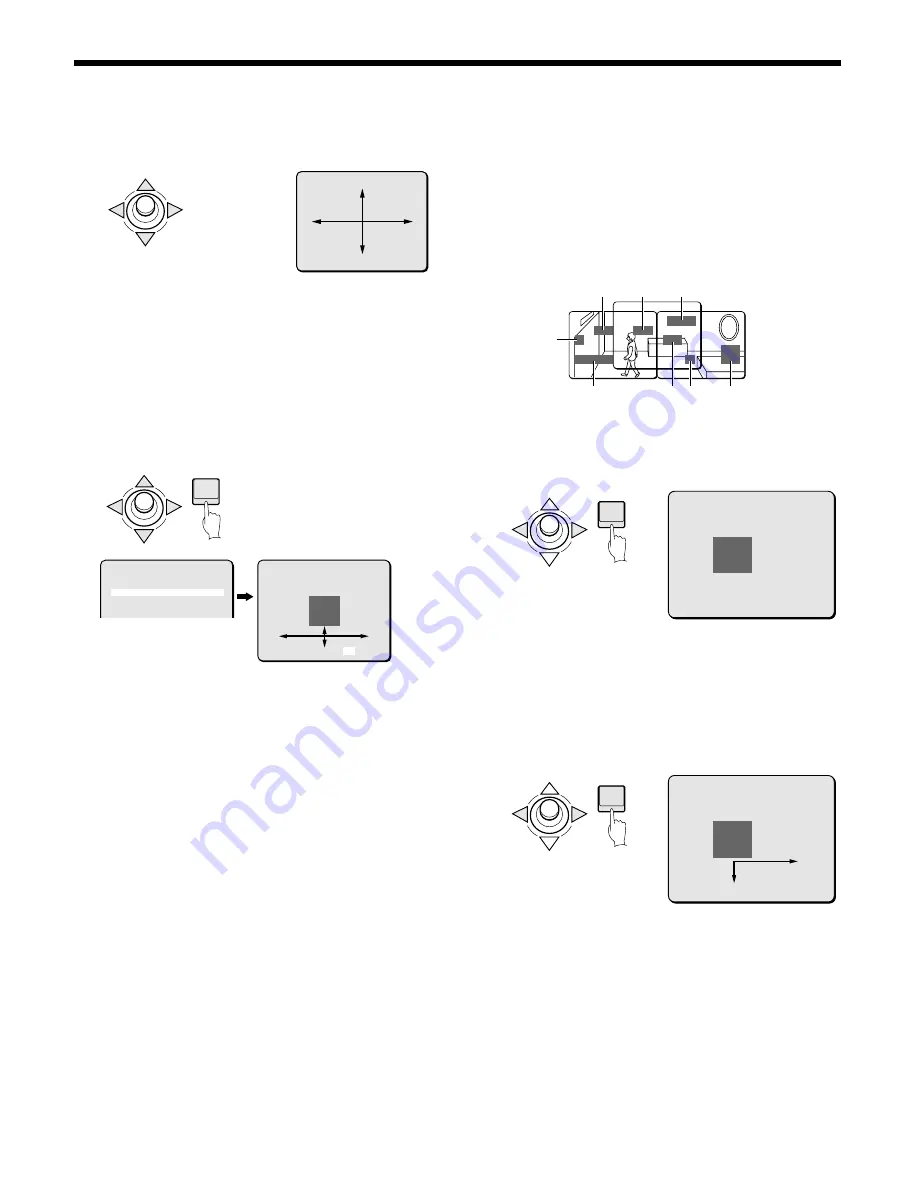
) to decide in which
direction the mask will be made.
6
Press the ENTER button.
The MASK NO. SELECT screen will reappear.
7
Use the joystick lever (
j
or
l
) to move the cursor to a
mask number (Ex: MASK 3), and then use the joystick
lever (
d
) to change the setting to SET. Then press the
ENTER button.
The MASK 3 SET (POSITION) screen will appear, and
SETy
will be blinking. The gray mask will appear in the center of the
screen.
Joystick lever operation
OFF: to
c
side (ON appears), to
c
side again (SET appears)
•
SET: Mask POSITION and SIZE can be set
•
ON: Masks can be displayed
•
OFF: Masks can be deleted
(About the POSITION screen)
It is possible to set as many as 4 masks on the same POSITION
screen. Even if a fifth mask is placed,
SETy
will not appear.
Note:
•
By stacking single screens with 4 masks on them it is possible
to set as many as 8 masks. See the example below for an
illustration of the use of 8 gray masks.
•
The area under a mask can be seen when the camera is
changing preset positions. To compensate for this, make the
masks a little larger when necessary.
8
Use the joystick lever (
d
or
c
) to move the gray mask,
then press the ENTER button.
The SIZE screen will appear, and the mask that was
positioned in the POSITION screen will be displayed.
9
Use the joystick lever (
d
or
c
) to adjust the size of the
gray mask, then press the ENTER button.
PRESET and MENU will appear at the bottom of the screen.
Move the cursor to BACK for MENU and press the ENTER
button. The screen will return to MASK NO. SELECT and the
MASK 3 setting will be ON.
To return to the normal screen, use the joystick lever (
l
c
) to
select END for MENU, then press the ENTER button.
(DIRECTION) *
SET ‚
ENTER
MASK NO.SELECT *
MASK 1 OFF
MASK 2 OFF
MASK 3 SET ‚
MASK 4 OFF
MASK 5 OFF
MASK 6 OFF
MASK 7 OFF
MASK 8 OFF
DIRECTION SET ‚
PRESET OFF
MENU BACK
MASK 3 SET
(POSITION)
SET ‚
MASK1
2
3
4
6
5
7
8
MASK 3 SET
(SIZE)
SET ‚
ENTER
ENTER
MASK 3 SET
PRESET OFF
MENU BACK
– 16 –
English


