92
P Mode Programming
SPS-2000 Program Manual v1.30
3.
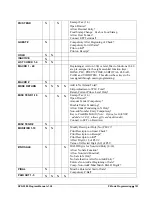
Once PLUs are added they will be displayed as a list on the screen:
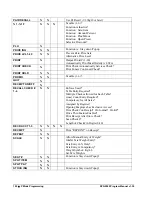
Each Column of PLU data is described in the table below:
Column Explanation
GROUP
Touch a GROUP in the group selection box to display the PLUs that are linked to the
group. Use the arrow up (
↑
) or arrow down (
↓
) keys at the bottom of the box to view
Groups 1-16 or 17-32.
PLU#
This is field display only and cannot be edited. Use the check box to the left of the PLU
number to select the PLU for editing. PLUs assigned to group 1 will begin with PLU
#1001 and range to PLU #1999; PLUs assigned to group 2 will range from 2001-2999,
etc.
DESCRIPTOR
Touch the current descriptor button to edit the descriptor field.
STOCK
Select a PLU and touch
STOCK
to set the stock level for the PLU.
STOCK
KP
Touch STS GRP and/or STOCK buttons to toggle from
NO
to
YES
. The YES/NO
status determines the status group to which the PLU is assigned:
PLUs with option NO STOCK and NO KP are linked to PLU STATUS
GROUP #1.
PLUs with option STOCK and NO KP are linked to PLU STATUS GROUP
#2.
PLUs with option NO STOCK and KP are linked to PLU STATUS GROUP
#3.
PLUs with option STOCK and KP are linked to PLU STATUS GROUP #4.
PRICE
Touch the current price button to edit the price field.
When more than 10 PLUs are displayed on the screen, use the arrow up (
↑
) or arrow down (
↓
)
keys at the bottom of the screen to view additional PLUs.
Touch
CLOSE
to exit (after v3.00c touch
MAKE MENU
) the PLU QUICK REGISTRATION
PROGRAM. You will be prompted: “DO YOU WANT TO MAKE A MENU SCREEN?” If
you select YES, new menu screens will be created automatically based upon the group and PLU
data you have programmed.
Group List
Box
PLU Selection
Check Box

